All about Masking Fluid

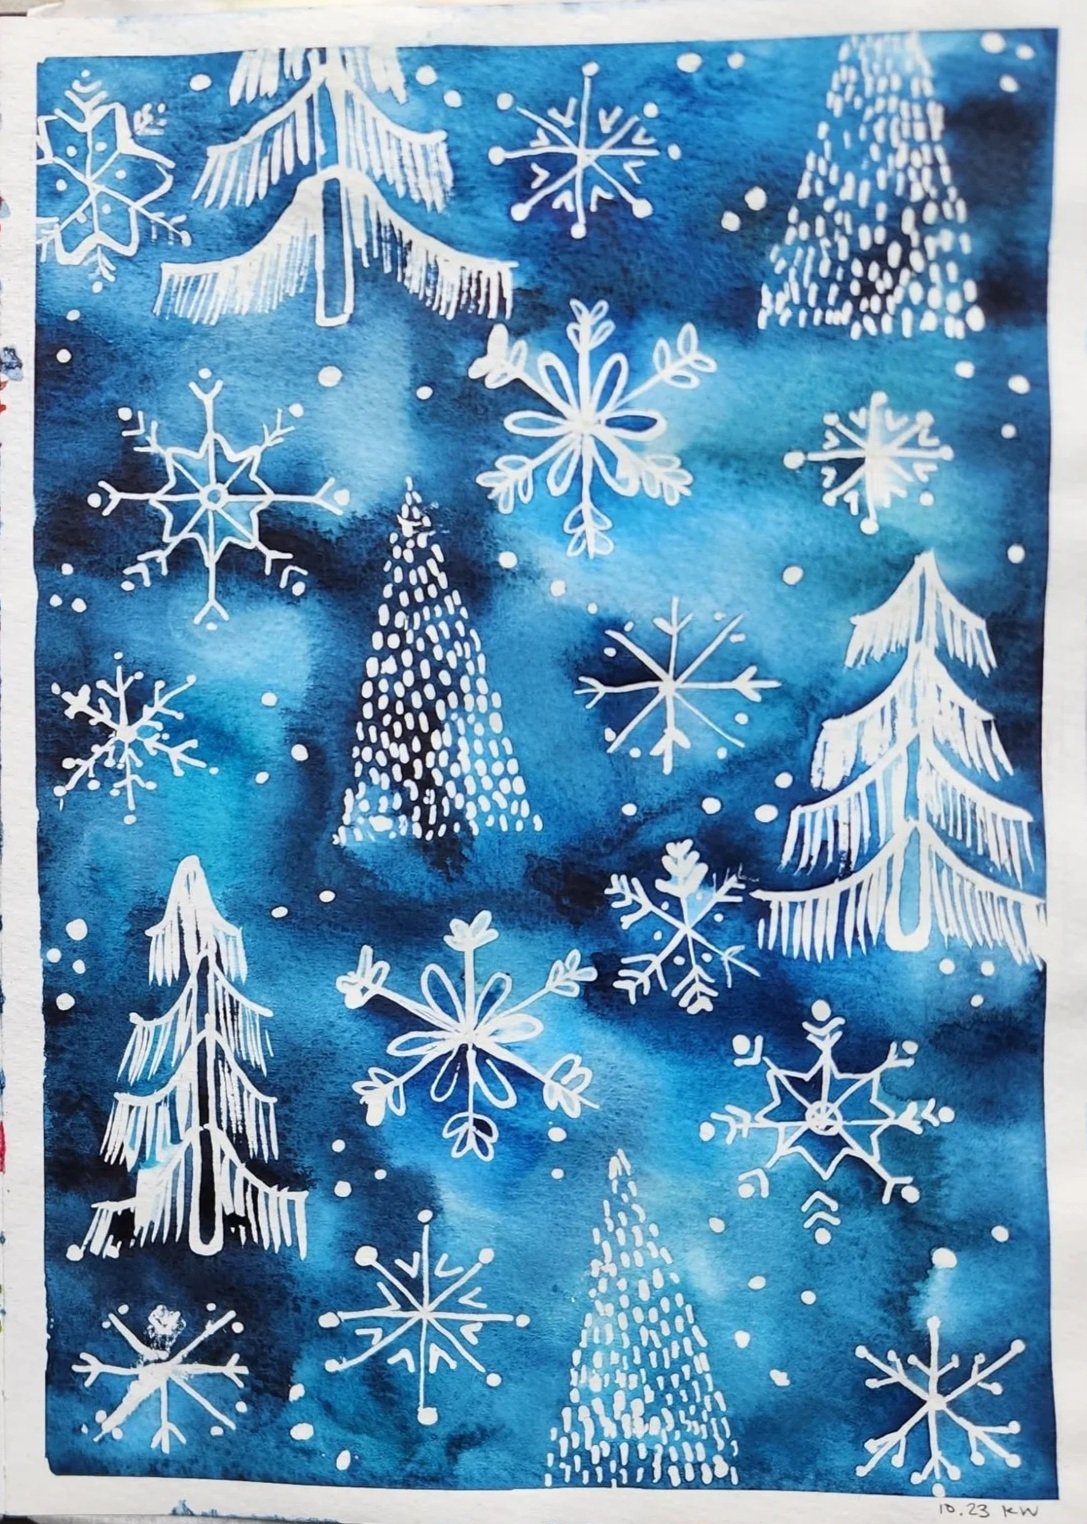
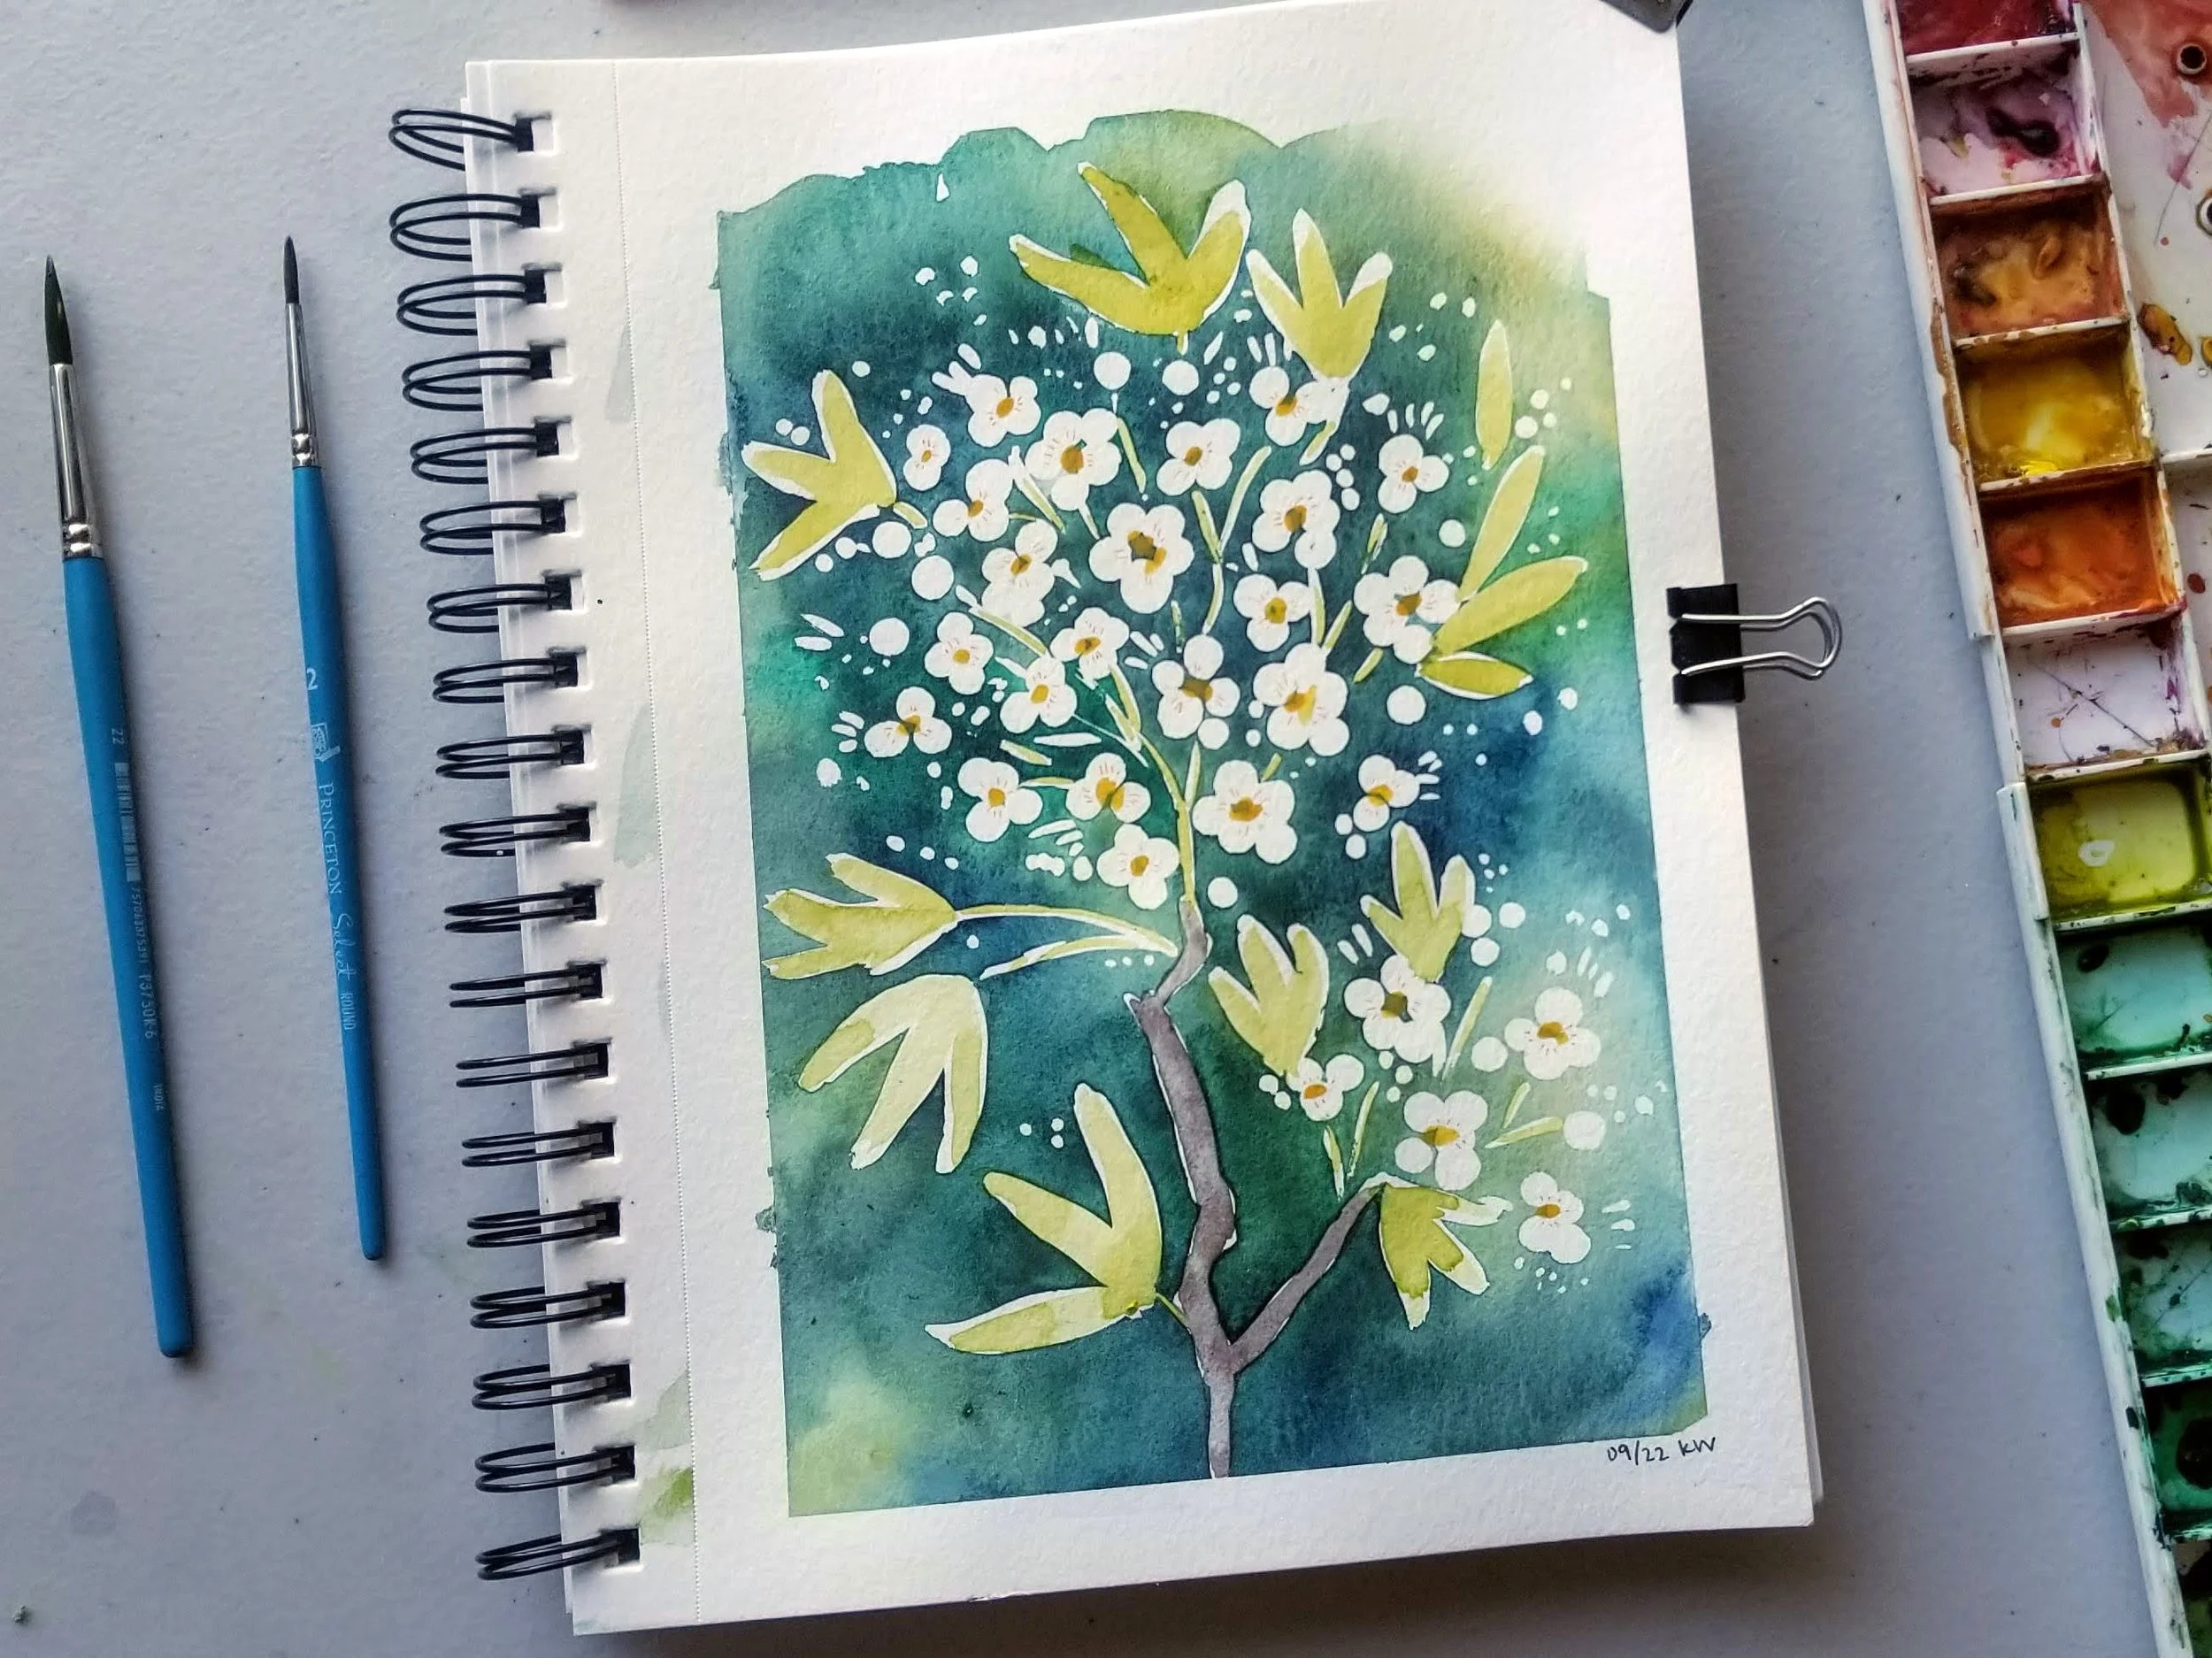
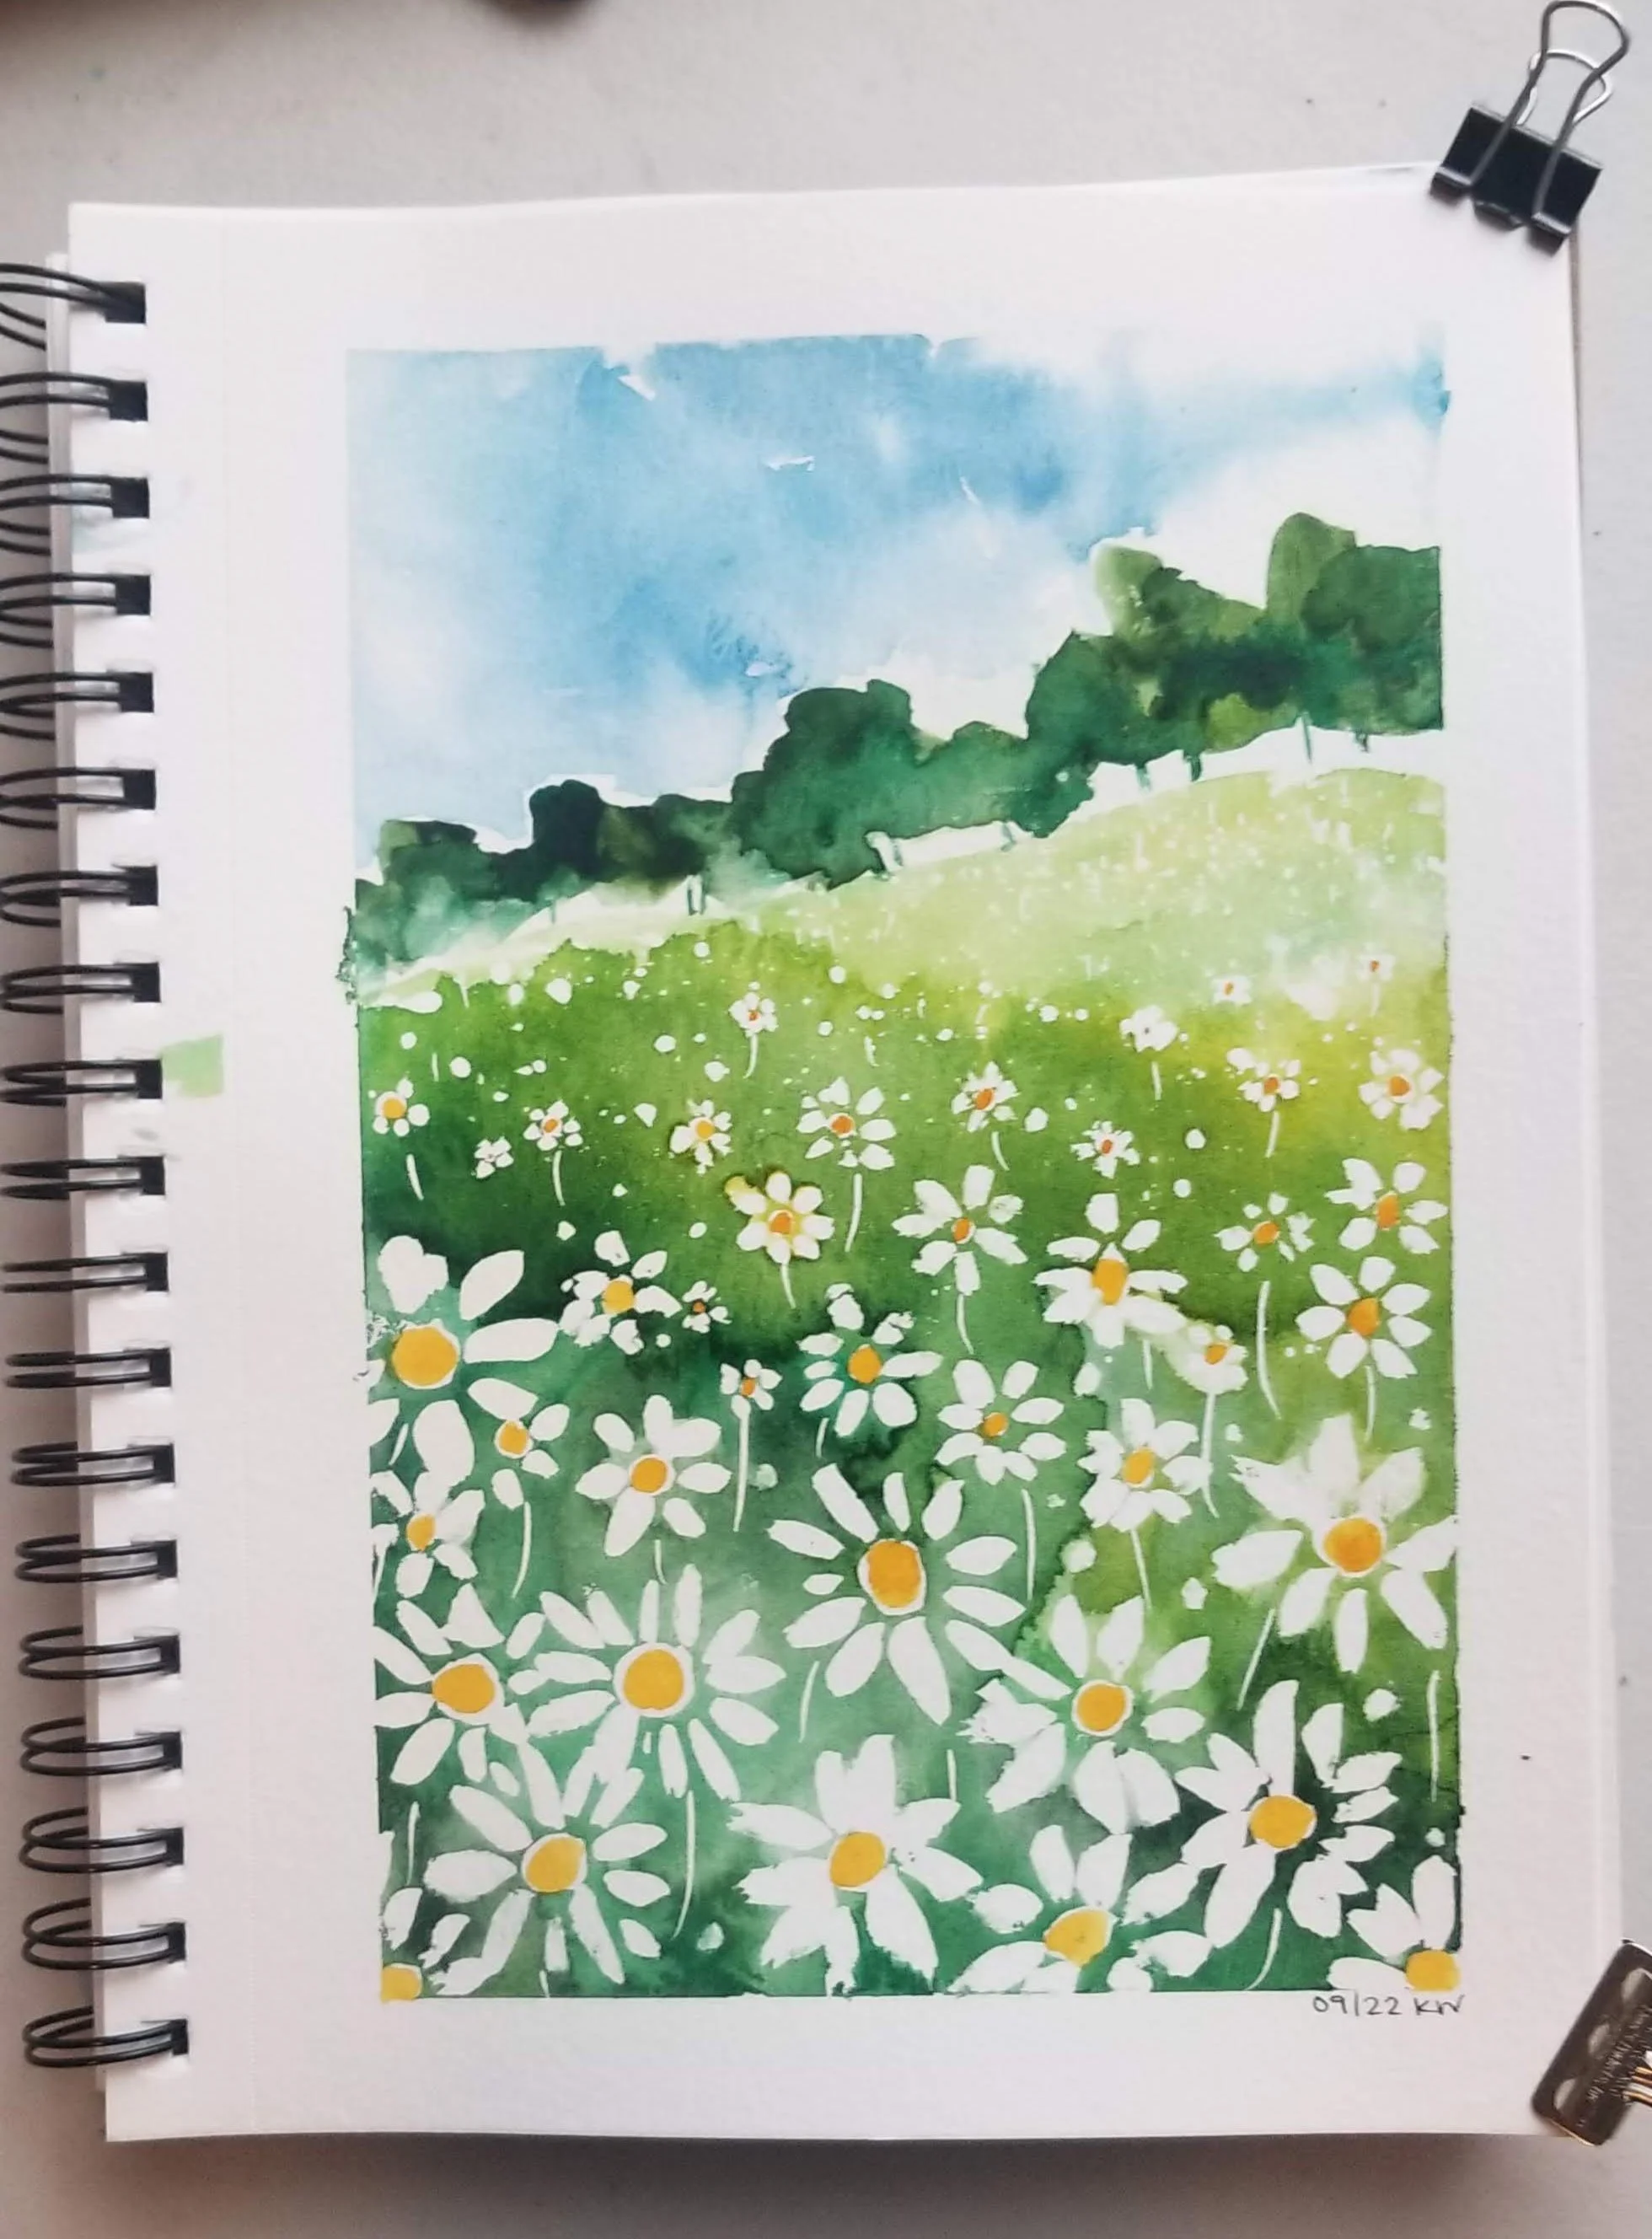
Masking fluid is one of my favorite tools to have in my art toolbox and its applications are so versatile.  It can help to keep parts of your artwork white and pristine, create layers and depth through negative painting, add textures, or anything you can think of! Below I have outlined some of my favorite tips and tricks for using this medium stress free in your own work.

What is masking fluid?

Masking fluid (also known as masking frisket) is a water-based medium used to repel paint and preserve white areas on paper. Using masking fluid allows you to maintain clean lines, avoid painting incredibly small areas, add texture or layers to your subjects or to create fun effects that would be impossible to do without blocking the paper.

My personal favorite masking fluid to use is the Winsor Newton masking fluid that usually comes in a 75ml bottle so that it lasts forever. If given the choice I like the “slightly pigmented” masking fluid option because it makes it easier to see the mask once its been applied to the paper and dried.


Apart from the bottles of masking fluid (some even with thin applicator tips for precision), there are pens available and in a pinch you can always use a white crayon or wax candle. Any of these options will also prevent the paint from getting to the paper (also called a wax resist), but unlike with masking fluid you won’t be able to remove the candle or crayon wax from the paper and you will not get clean lines.


How to apply masking fluid?

If using the masking fluid bottles one things I like to do is work in aliquots, or from smaller amounts taken from the big stock, of masking fluid instead of straight out of the bottle. If you have another small airtight jar you can pour some masking fluid in and keep the main bottle closed tight and then work from the smaller jar. This is because the air will start to oxidize the masking fluid and dry it up.  Before using, shake bottle to make sure everything is liquid and fully mixed.

Prep your paintbrush water by adding a few drops of dish washing soap. This will help to coat your paintbrush and protect it from the damaging effects of masking fluid. After every application of masking fluid rinse brush in soapy water mixture to completely remove remaining masking fluid. Be generous with this step if you want to preserve your brush for later use. DO NOT LET MASKING FLUID DRY ON PAINTBRUSH.

Apply in thin layers to cover chosen areas. There is no need to paint in thick layers as this will take longer to dry and might not stay confined to the applied area. If nervous about application, wait until masking fluid is completely dry and add another thin layer on top of previous layer.

Wait for masking fluid to DRY COMPLETLEY before adding watercolor on top. This is crucial for the correct use of masking fluid.


Should I use a paintbrush to apply masking fluid?

Yes and no! Masking fluid is notorious for ruining watercolor brushes. Even though I try to wash my brush constantly while using masking fluid, inevitably I don’t wash it off enough or let it dry with some masking fluid still on it and once it dries it is so much harder to get off. Can you still use it, yes, it’s just no longer flexible or pliable.

My suggestion is using a crappy brush and keep it as your masking fluid paintbrush, and don’t feel too bad about throwing it out when it becomes unusable.
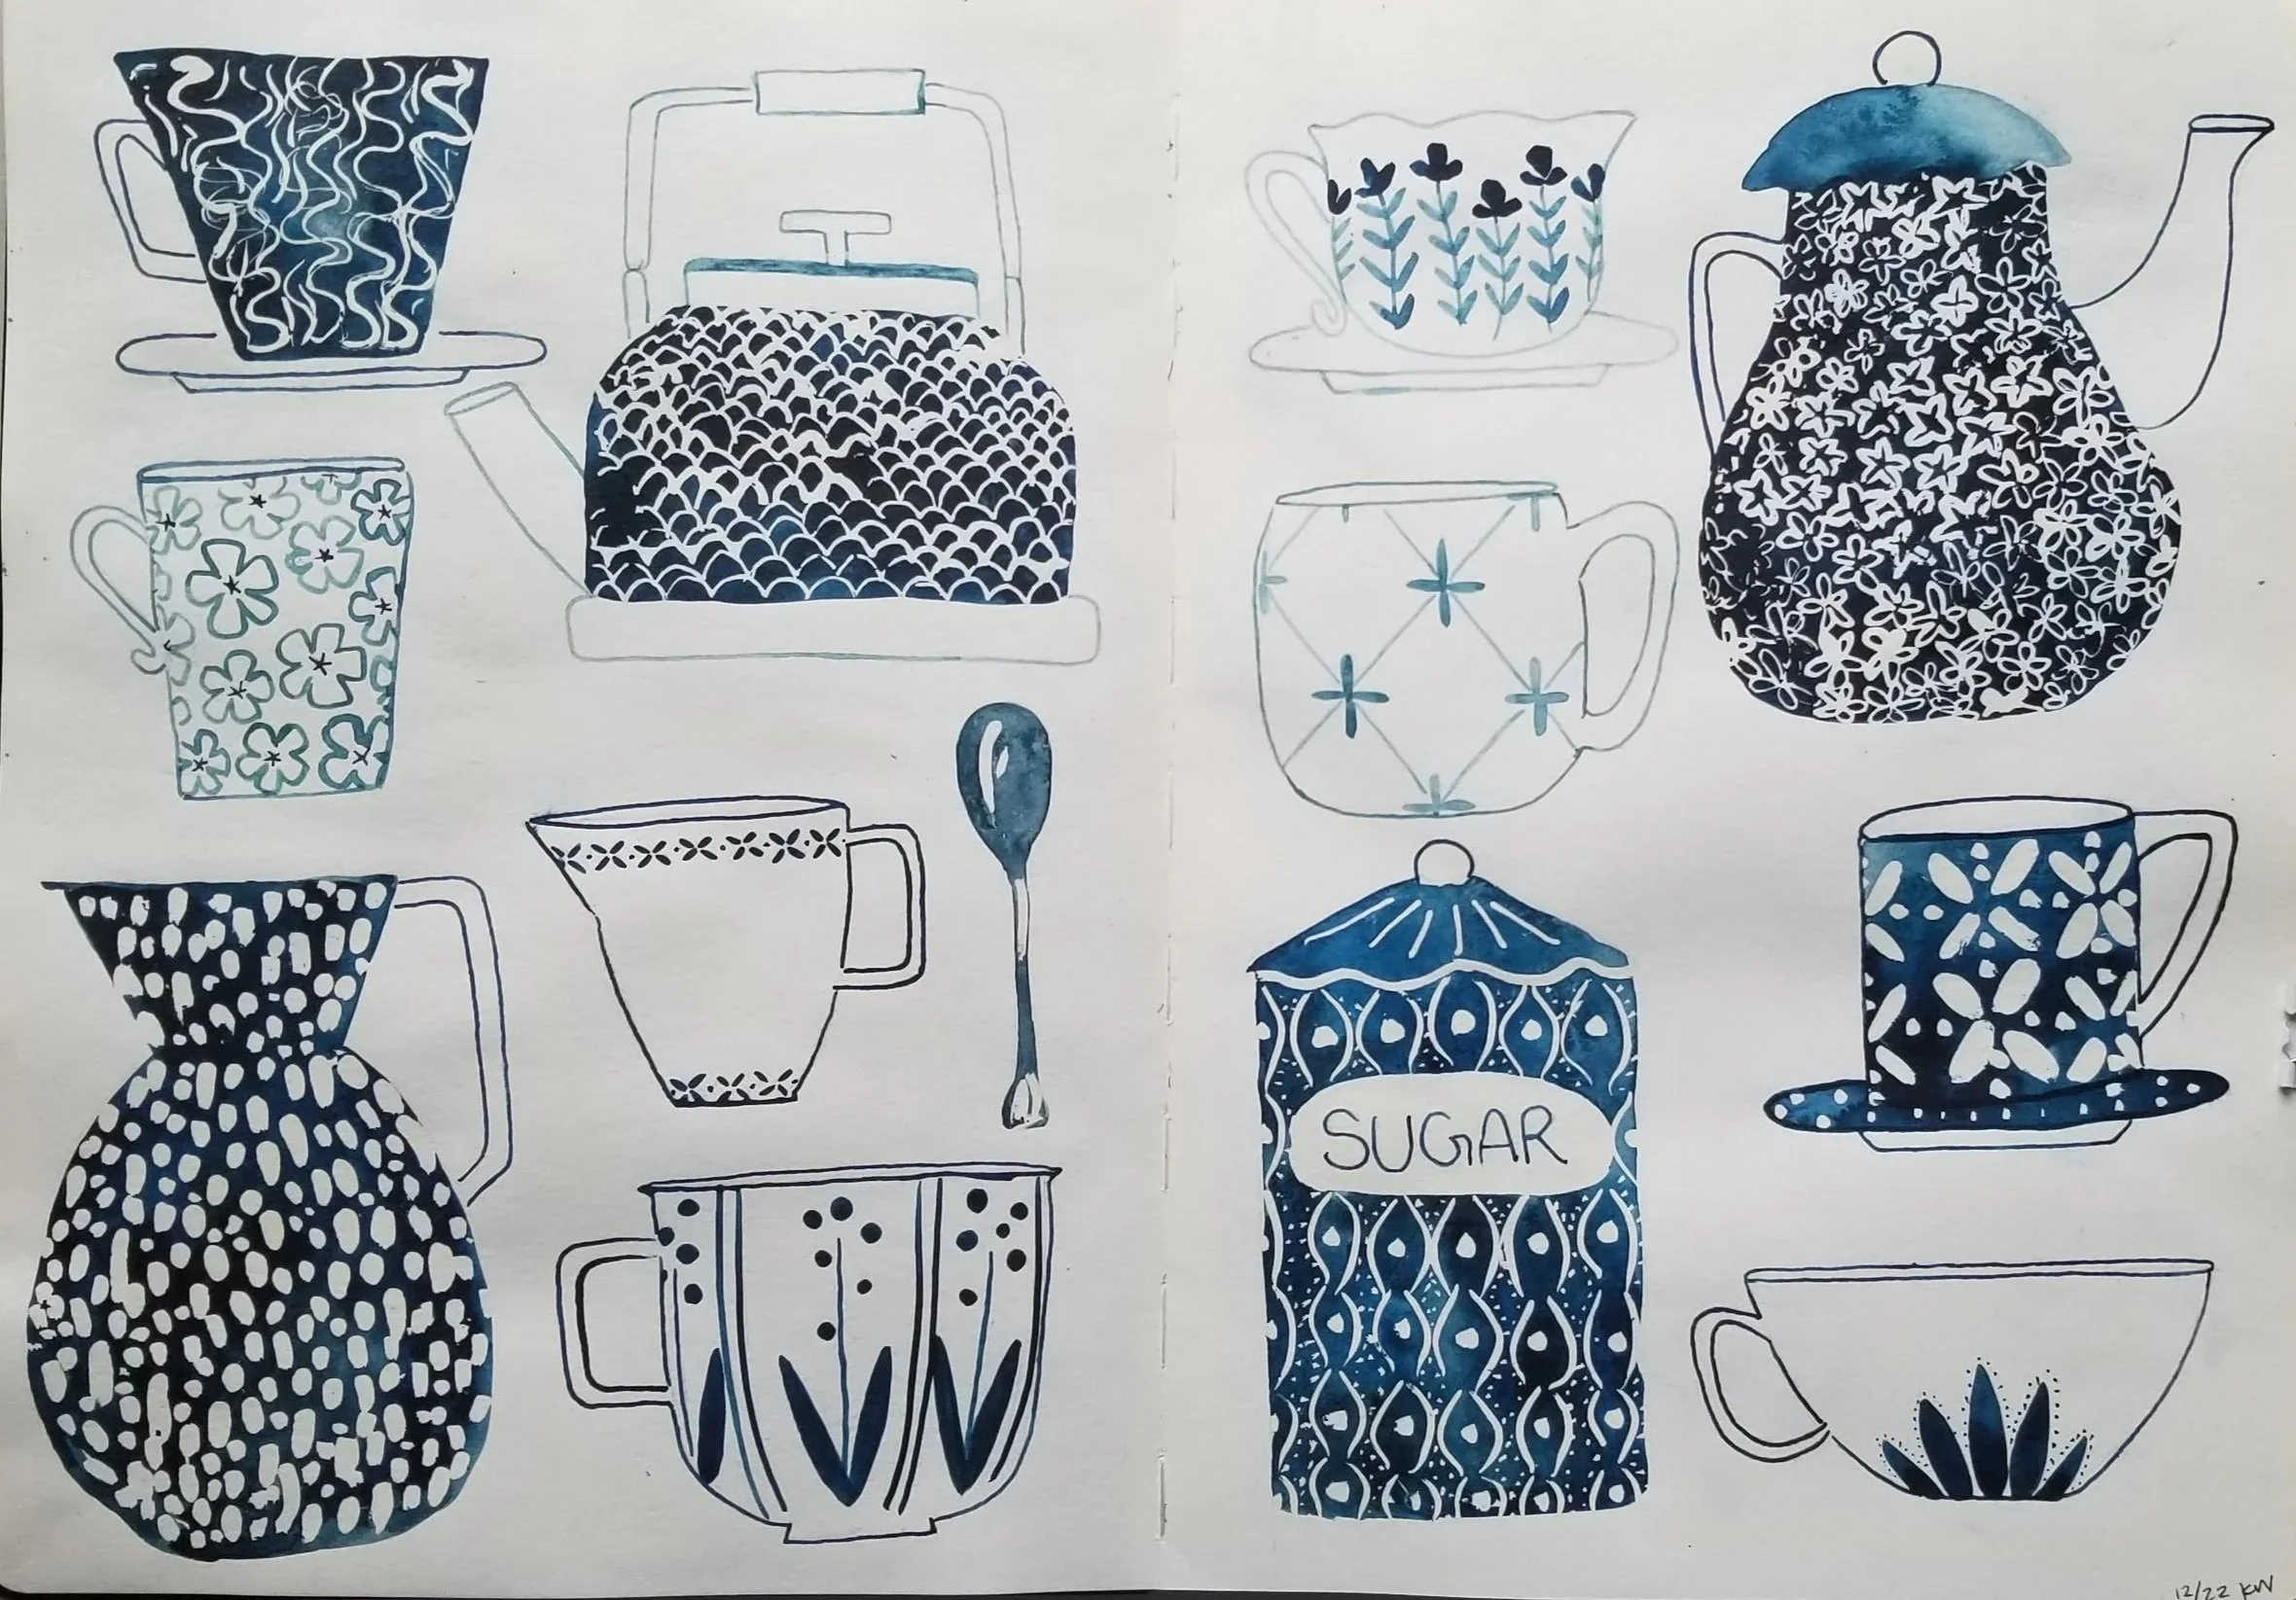
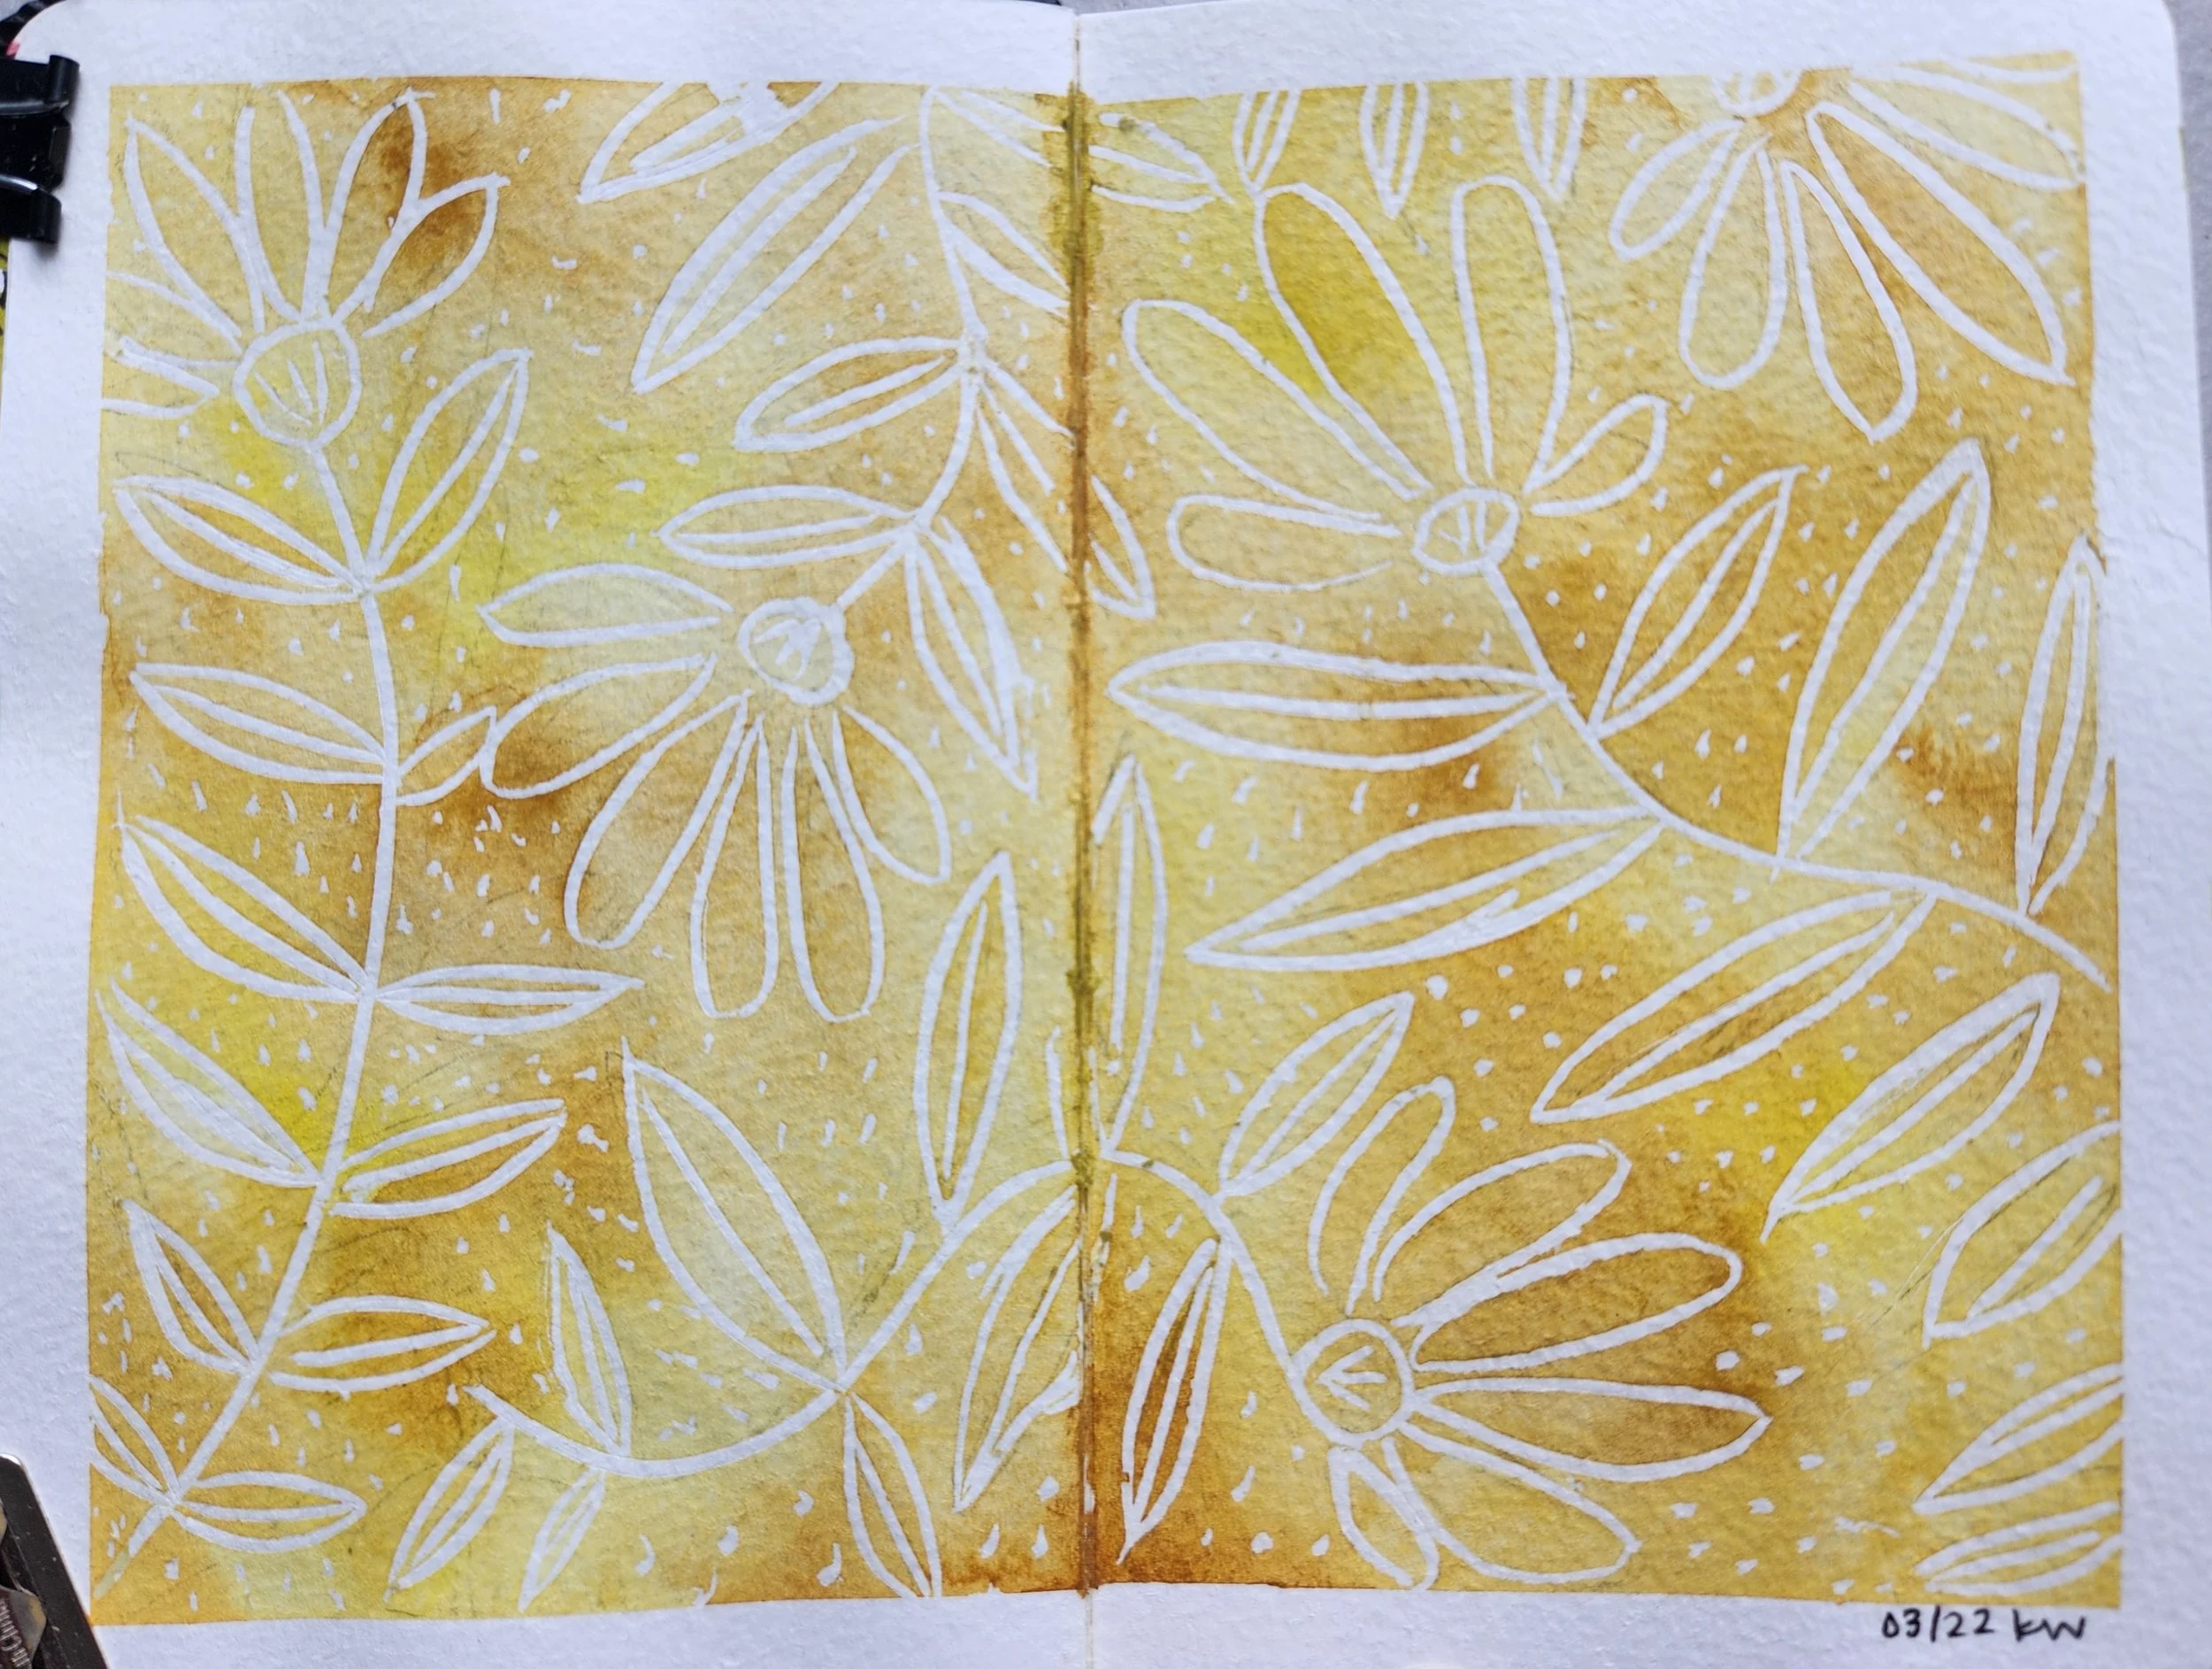
But other than using a paint brush to apply masking fluid, there are also so many other tools that you can use! Depending on the mark or effect you are trying to create the world is your oyster on what you can use, and I recommend having an experimental play session trying out as many different tools to lay down masking fluid.

 Tip: Make sure to label the tools you are using on the paper before laying down the marks in case you forget!

How to remove masking fluid from painting

Once you have finished your painting and are ready to remove the masking fluid there a few things to consider.

First, it is crucial that your painting is completely dry before attempting to remove masking fluid. If the paint isn’t dry there is a change of smudging and ruining that pristine patch of paper you preserved.

Second, if there are patches of watercolor dried on top of your masking fluid remove carefully with damp paper towel and let masking fluid dry again.

Third, don’t leave dried masking fluid on your paper for more than a few days after painting is dry. I learned this the hard way, masking fluid has a working window once you put it on paper and you don’t want to drag the work on for too long or you run the risk of the masking fluid drying on the paper too much, staining the paper and making it impossible to fully remove. A good rule of thumb is to try and remove it the day after finishing the painting and letting it dry completely.

So what do you use to remove the dried masking fluid? A lot of people use an eraser or clean fingers. Either works but be careful to go slowly when using, the worst is getting to this stage of your art and ripping the paper removing the masking fluid.  

A few years ago I learned about the magic of a rubber cement pickup tool (also known as a crepe rubber) and this tool is specifically designed to remove masking fluid from paper without ripping and this thing is a game changer! I picked one up from my local art store for a few bucks and it lasts forever!

Hope these tips help you create beautiful masterpieces with masking fluid!

Lots of love,

Katie

Next
Next

5 Easy ways to fill your sketchbook