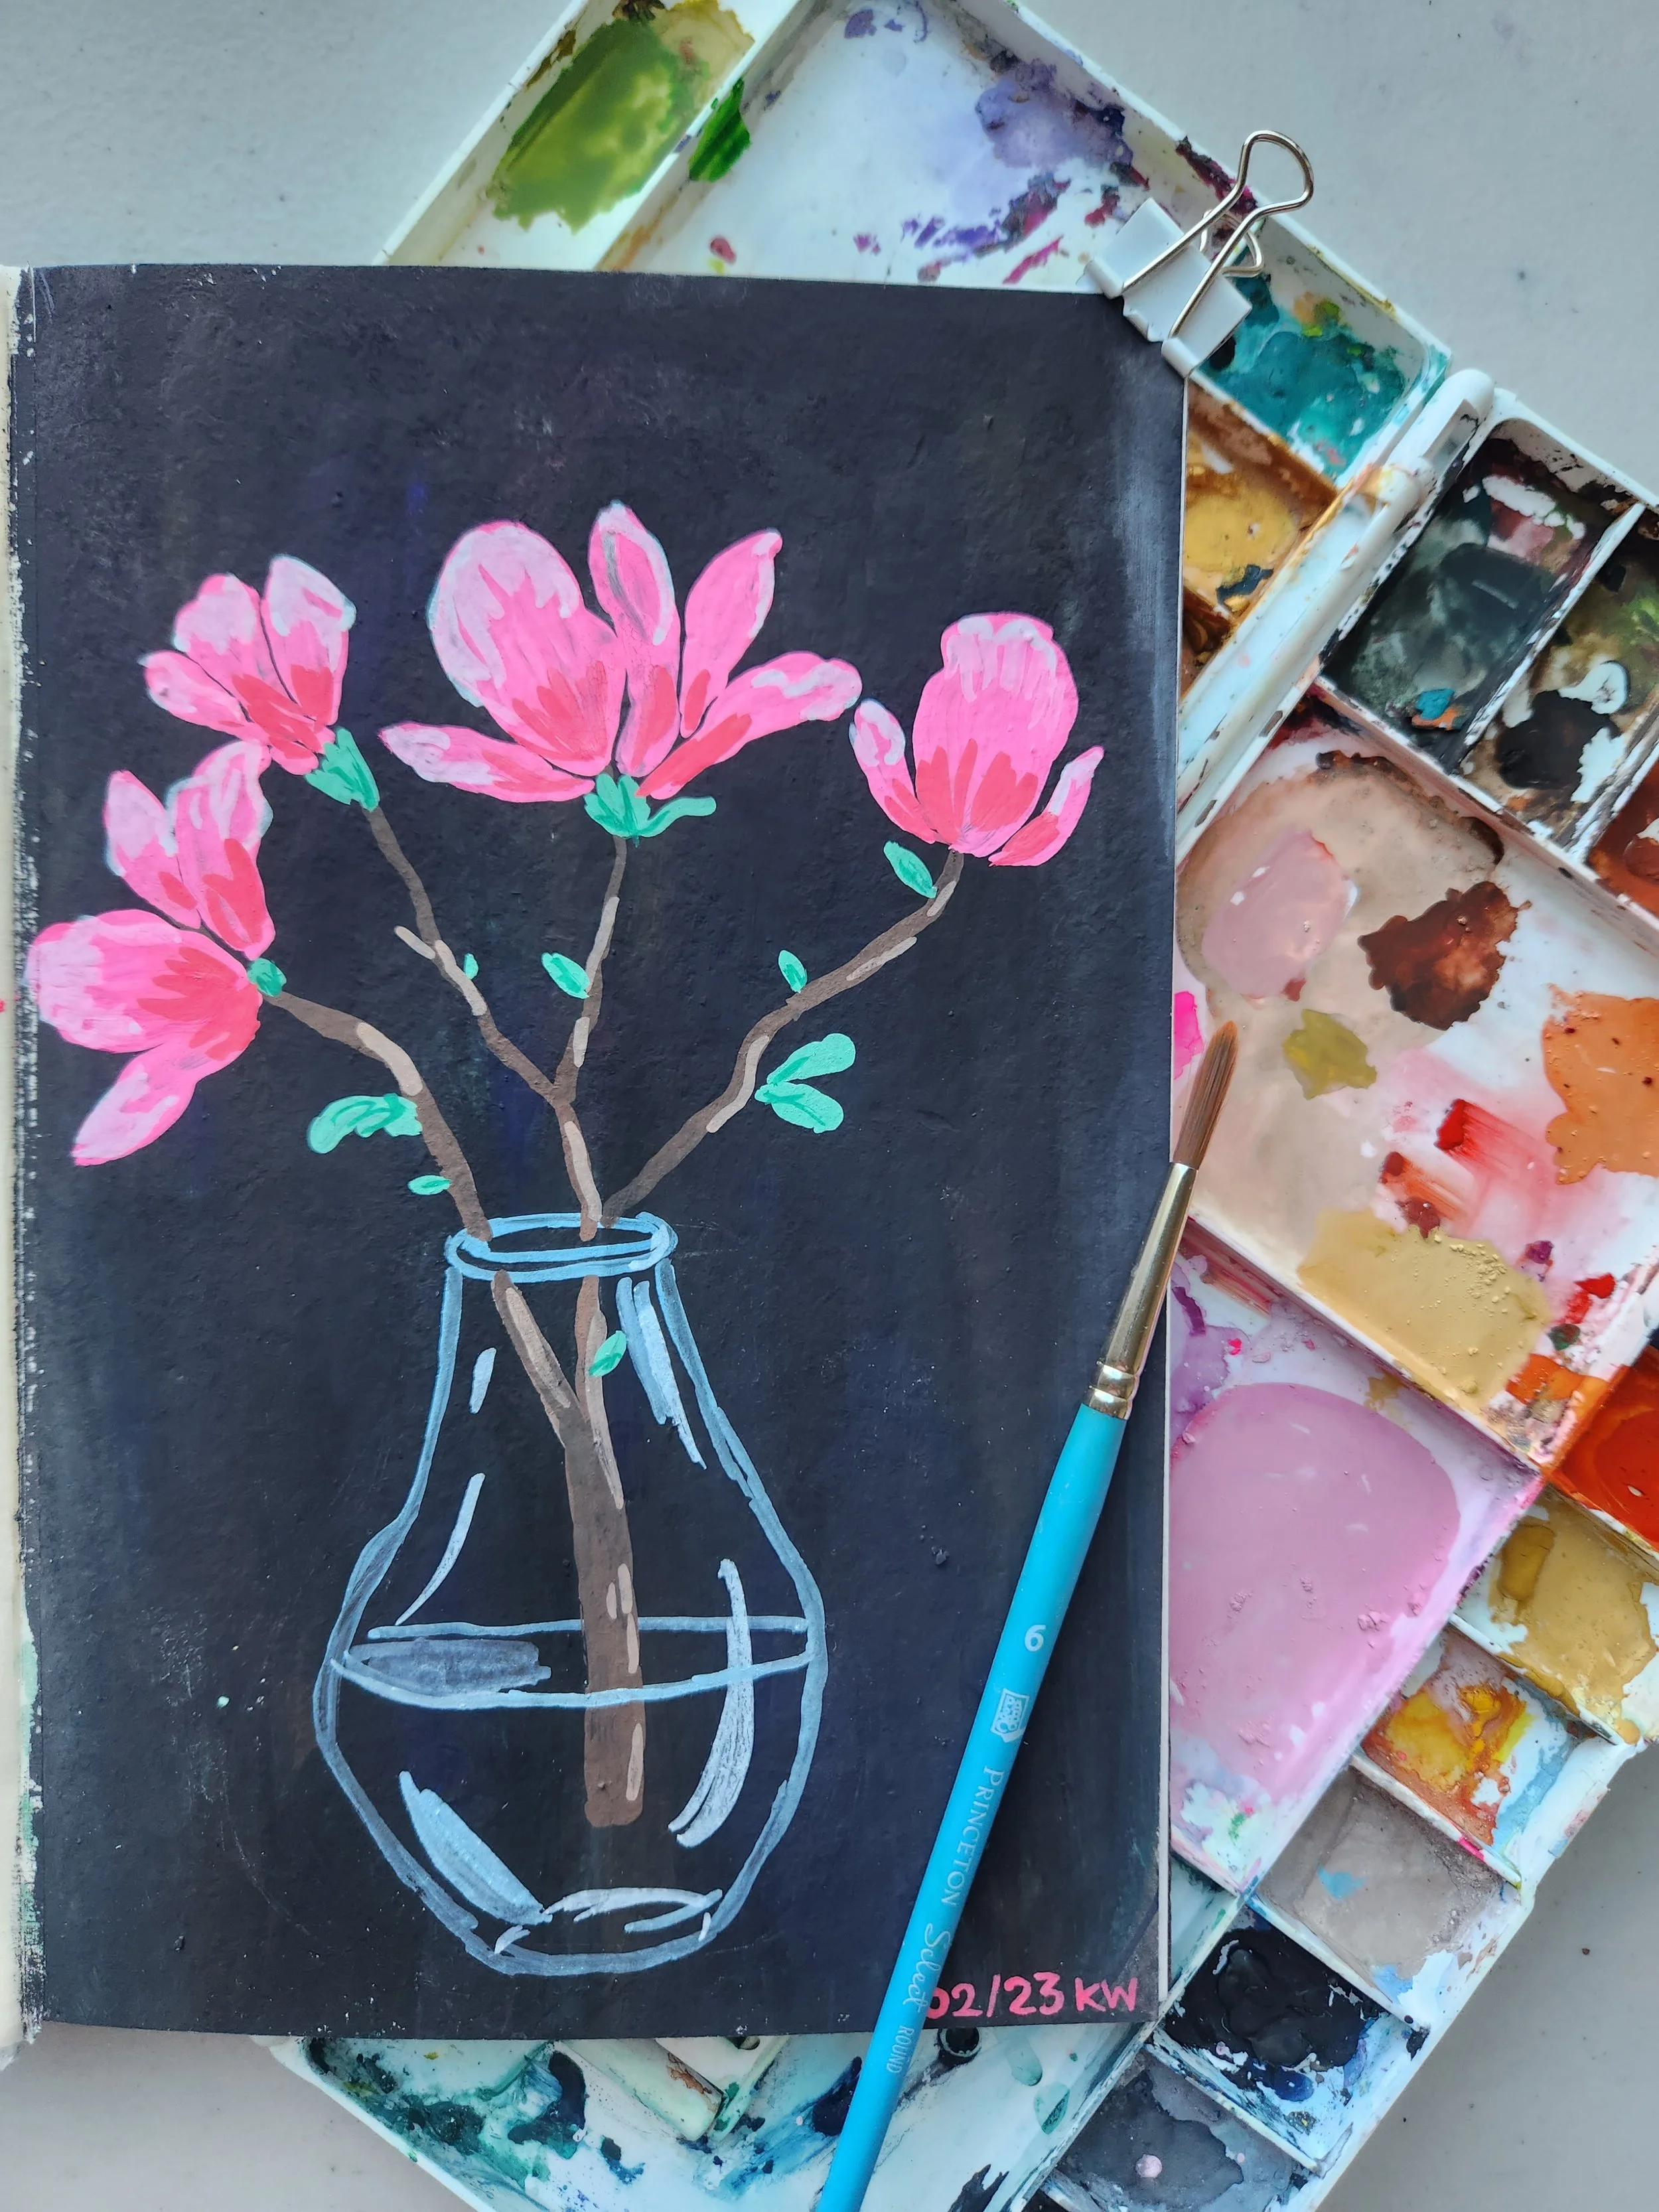
Working with gouache allows layering of colors
One of my all time favorite subjects to paint is flowers in vases, and one of my favorite mediums to paint this subject is in water-soluble gouache. If you haven’t used gouache before don’t worry! It is very similar to watercolor. But unlike watercolor, gouache is much more opaque allowing you to layer light colors over darker colors, like I have in the example to the left with the light pink flowers in the glass vase painted over a black gouache background.
The flowers in vase motif is a very common subject within the art world and there is a good reason for that! It is incredibly versatile with such a wide range of options in flowers, composition, types of vase, background etc, allowing anyone to take this universal motif and make it theirs.
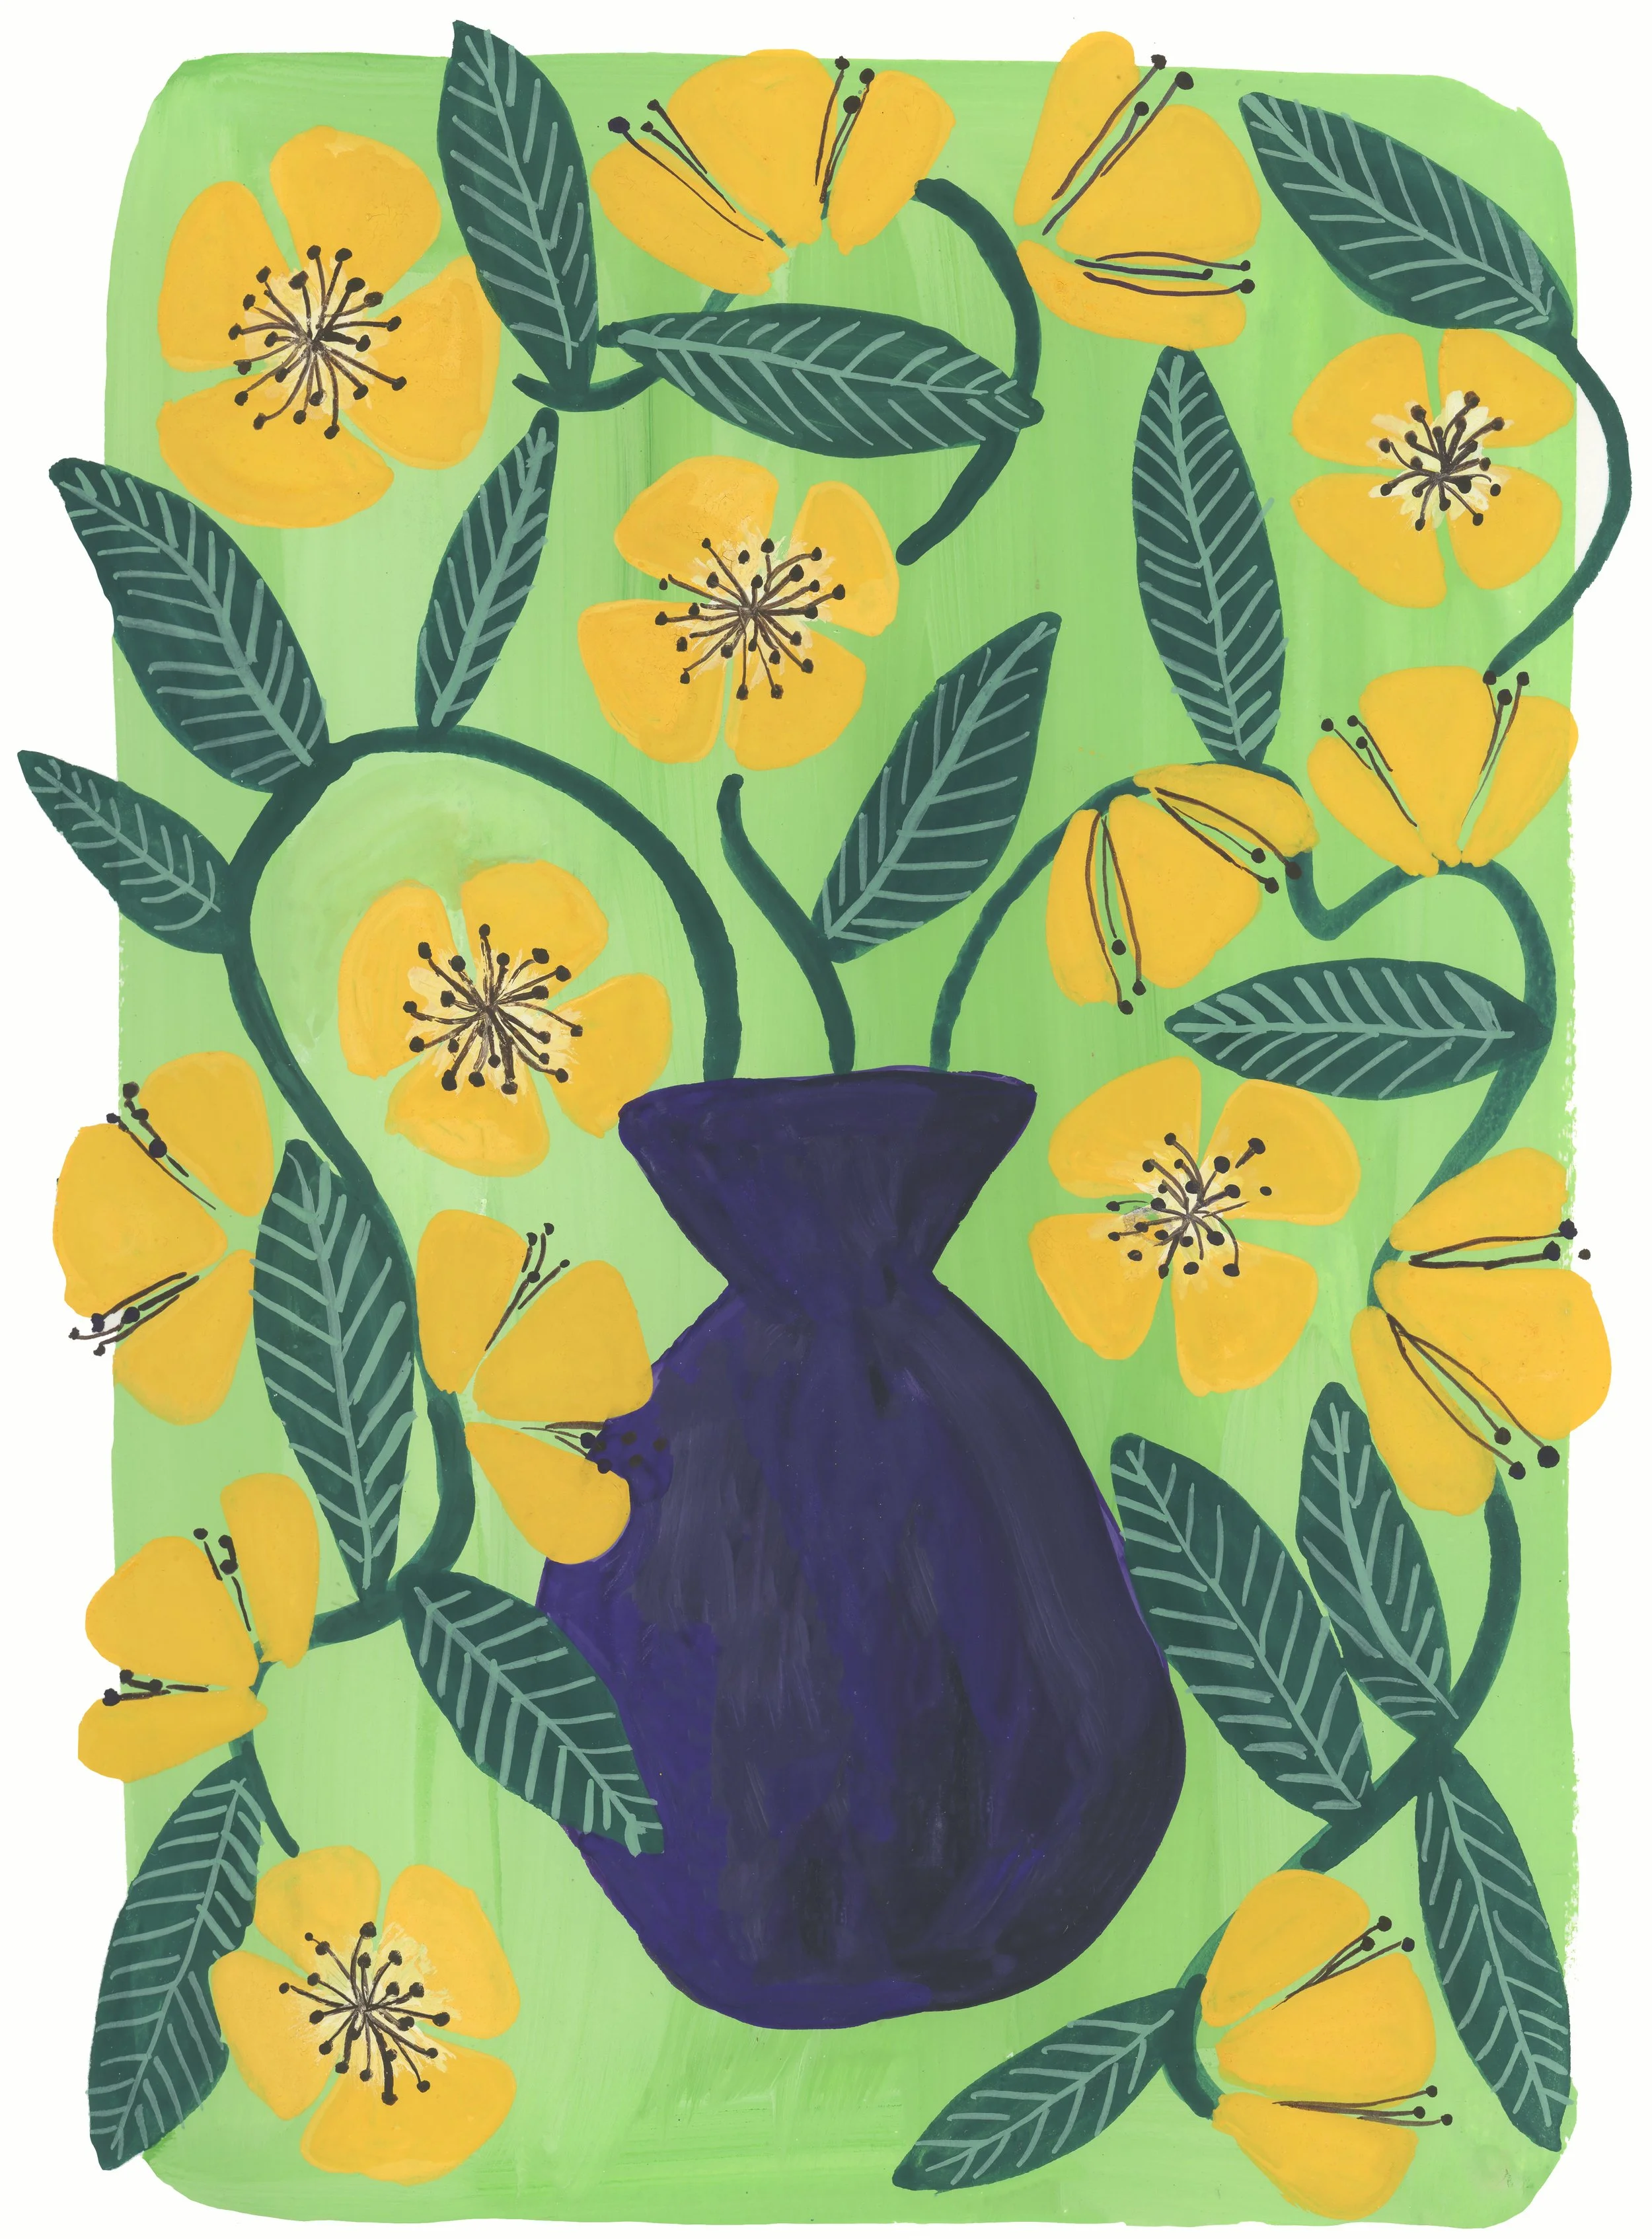
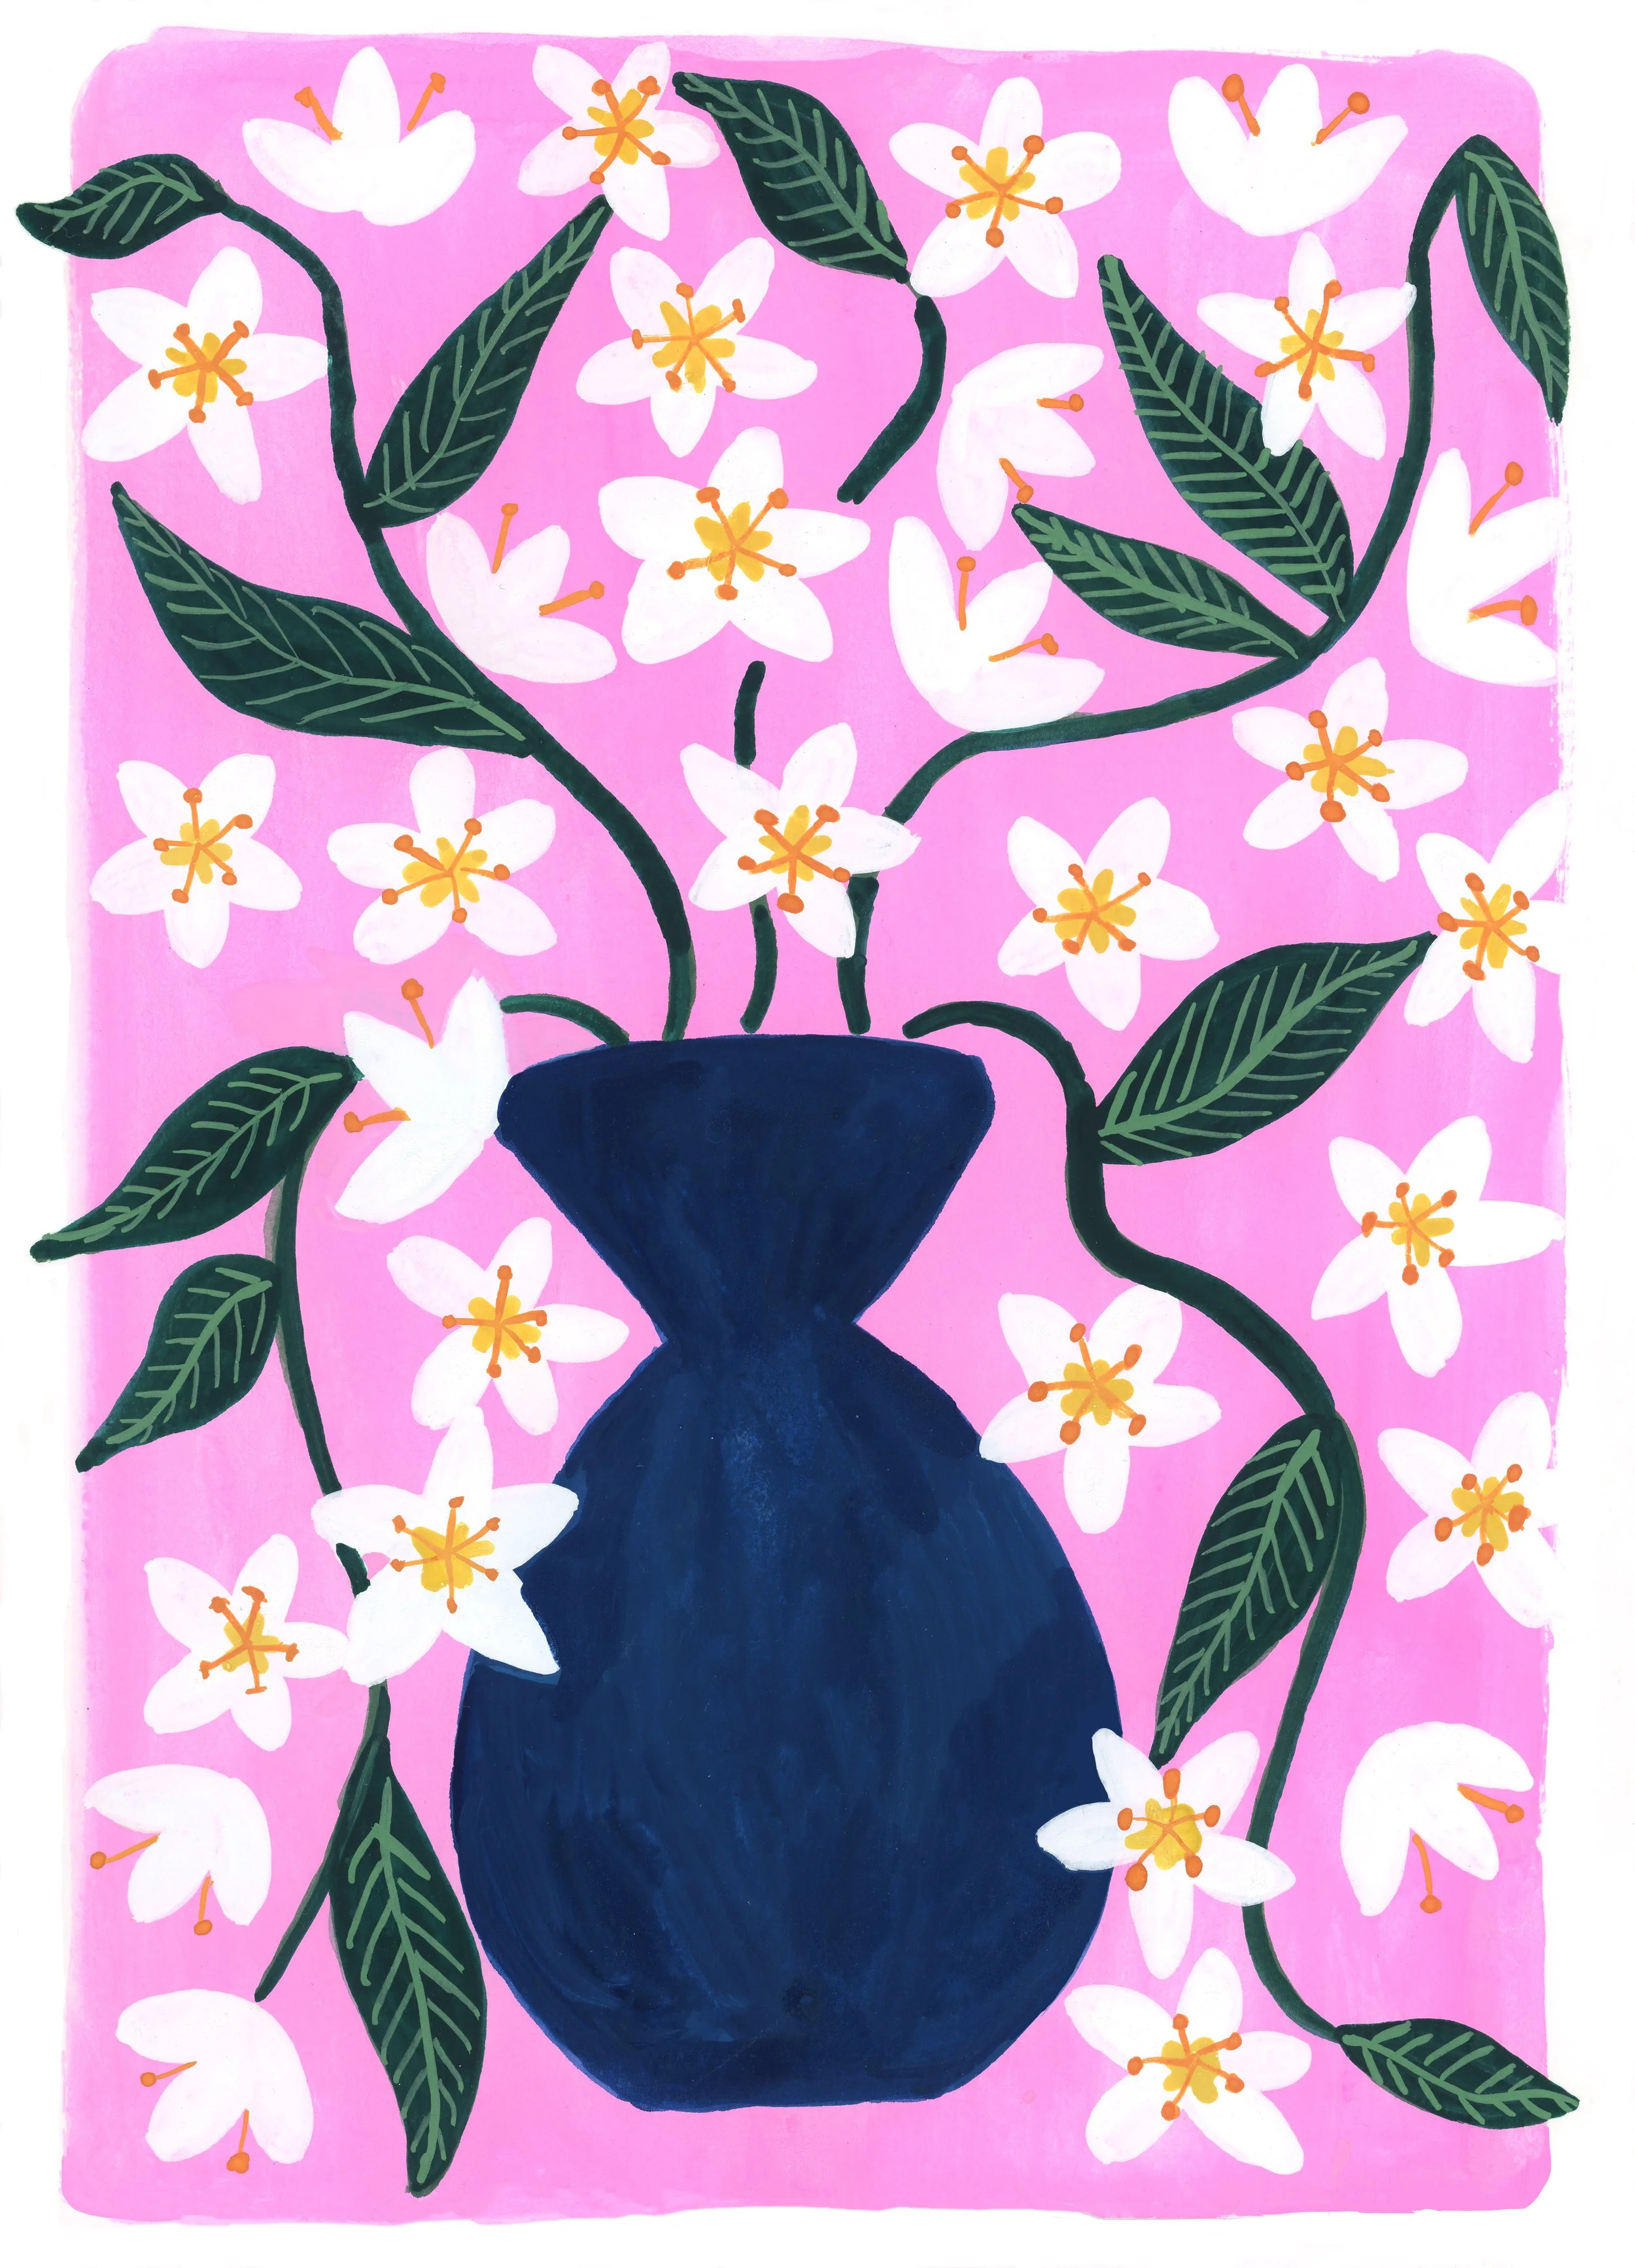
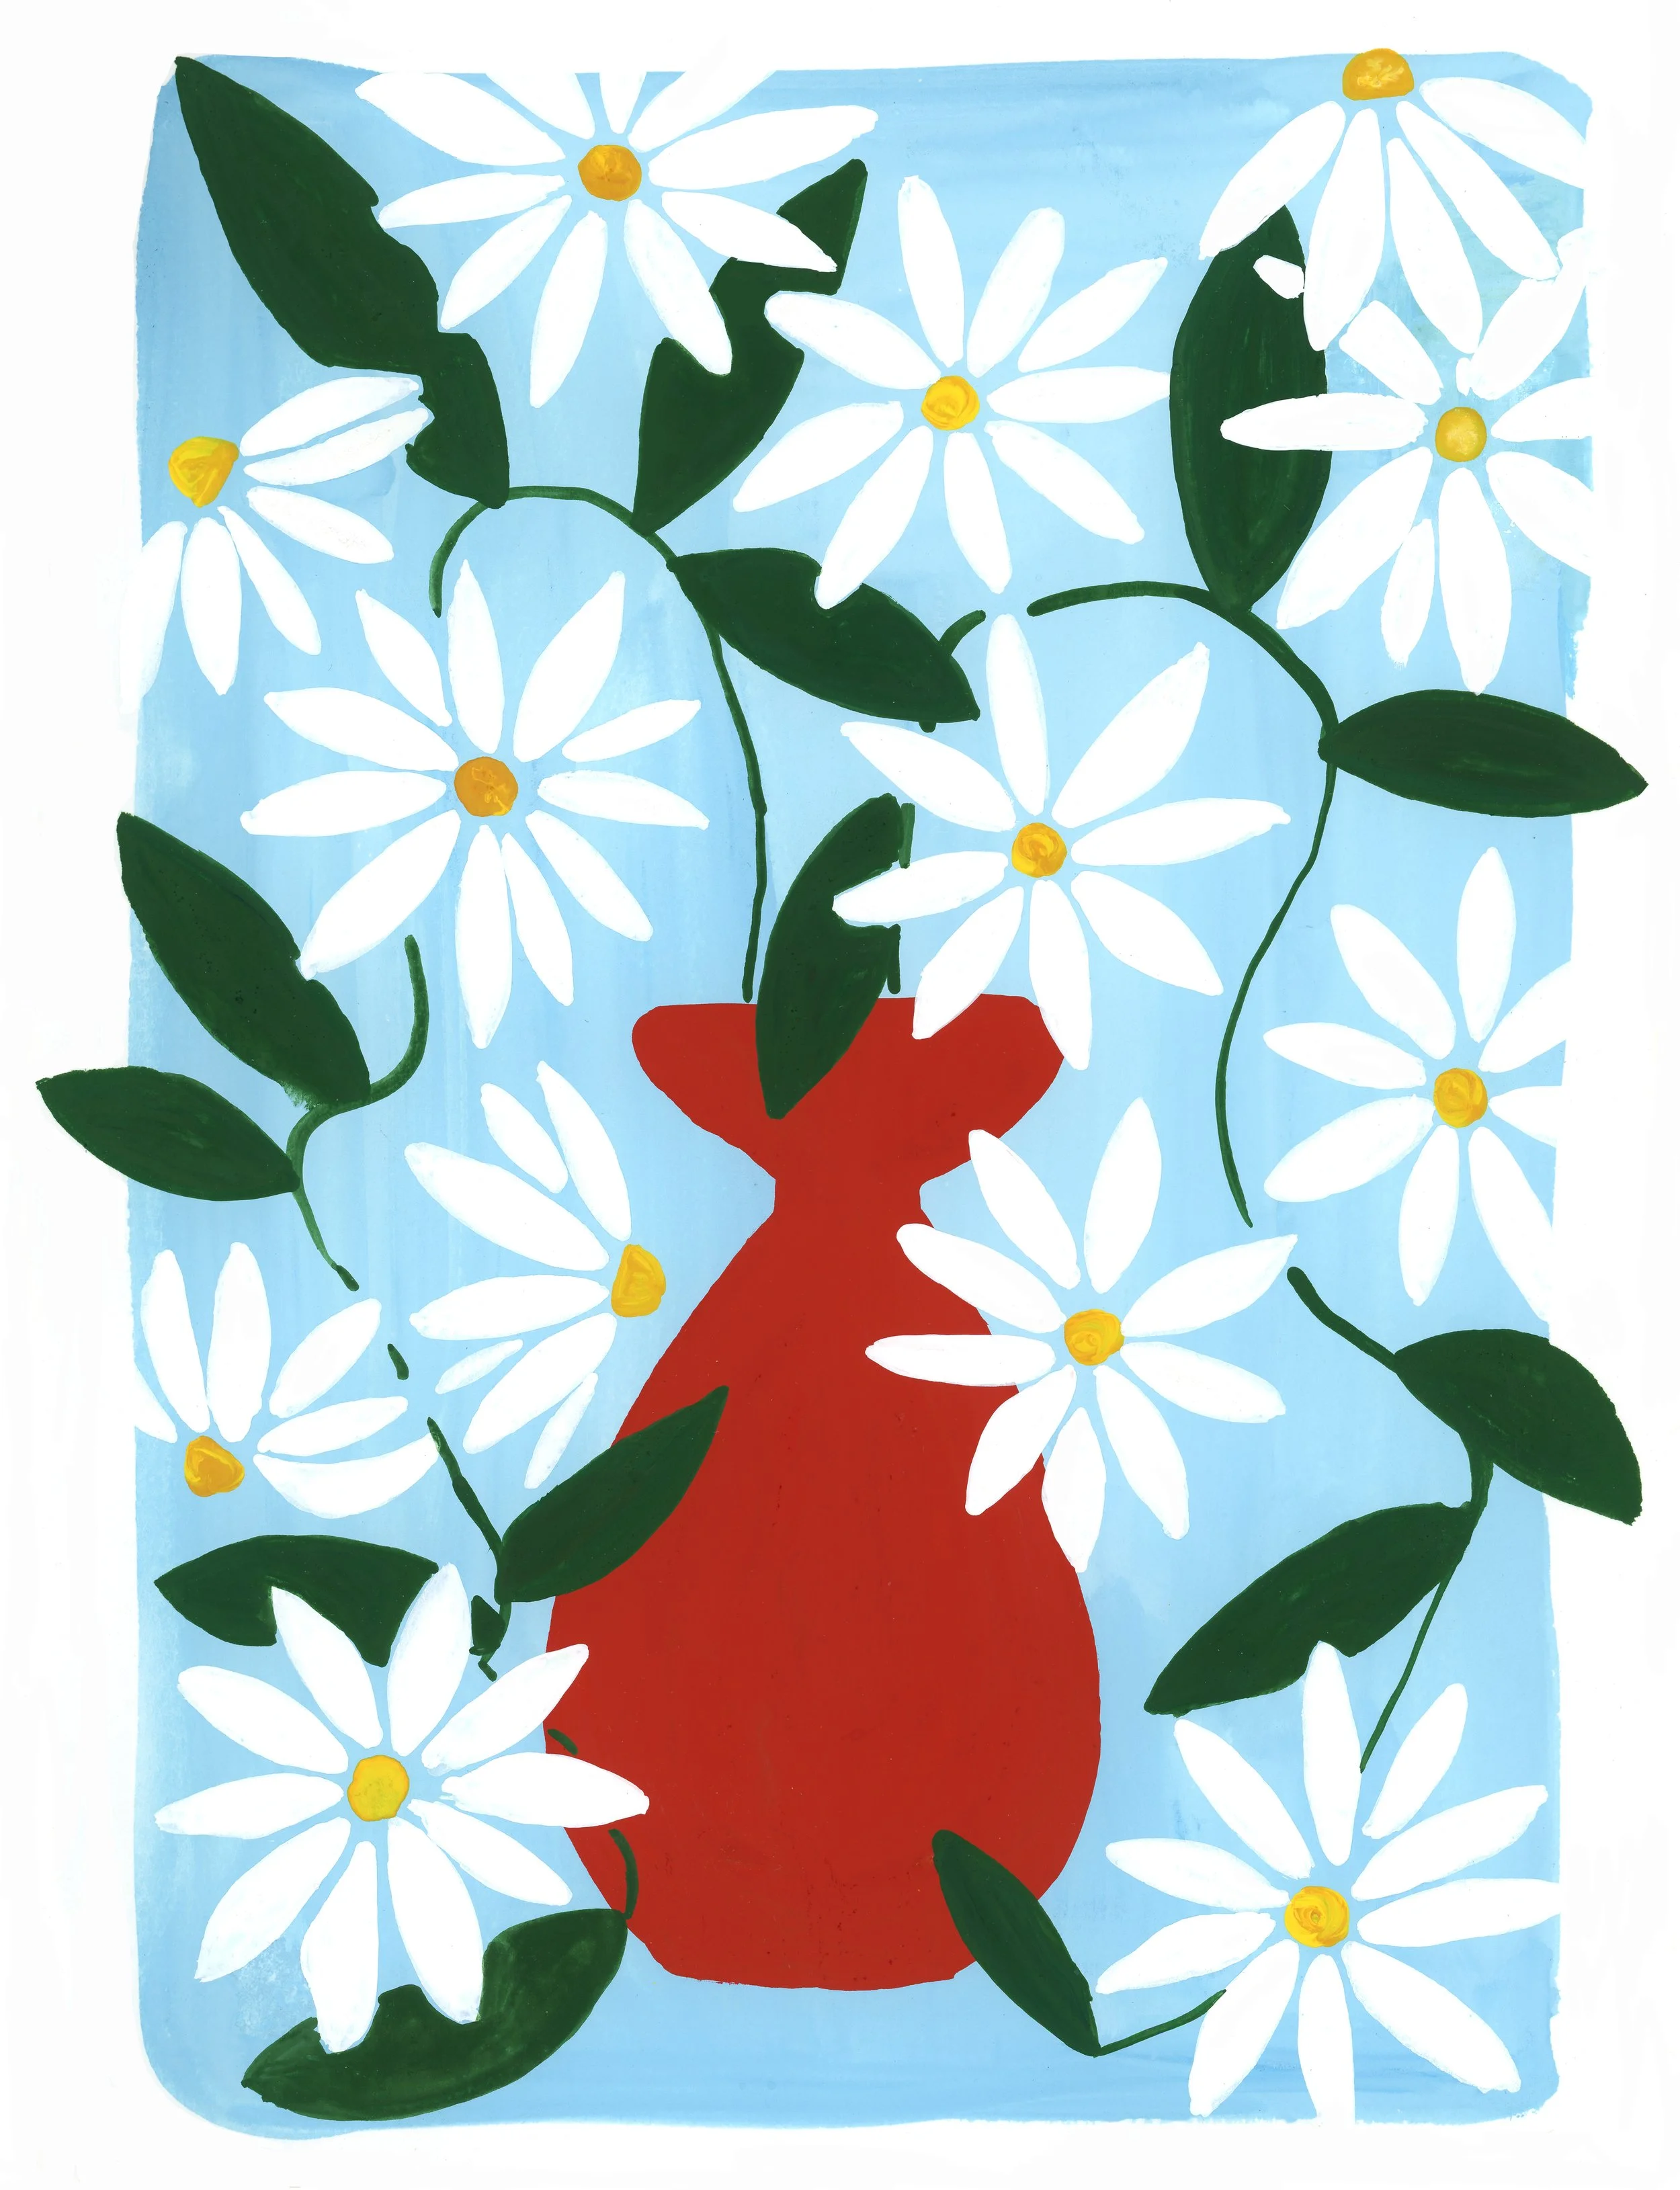
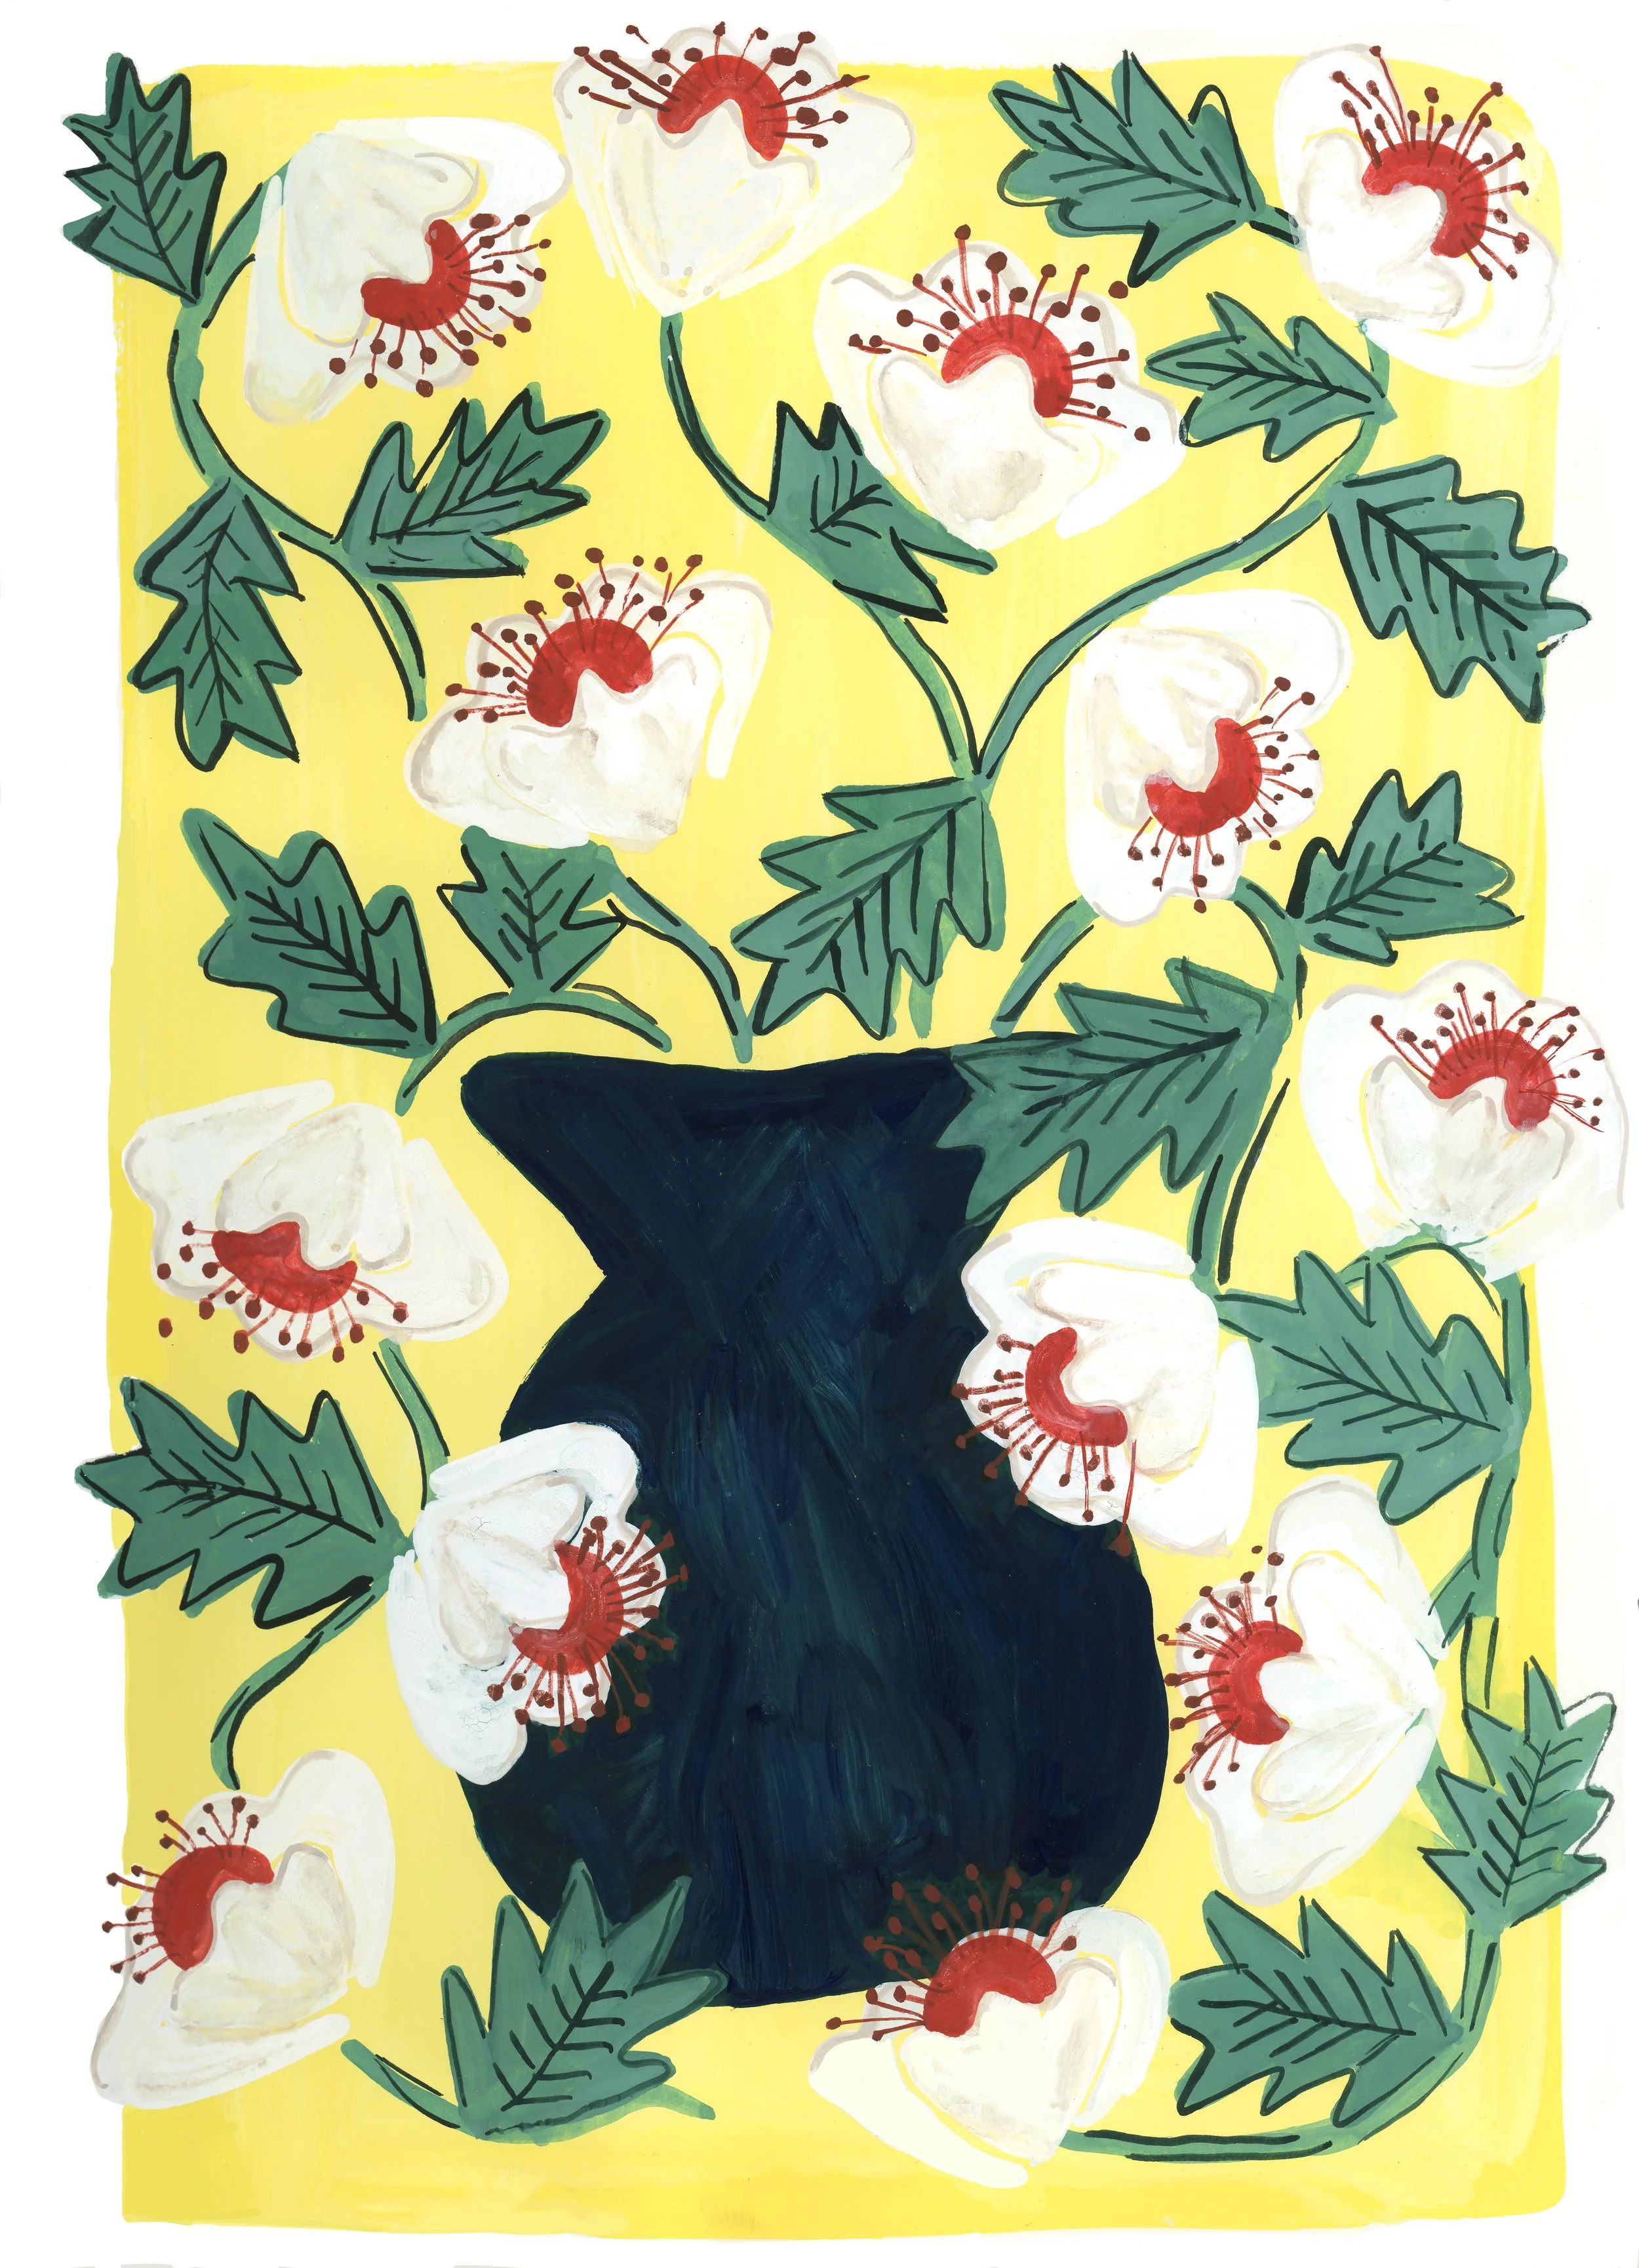
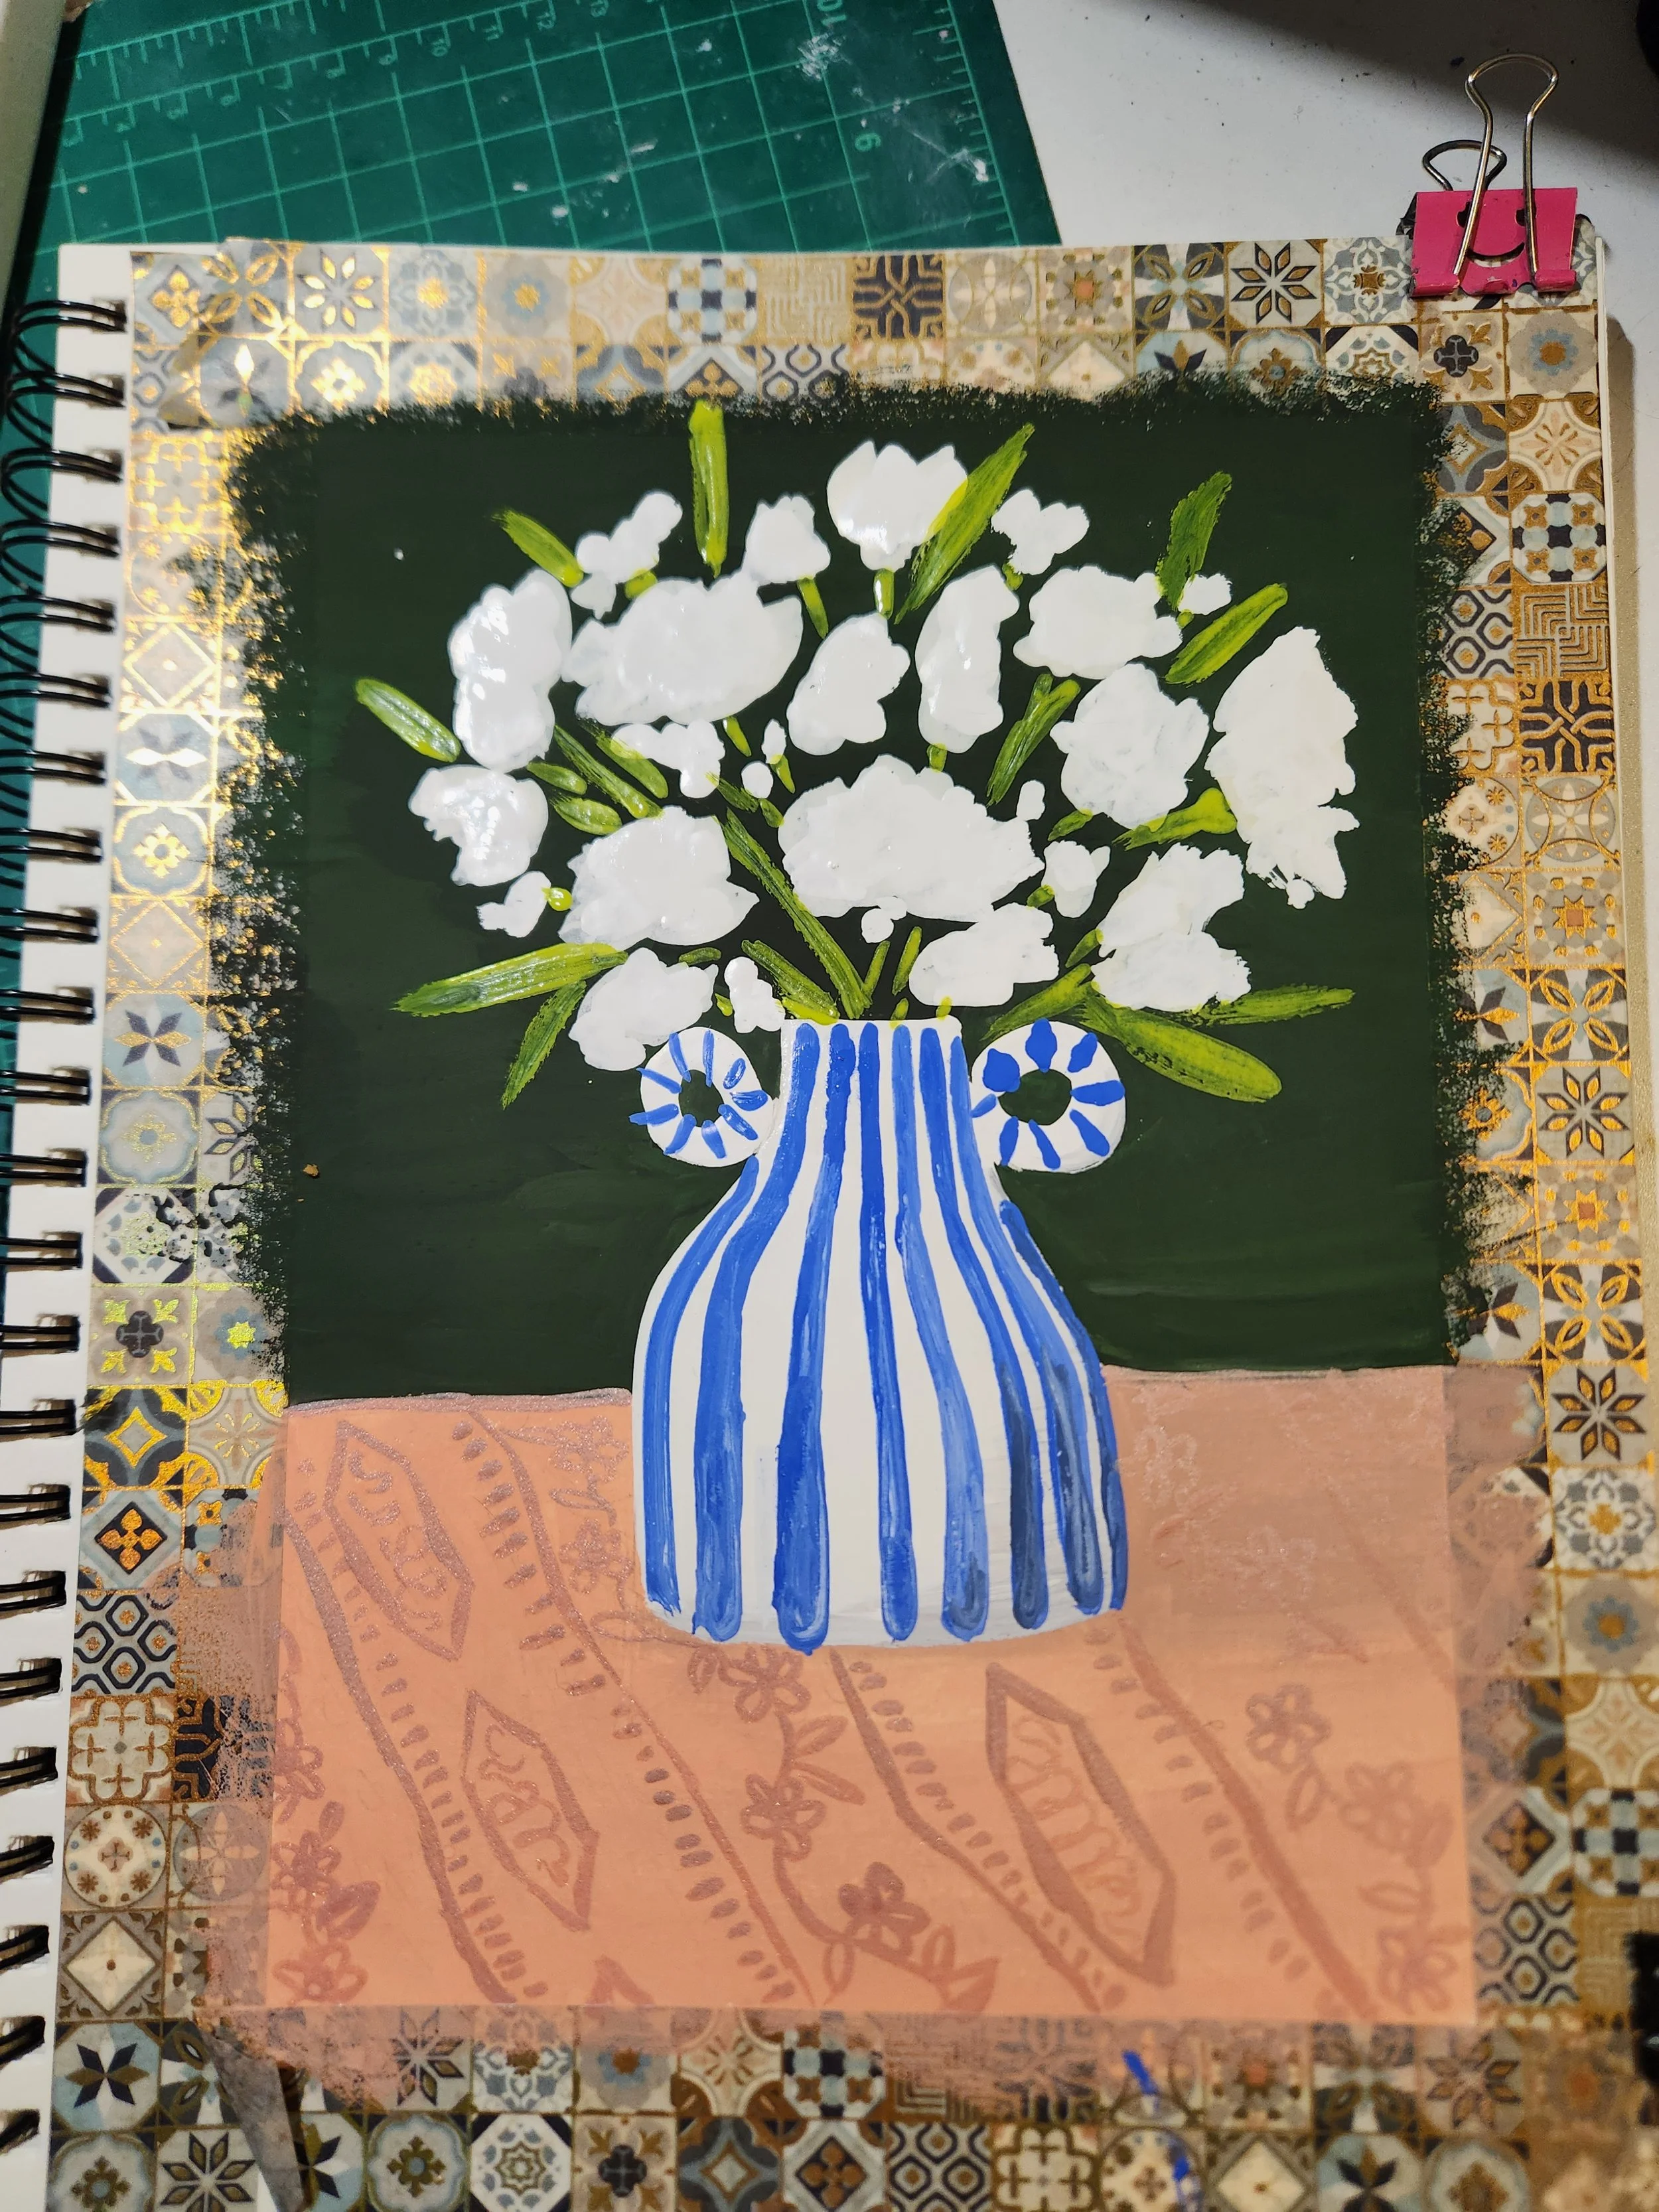
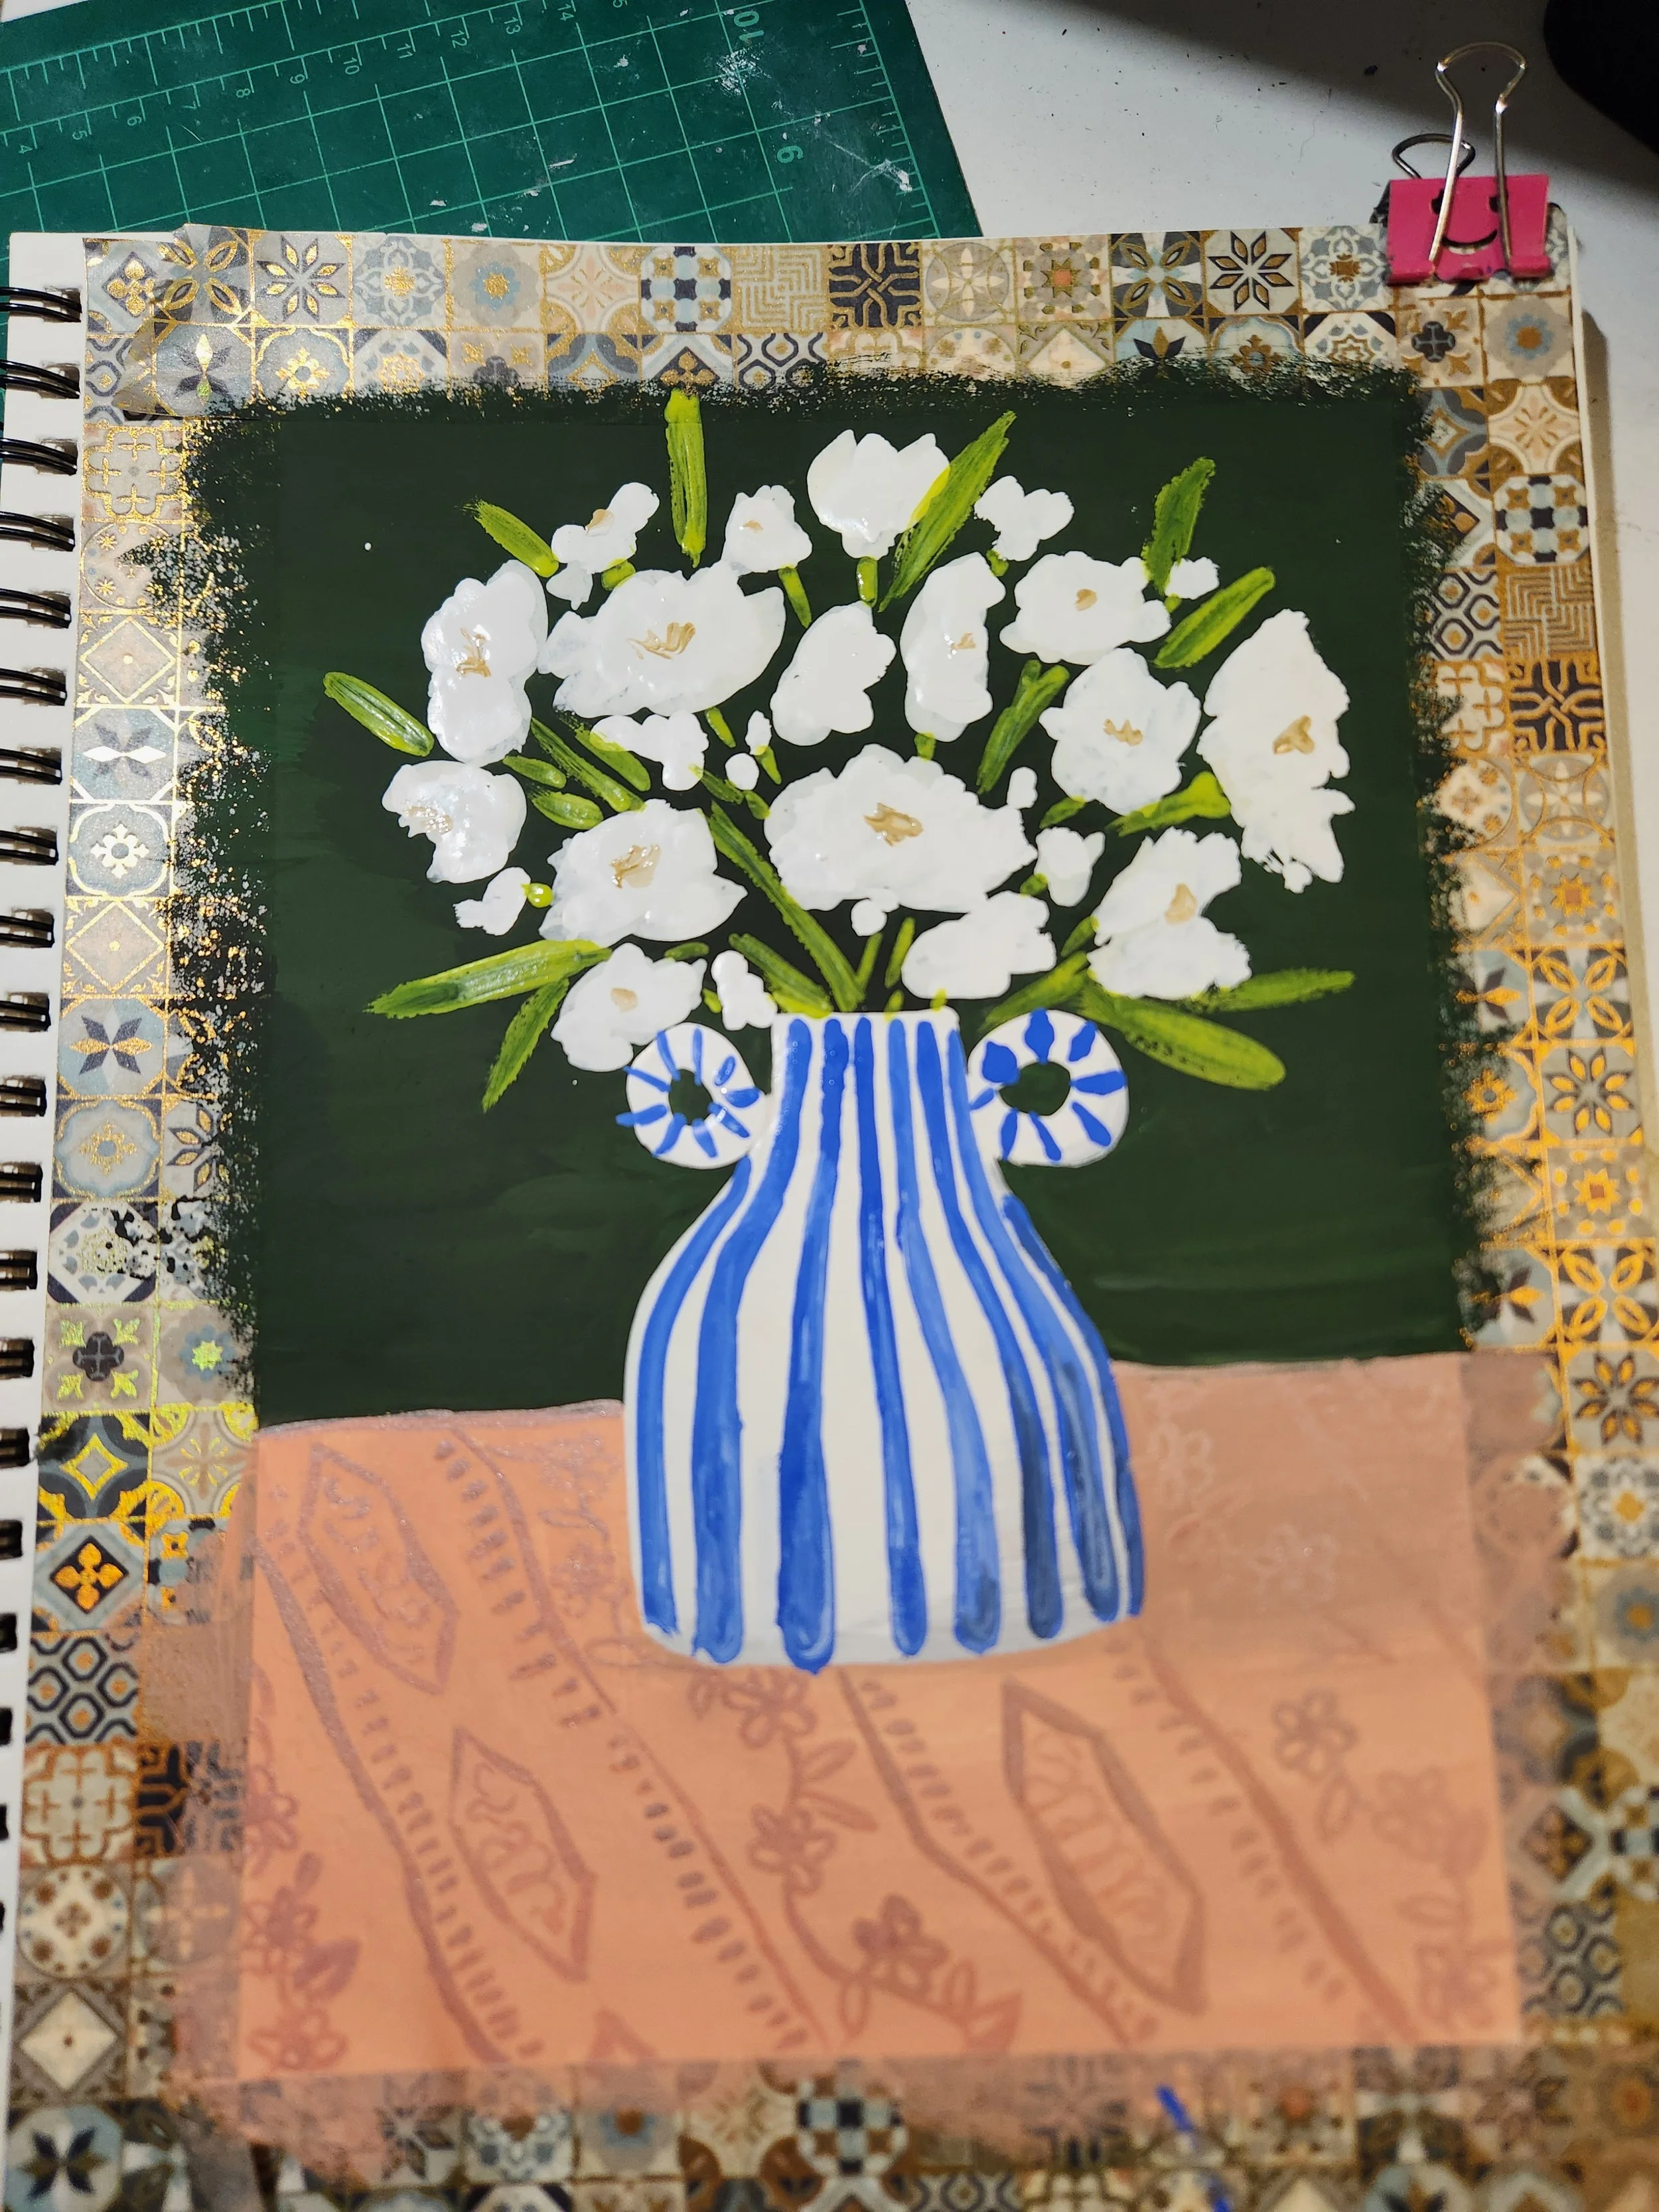
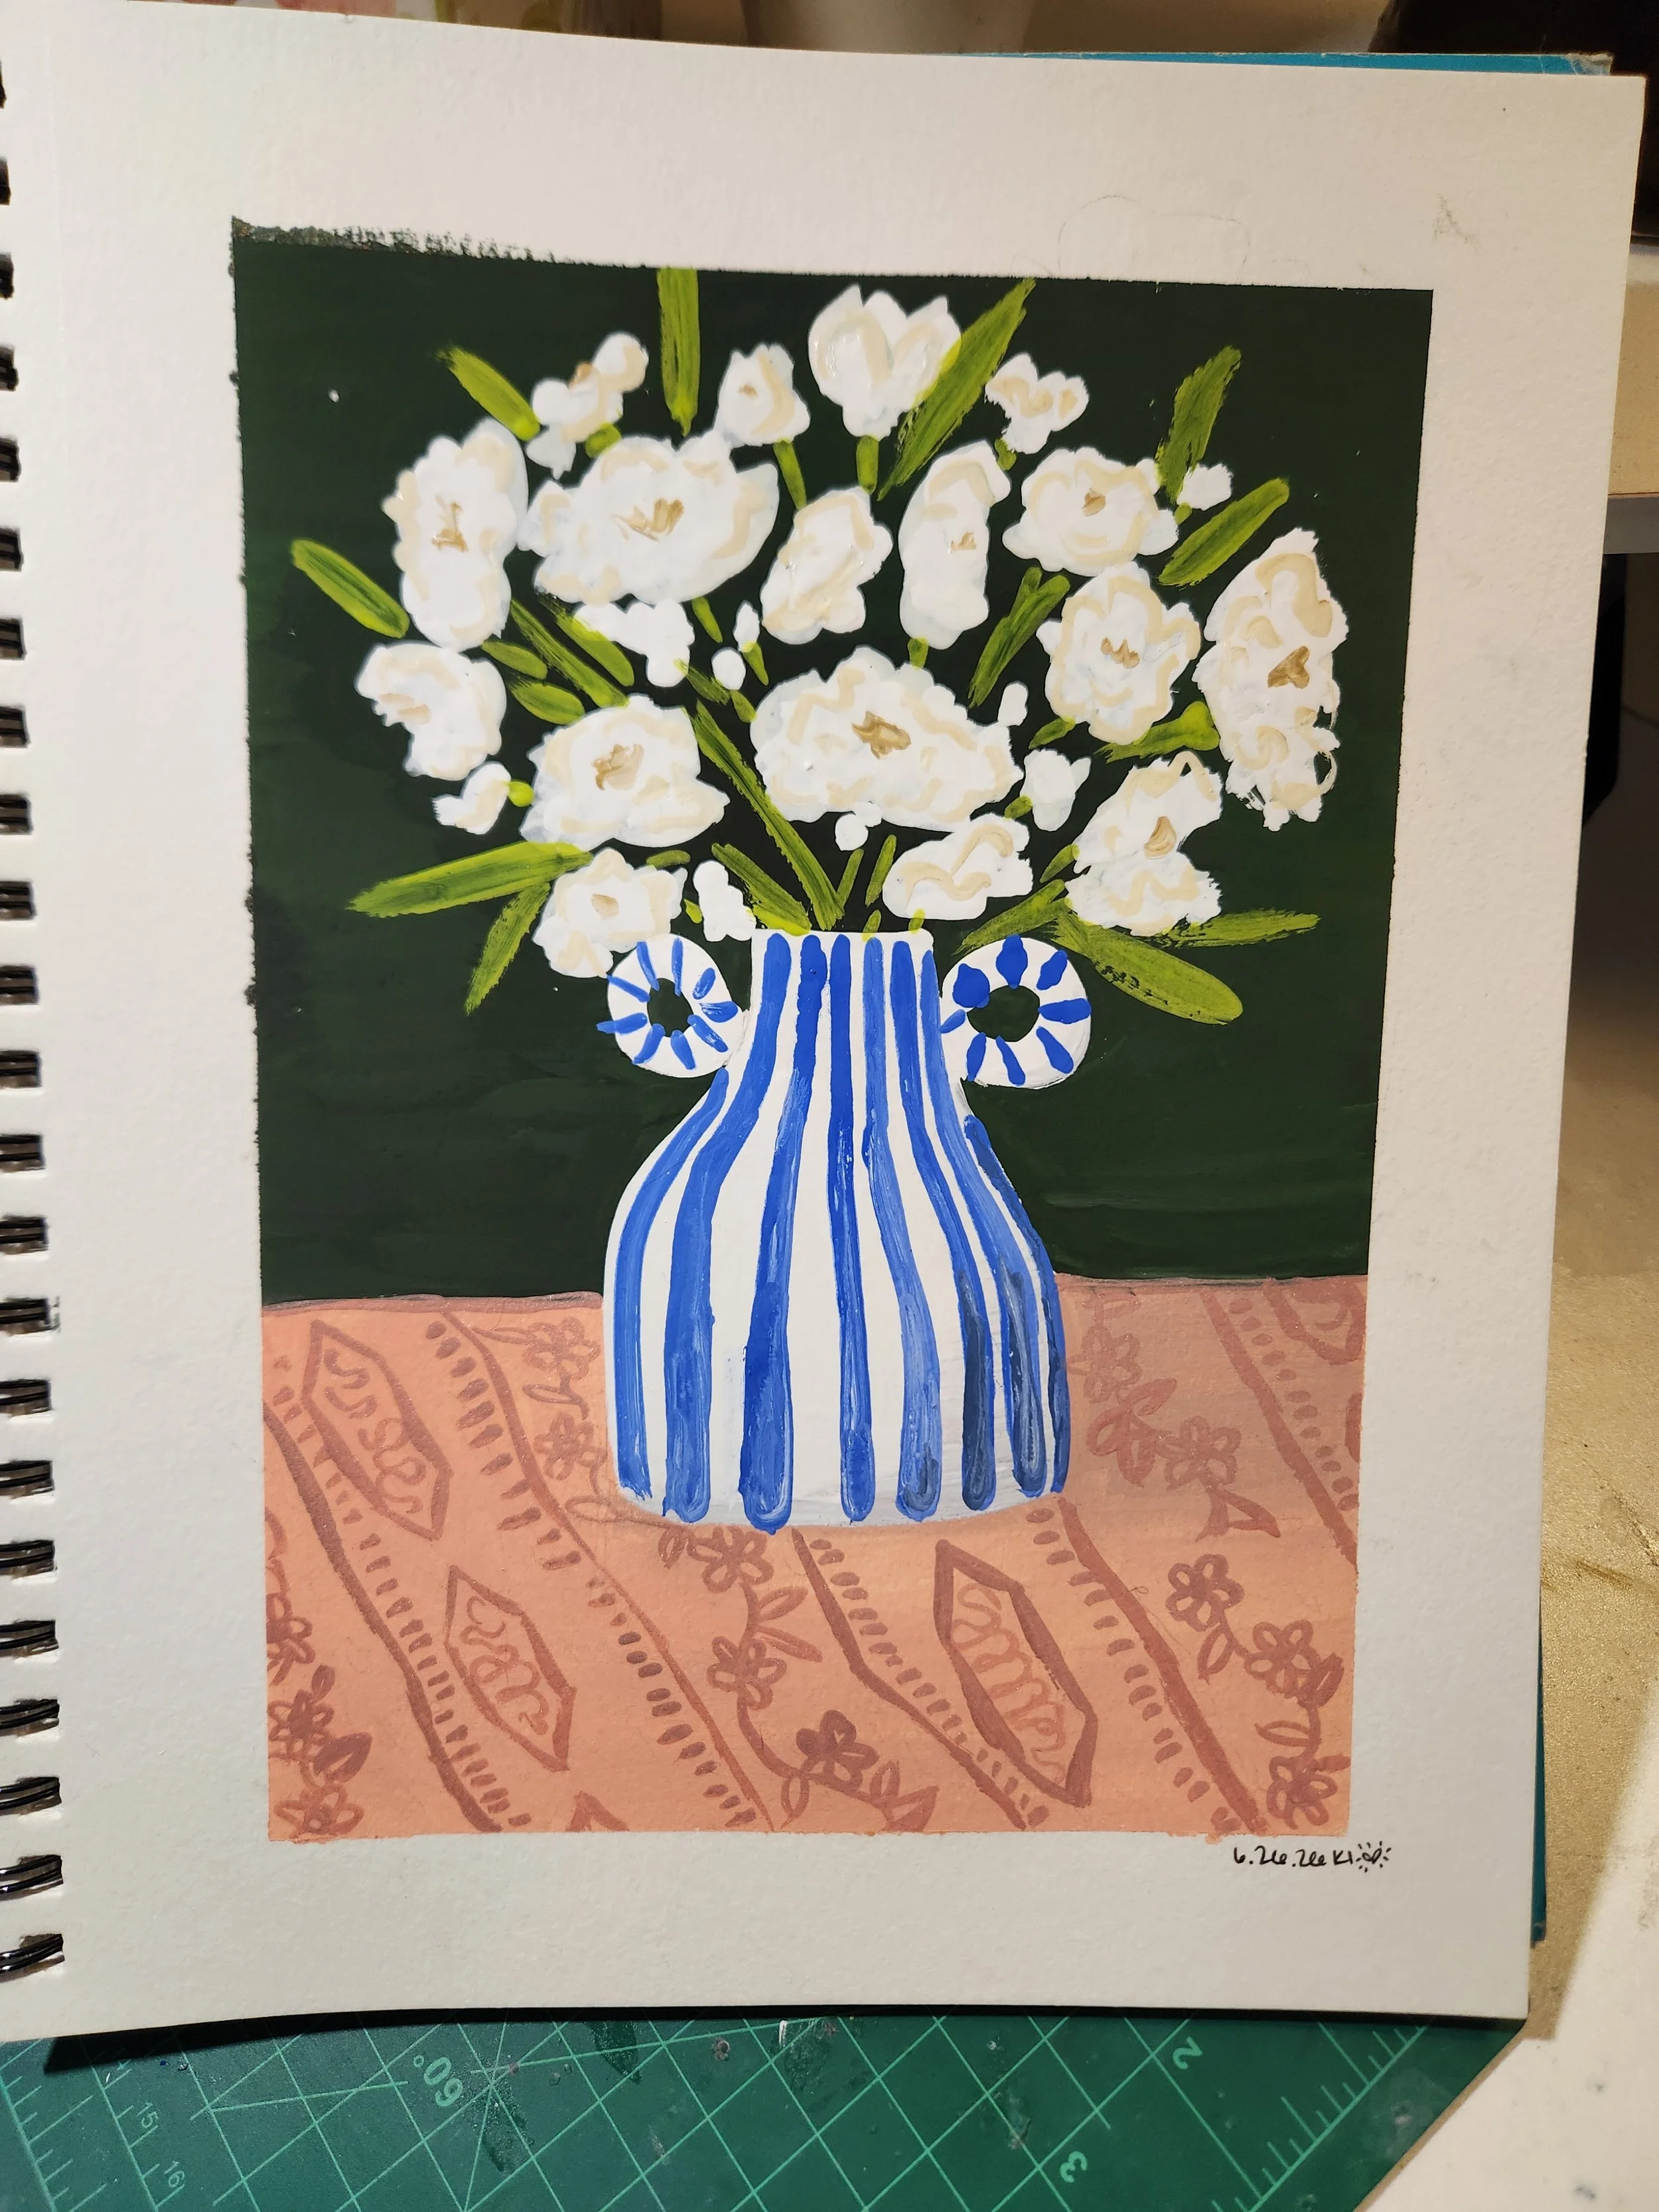
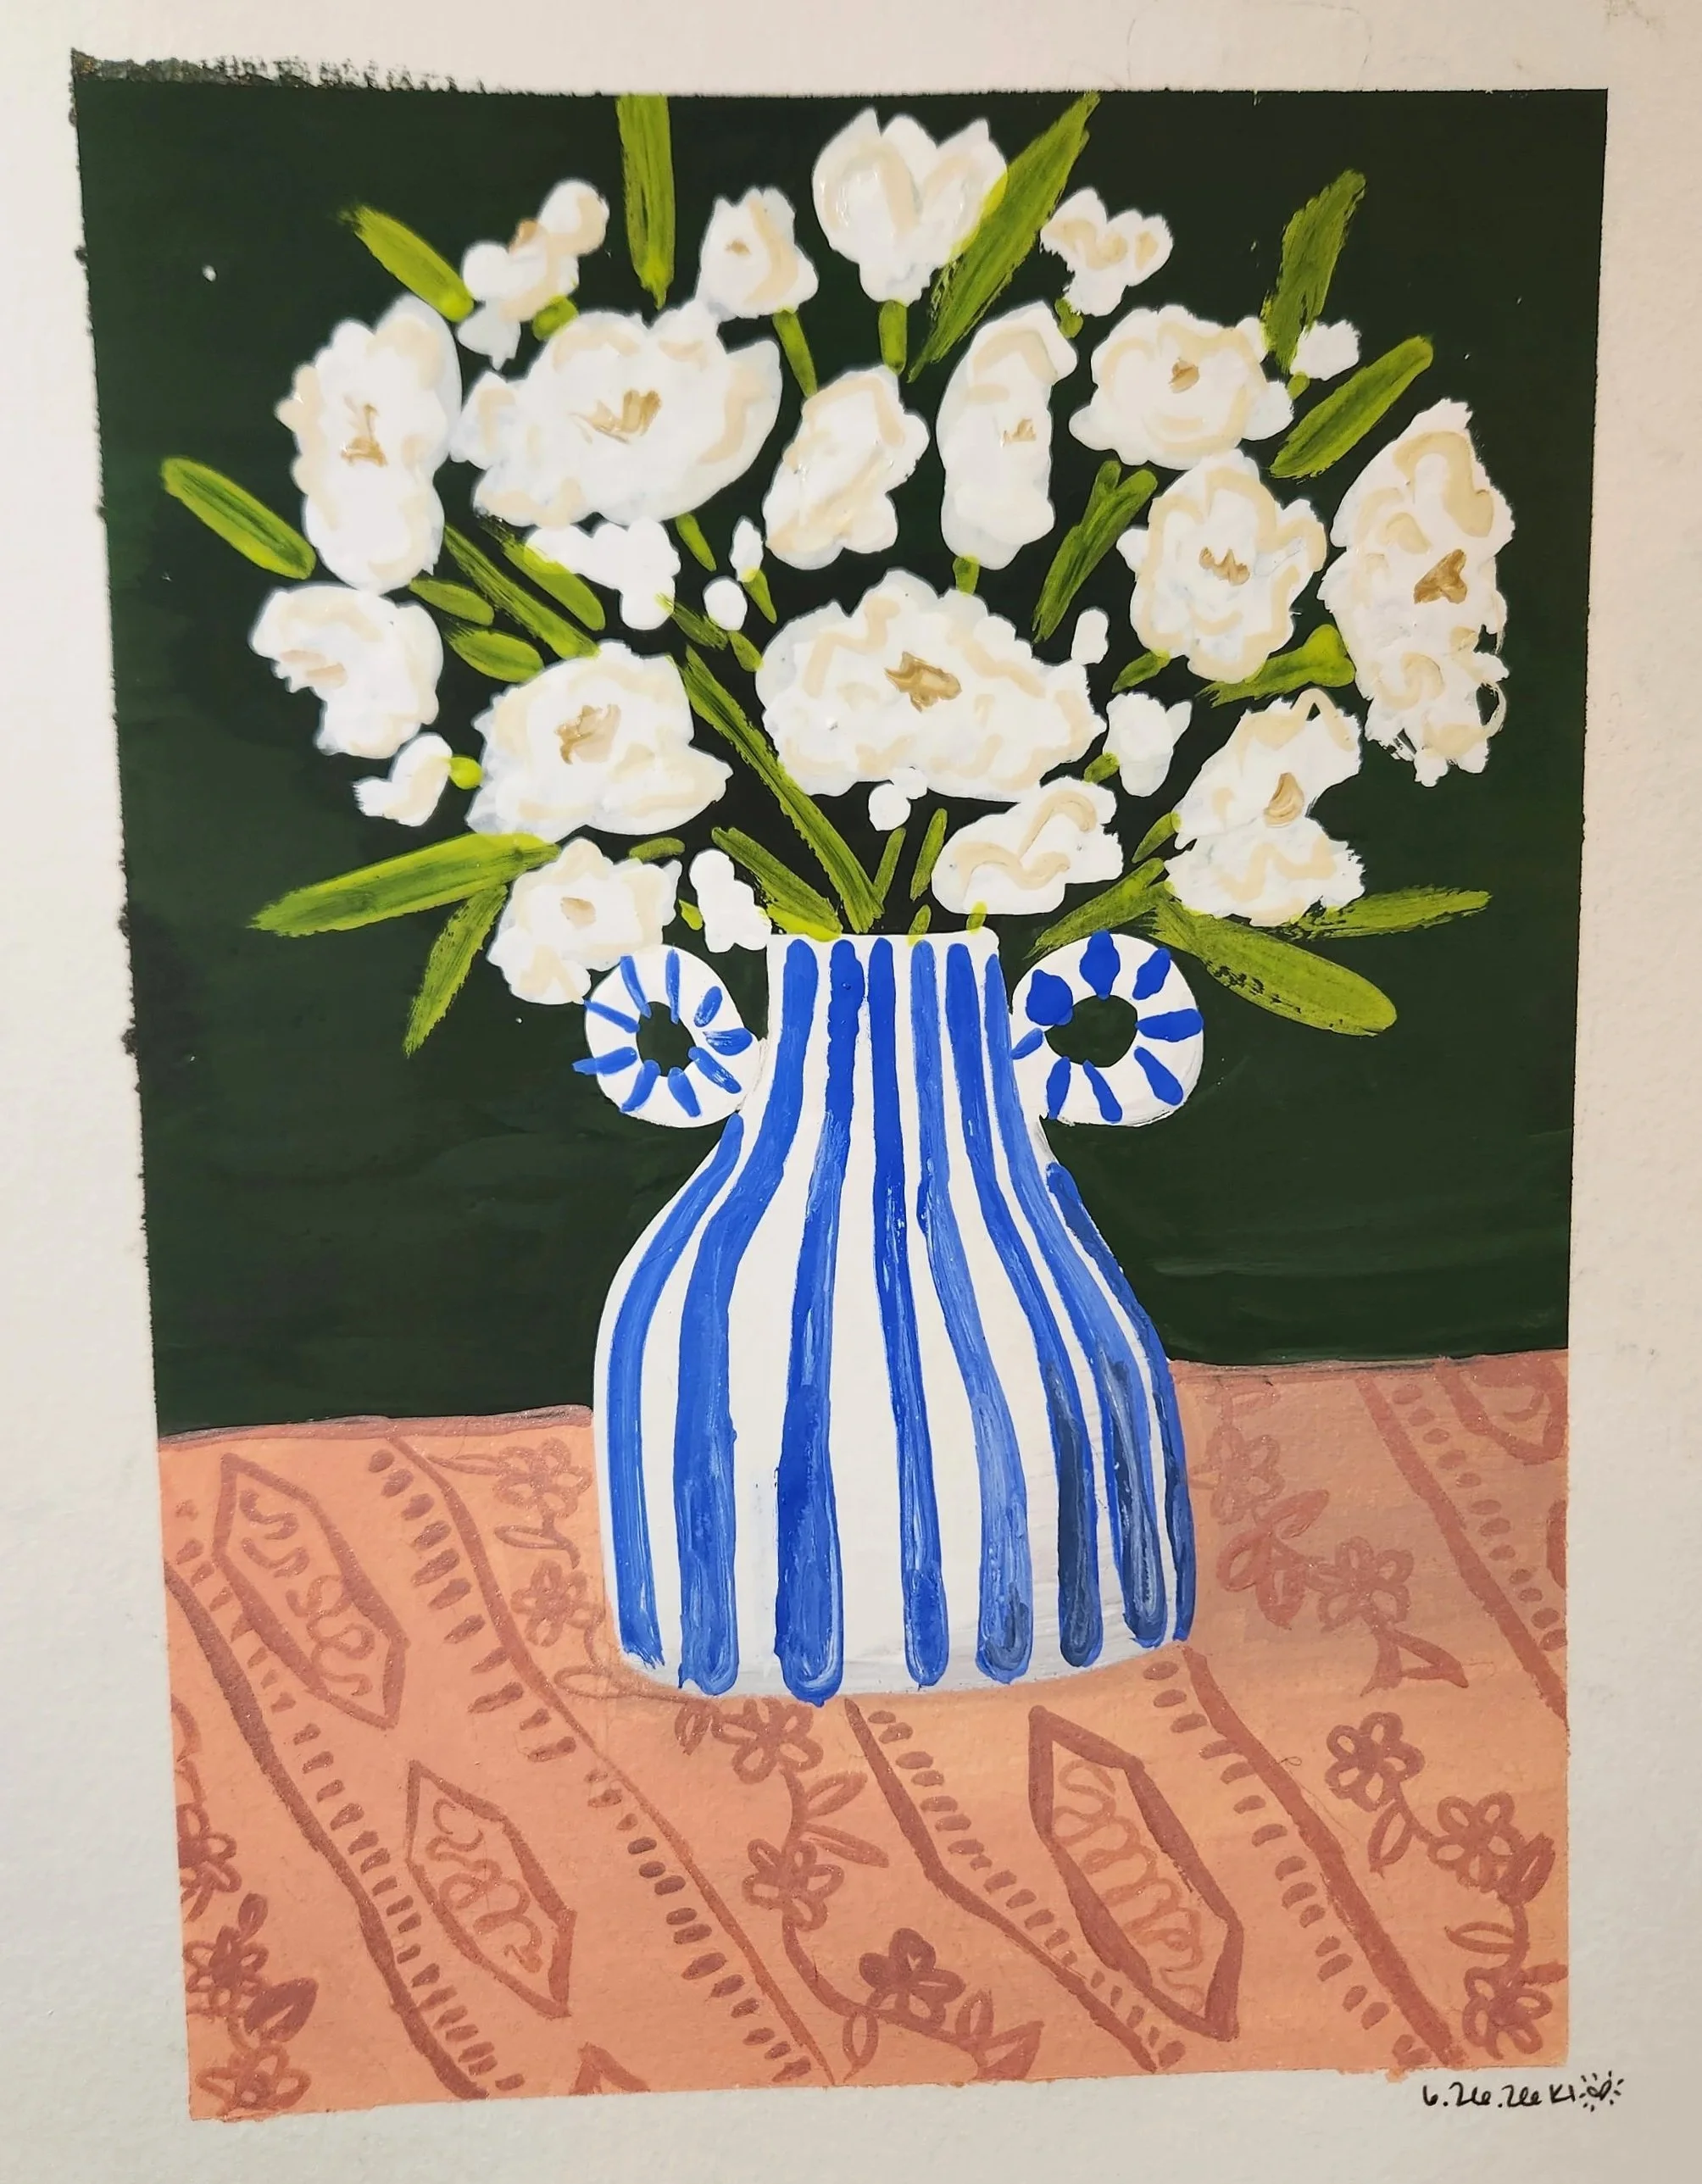
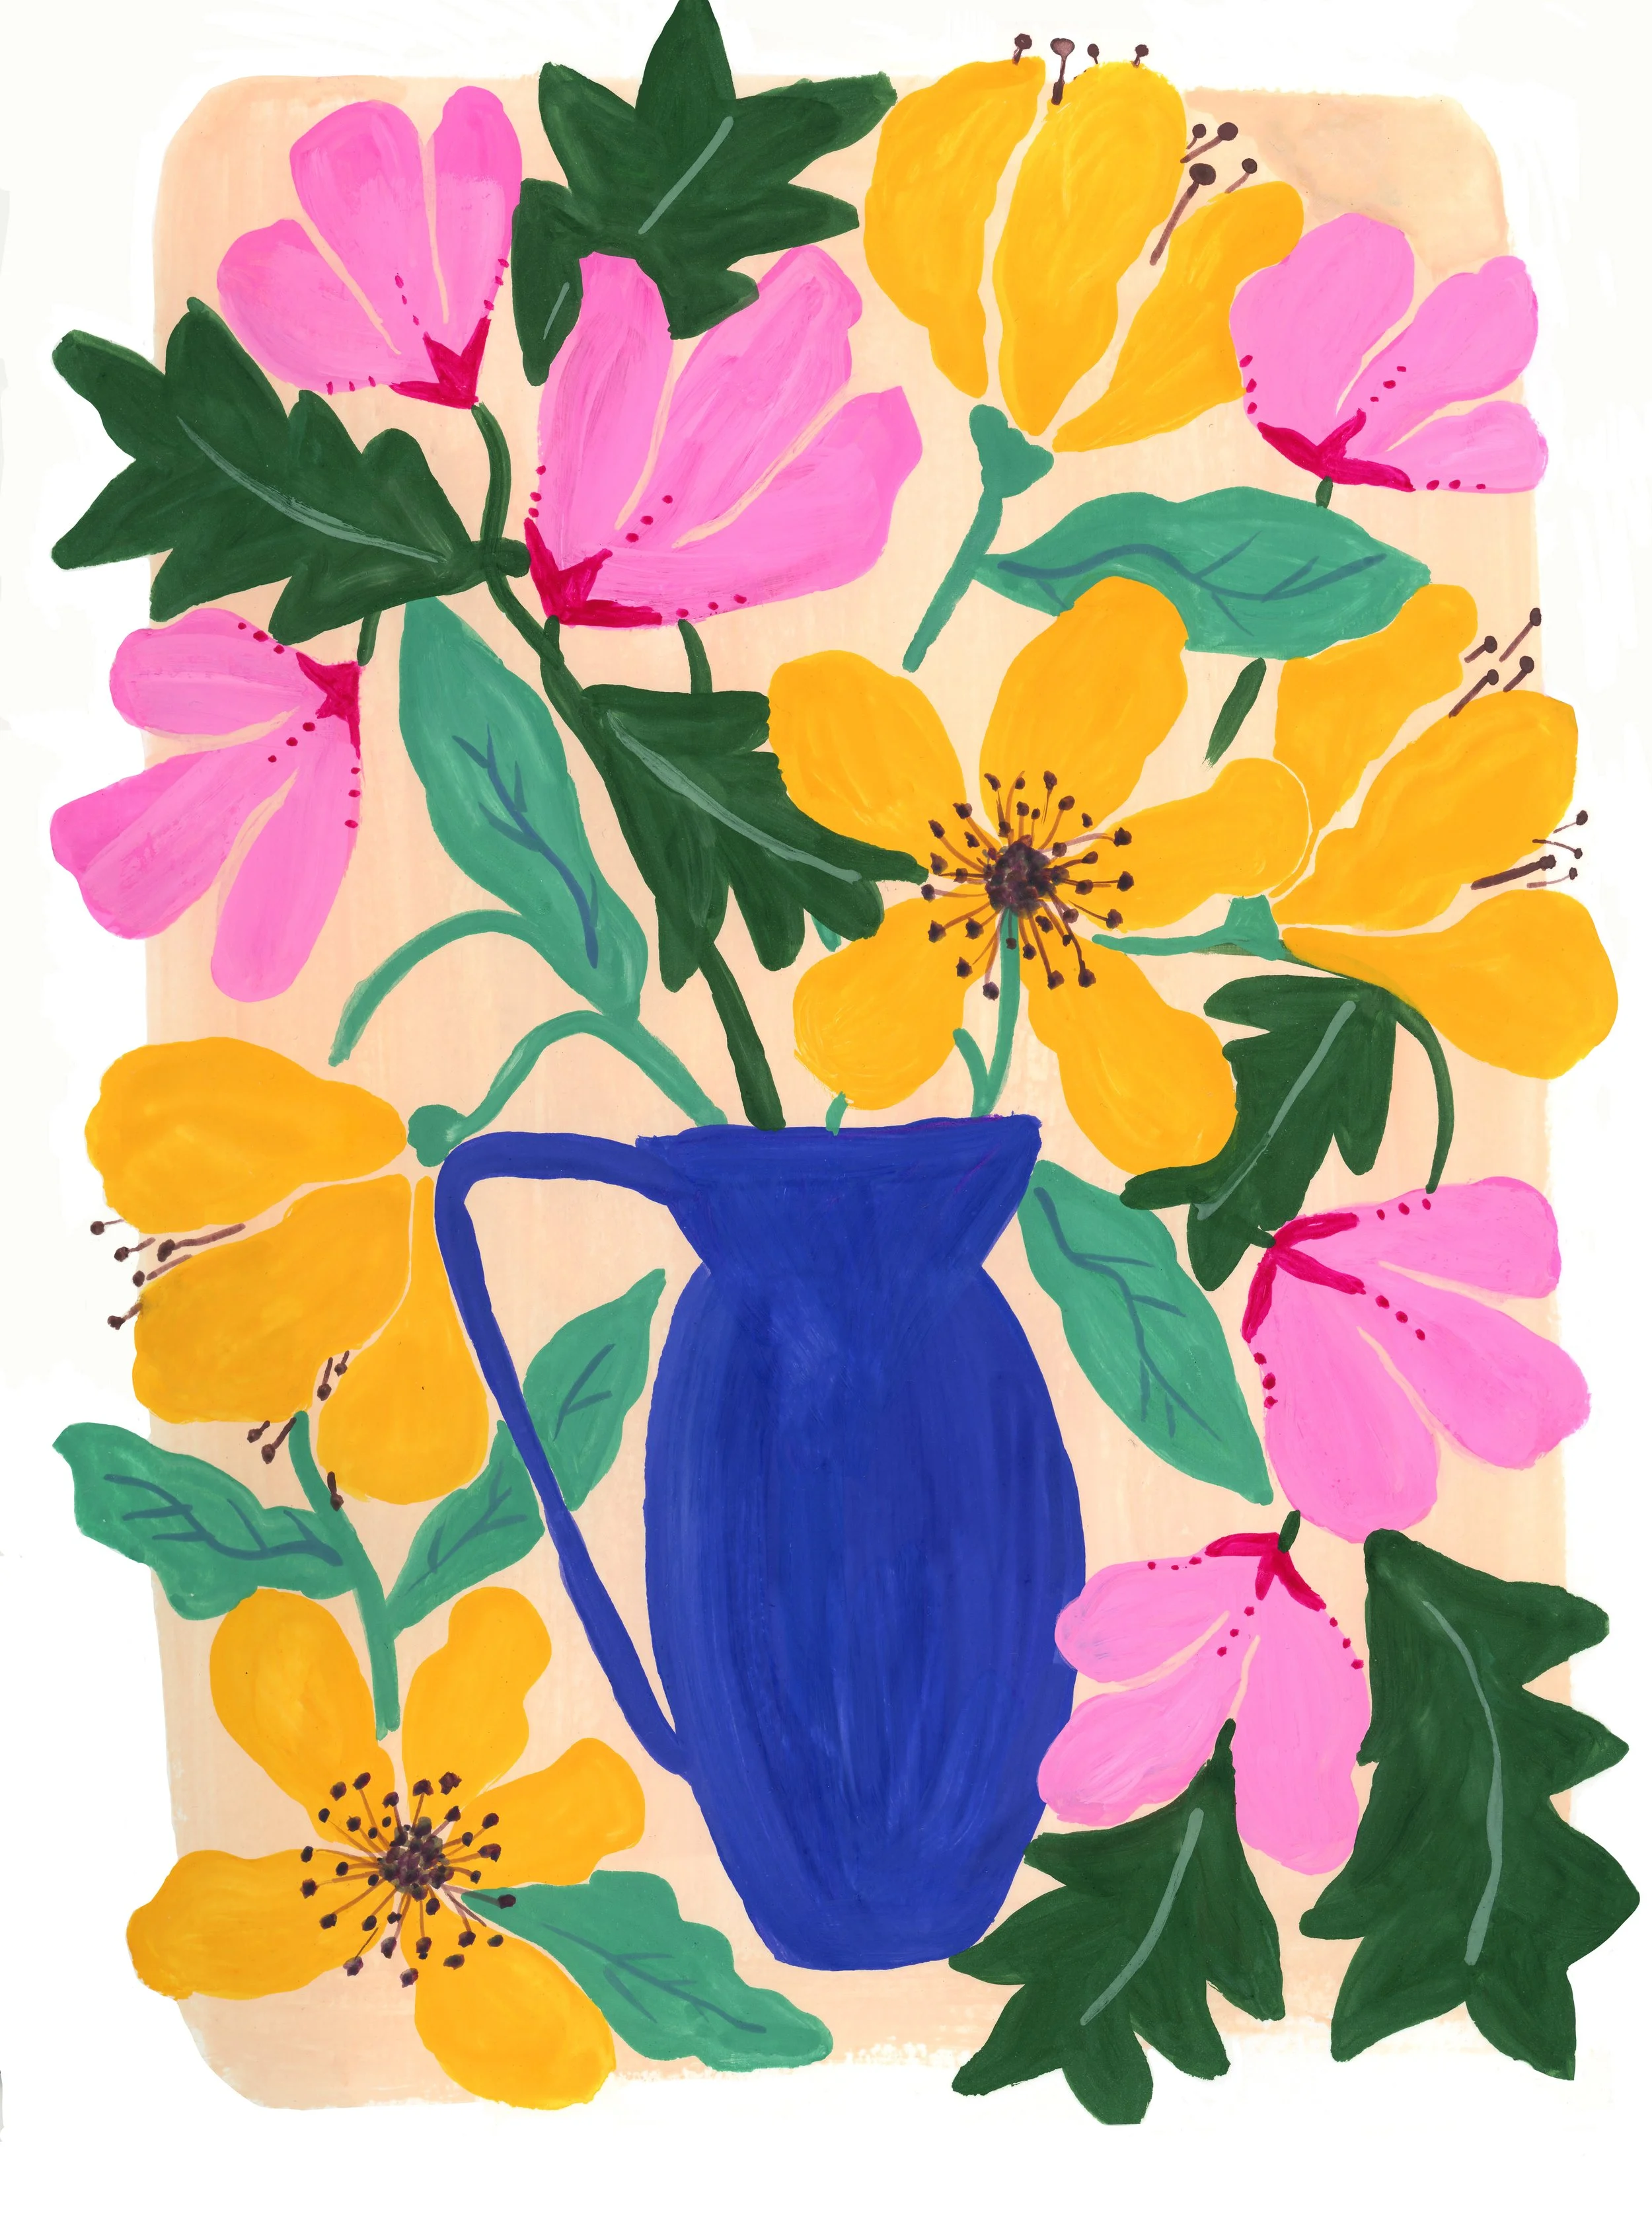
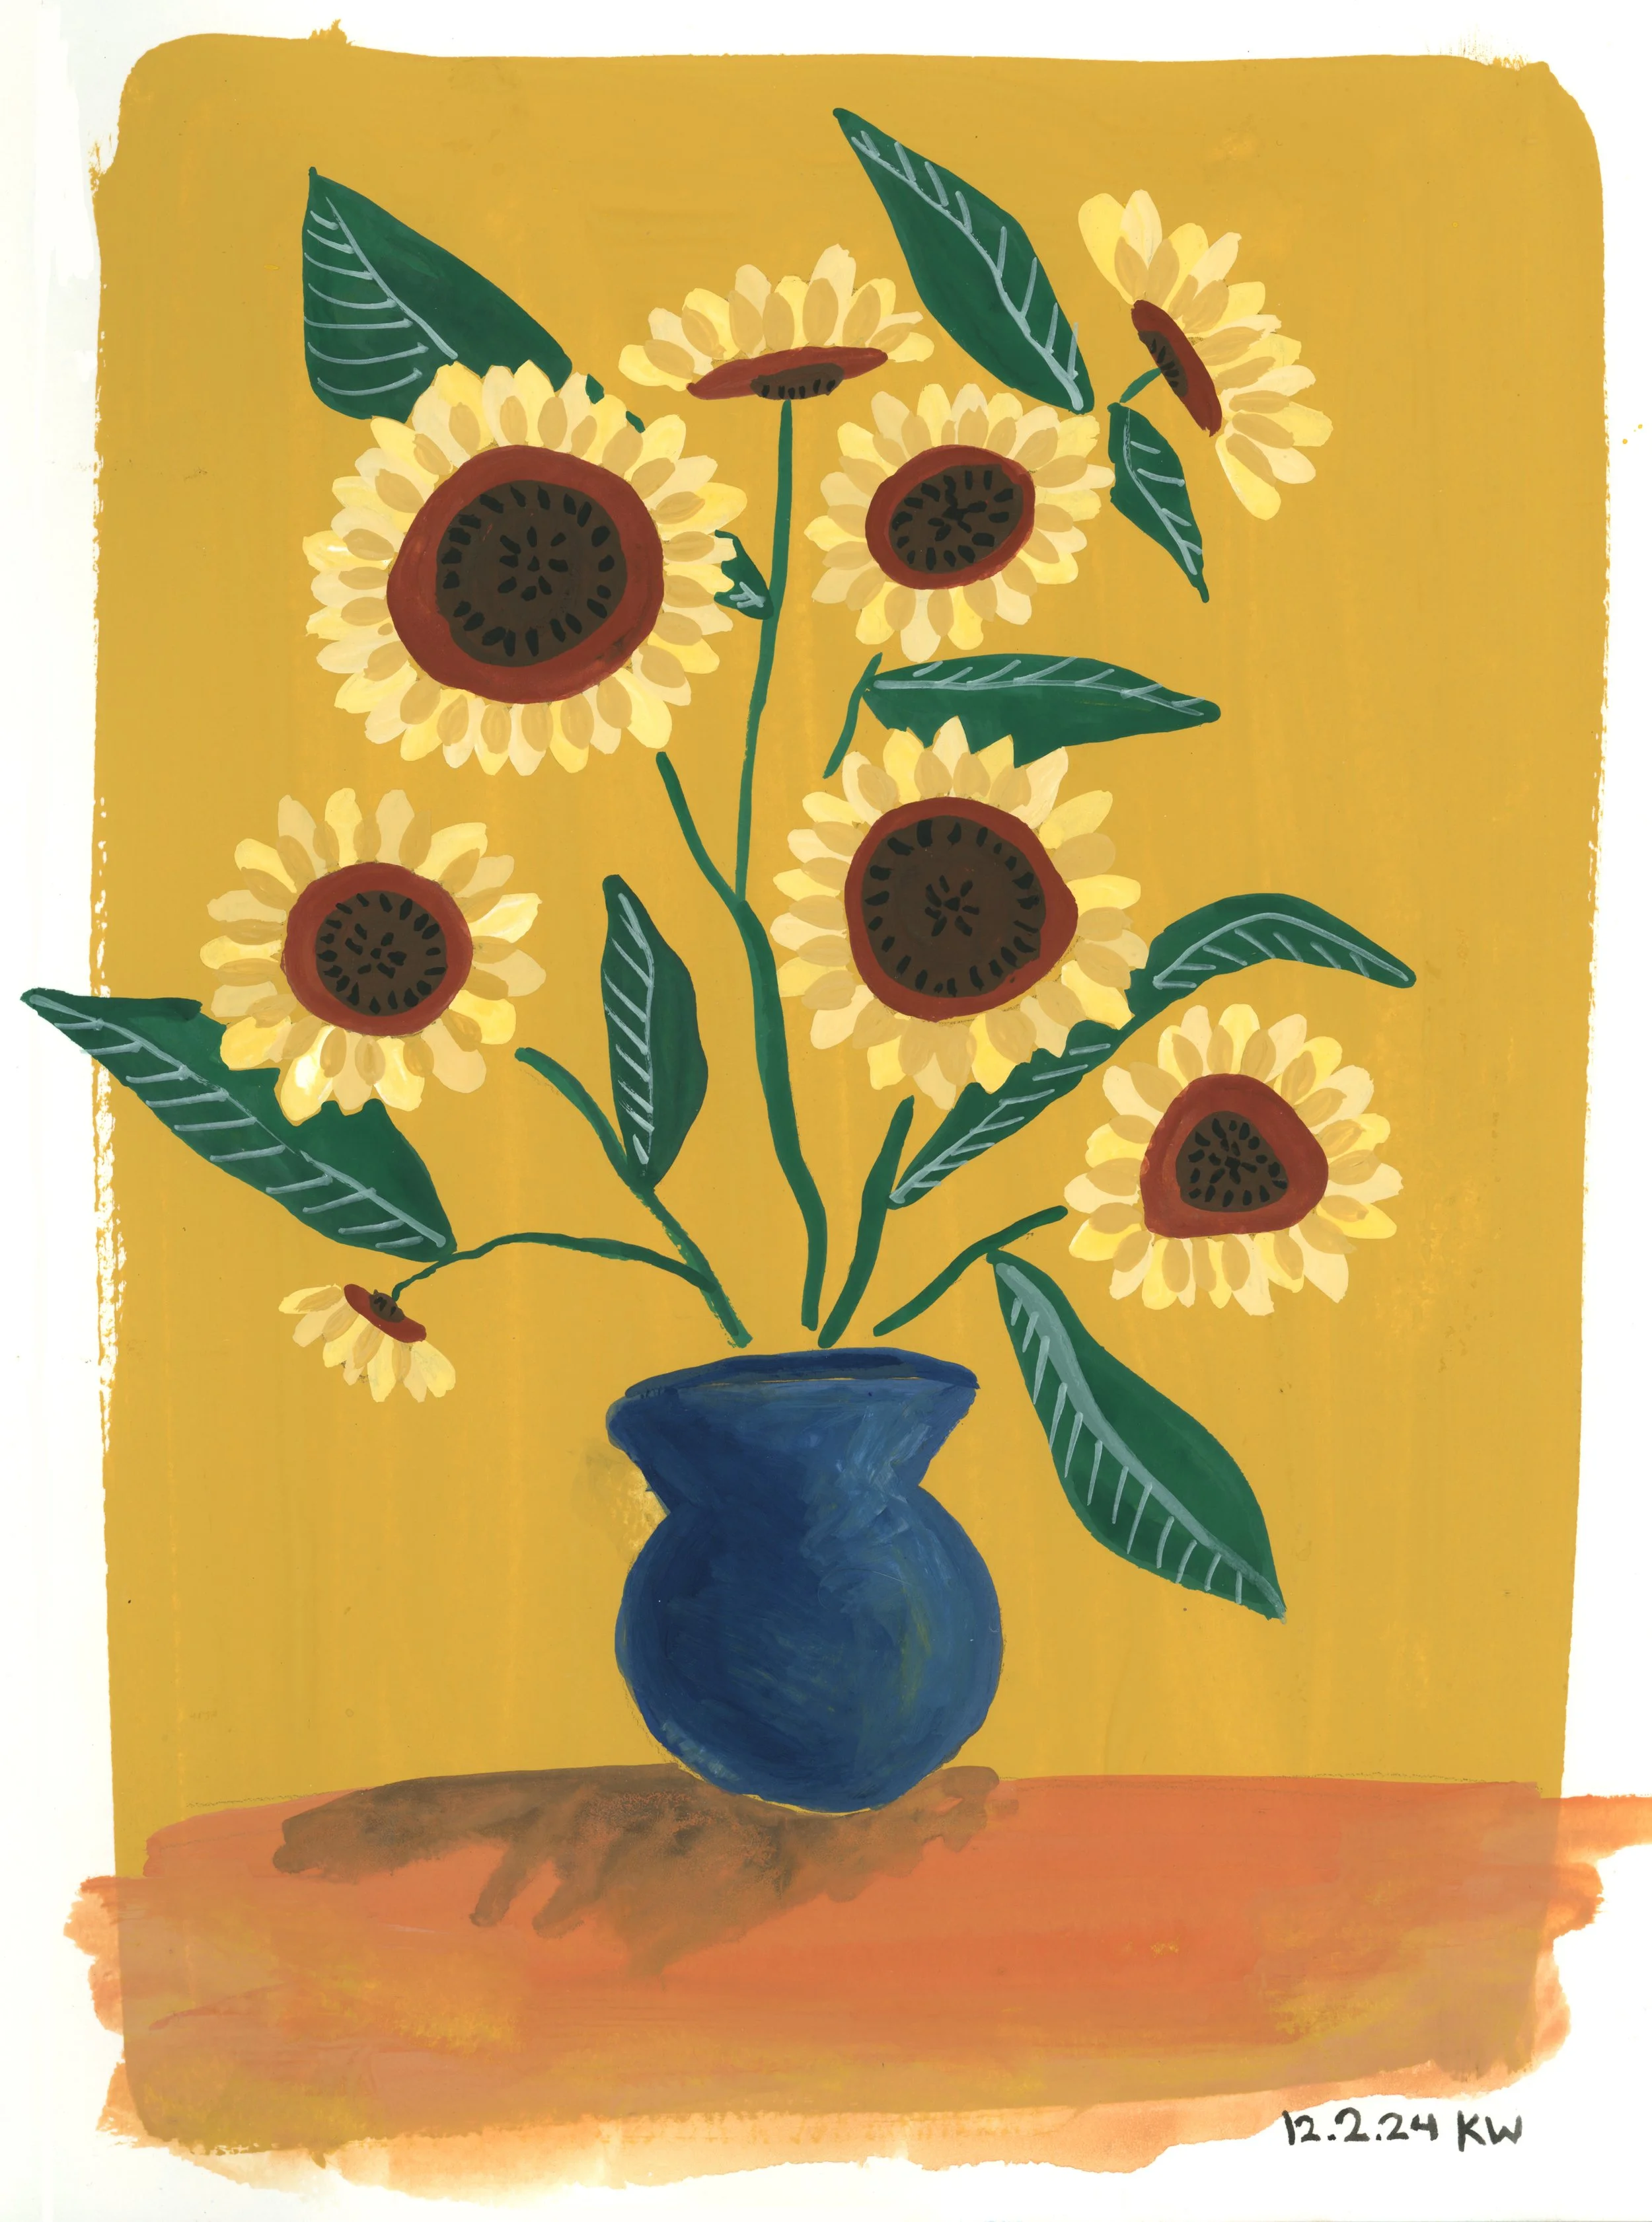
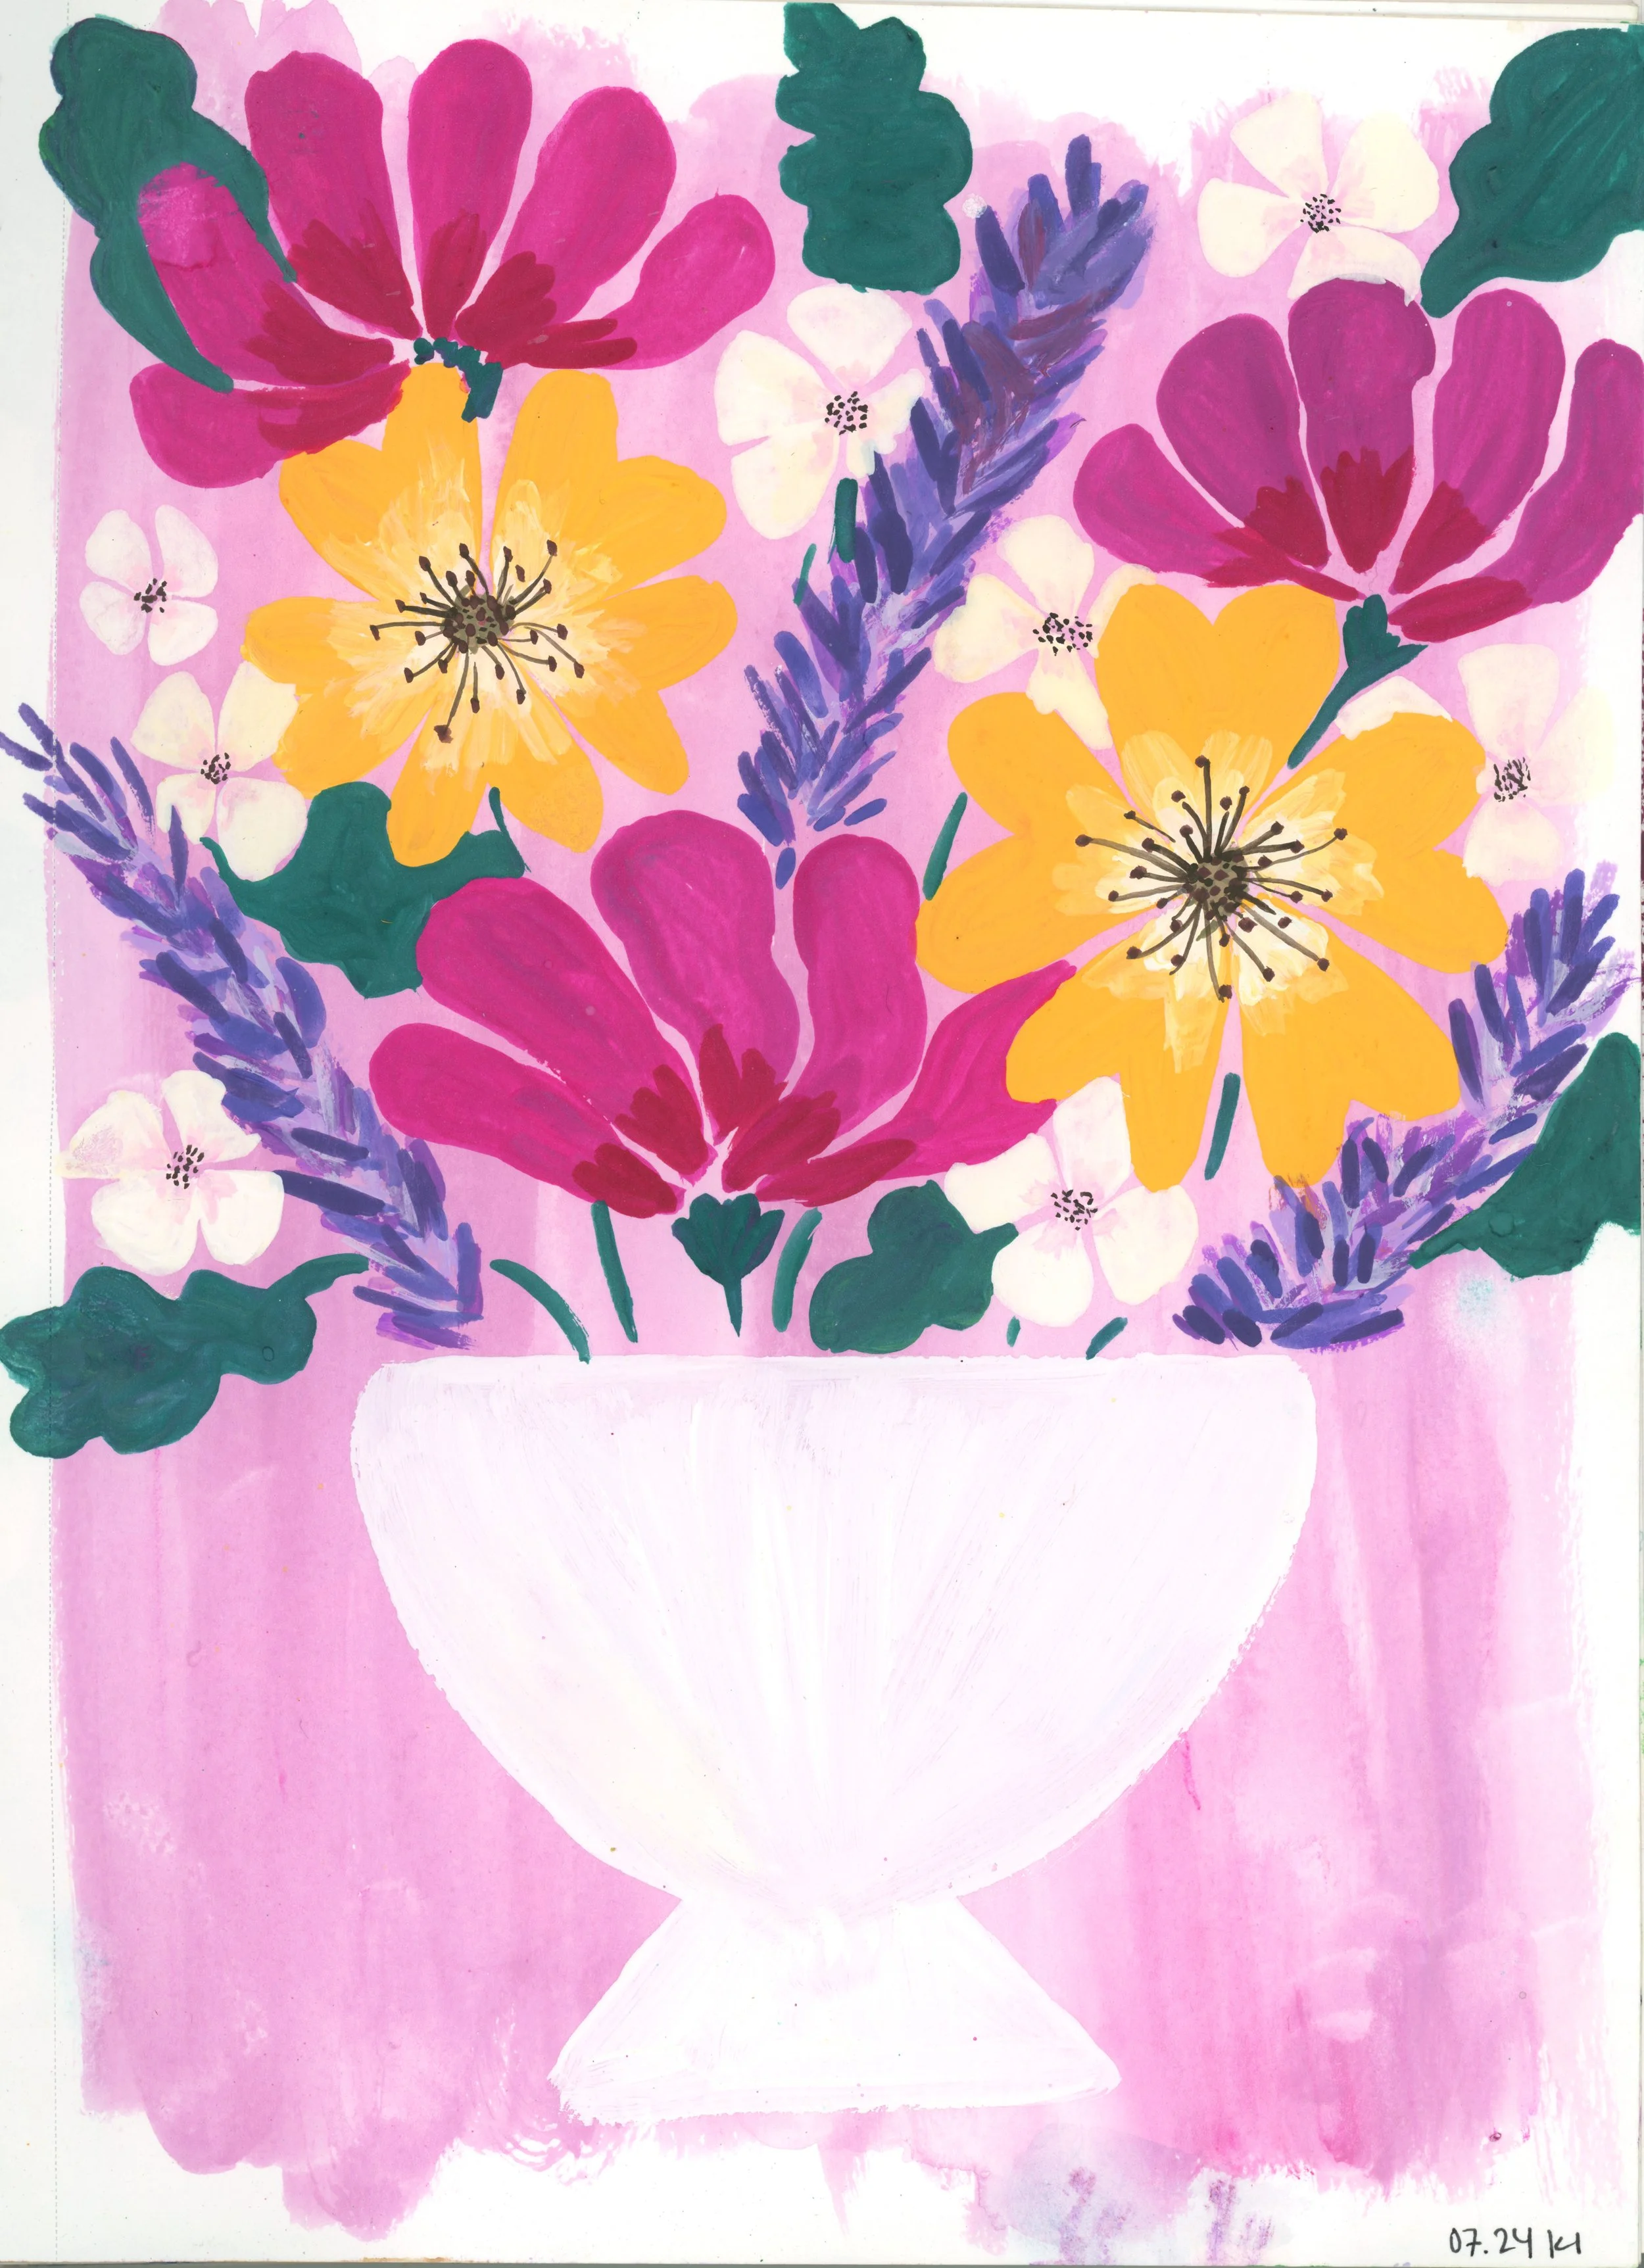
I love the simplicity of this style and the freedom it allows me. In all of these examples you can see a very basic structure. I start with a solid color background, add a solid colored vase on top and have colorful flowers and leaves playfully spilling all around the vase and painting. If I am feeling fancy I maybe add some shadows or a table for the vase to sit on but other than that I don’t have rules and I just let the painting unfold for itself.
For today’s tutorial I decided to work from a flowers in vase in real life by using a vase with fake flowers and a pretty piece of fabric I had laying around. This will be today’s reference picture
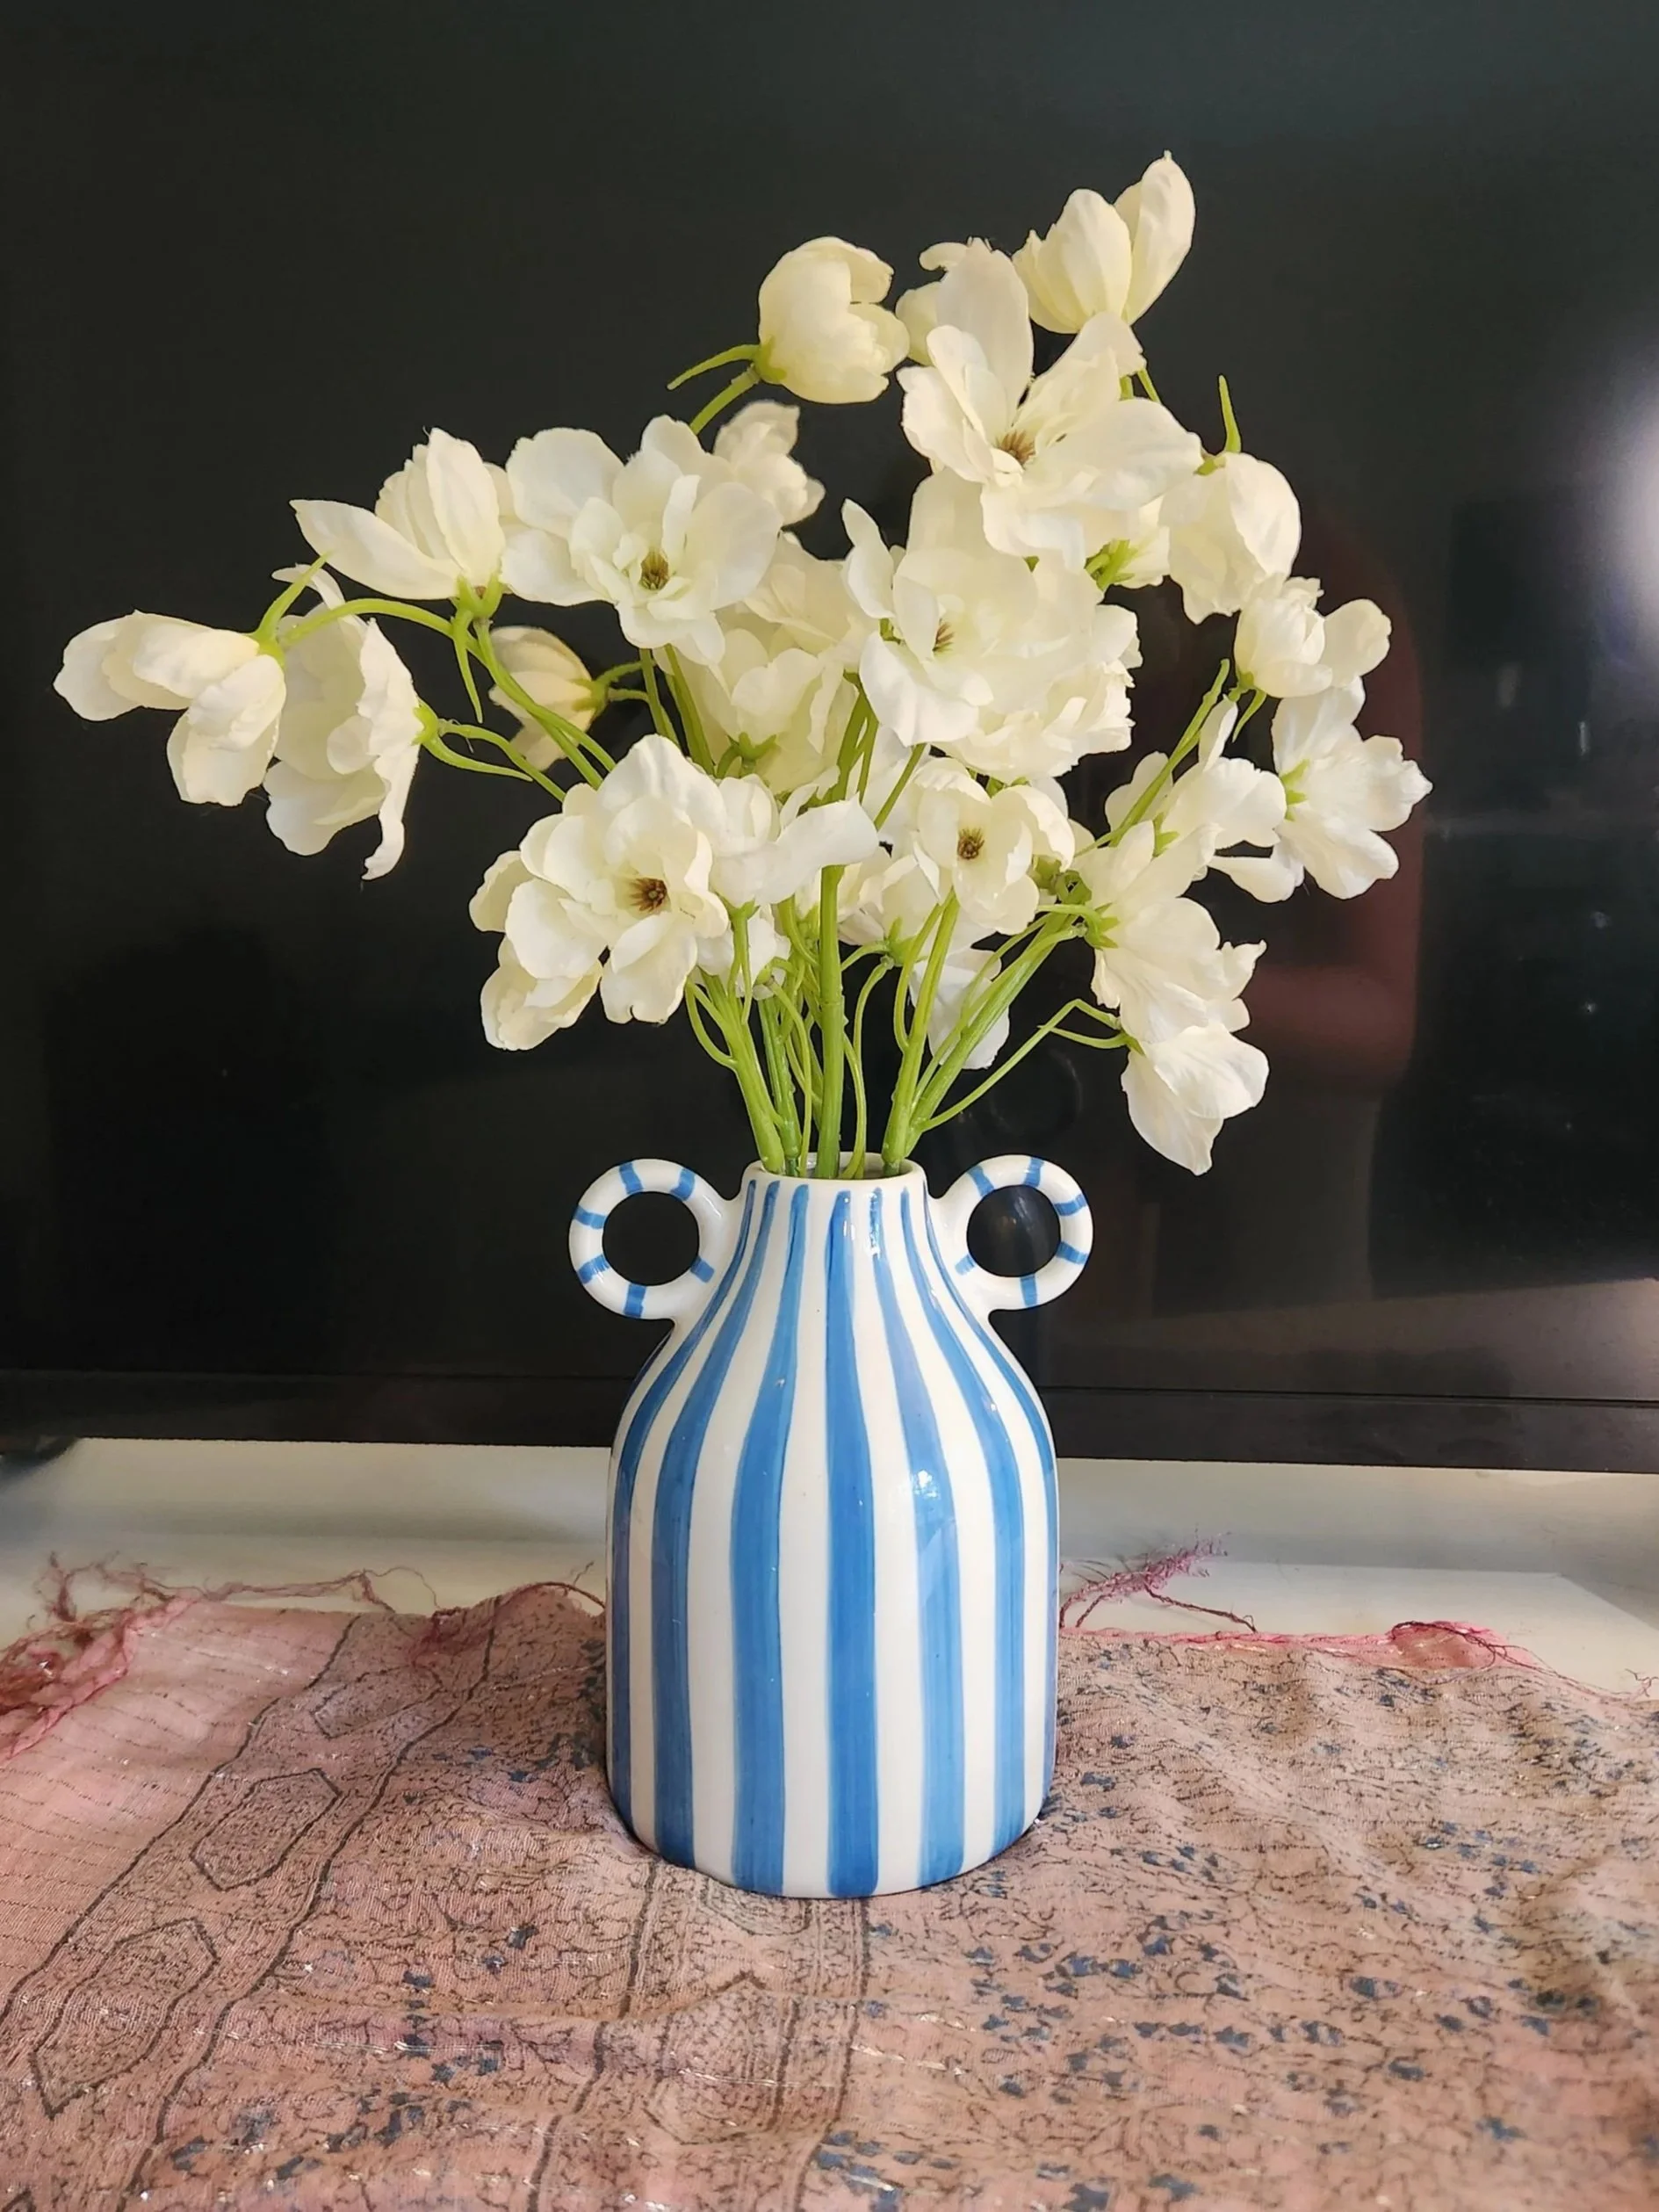
Materials Used:
-Watercolor sketchbook 9×12"
-Washi tape
-Pencil and eraser for sketching
-Water-soluble gouache paint:
-Holbein water soluble gouache: smalt blue
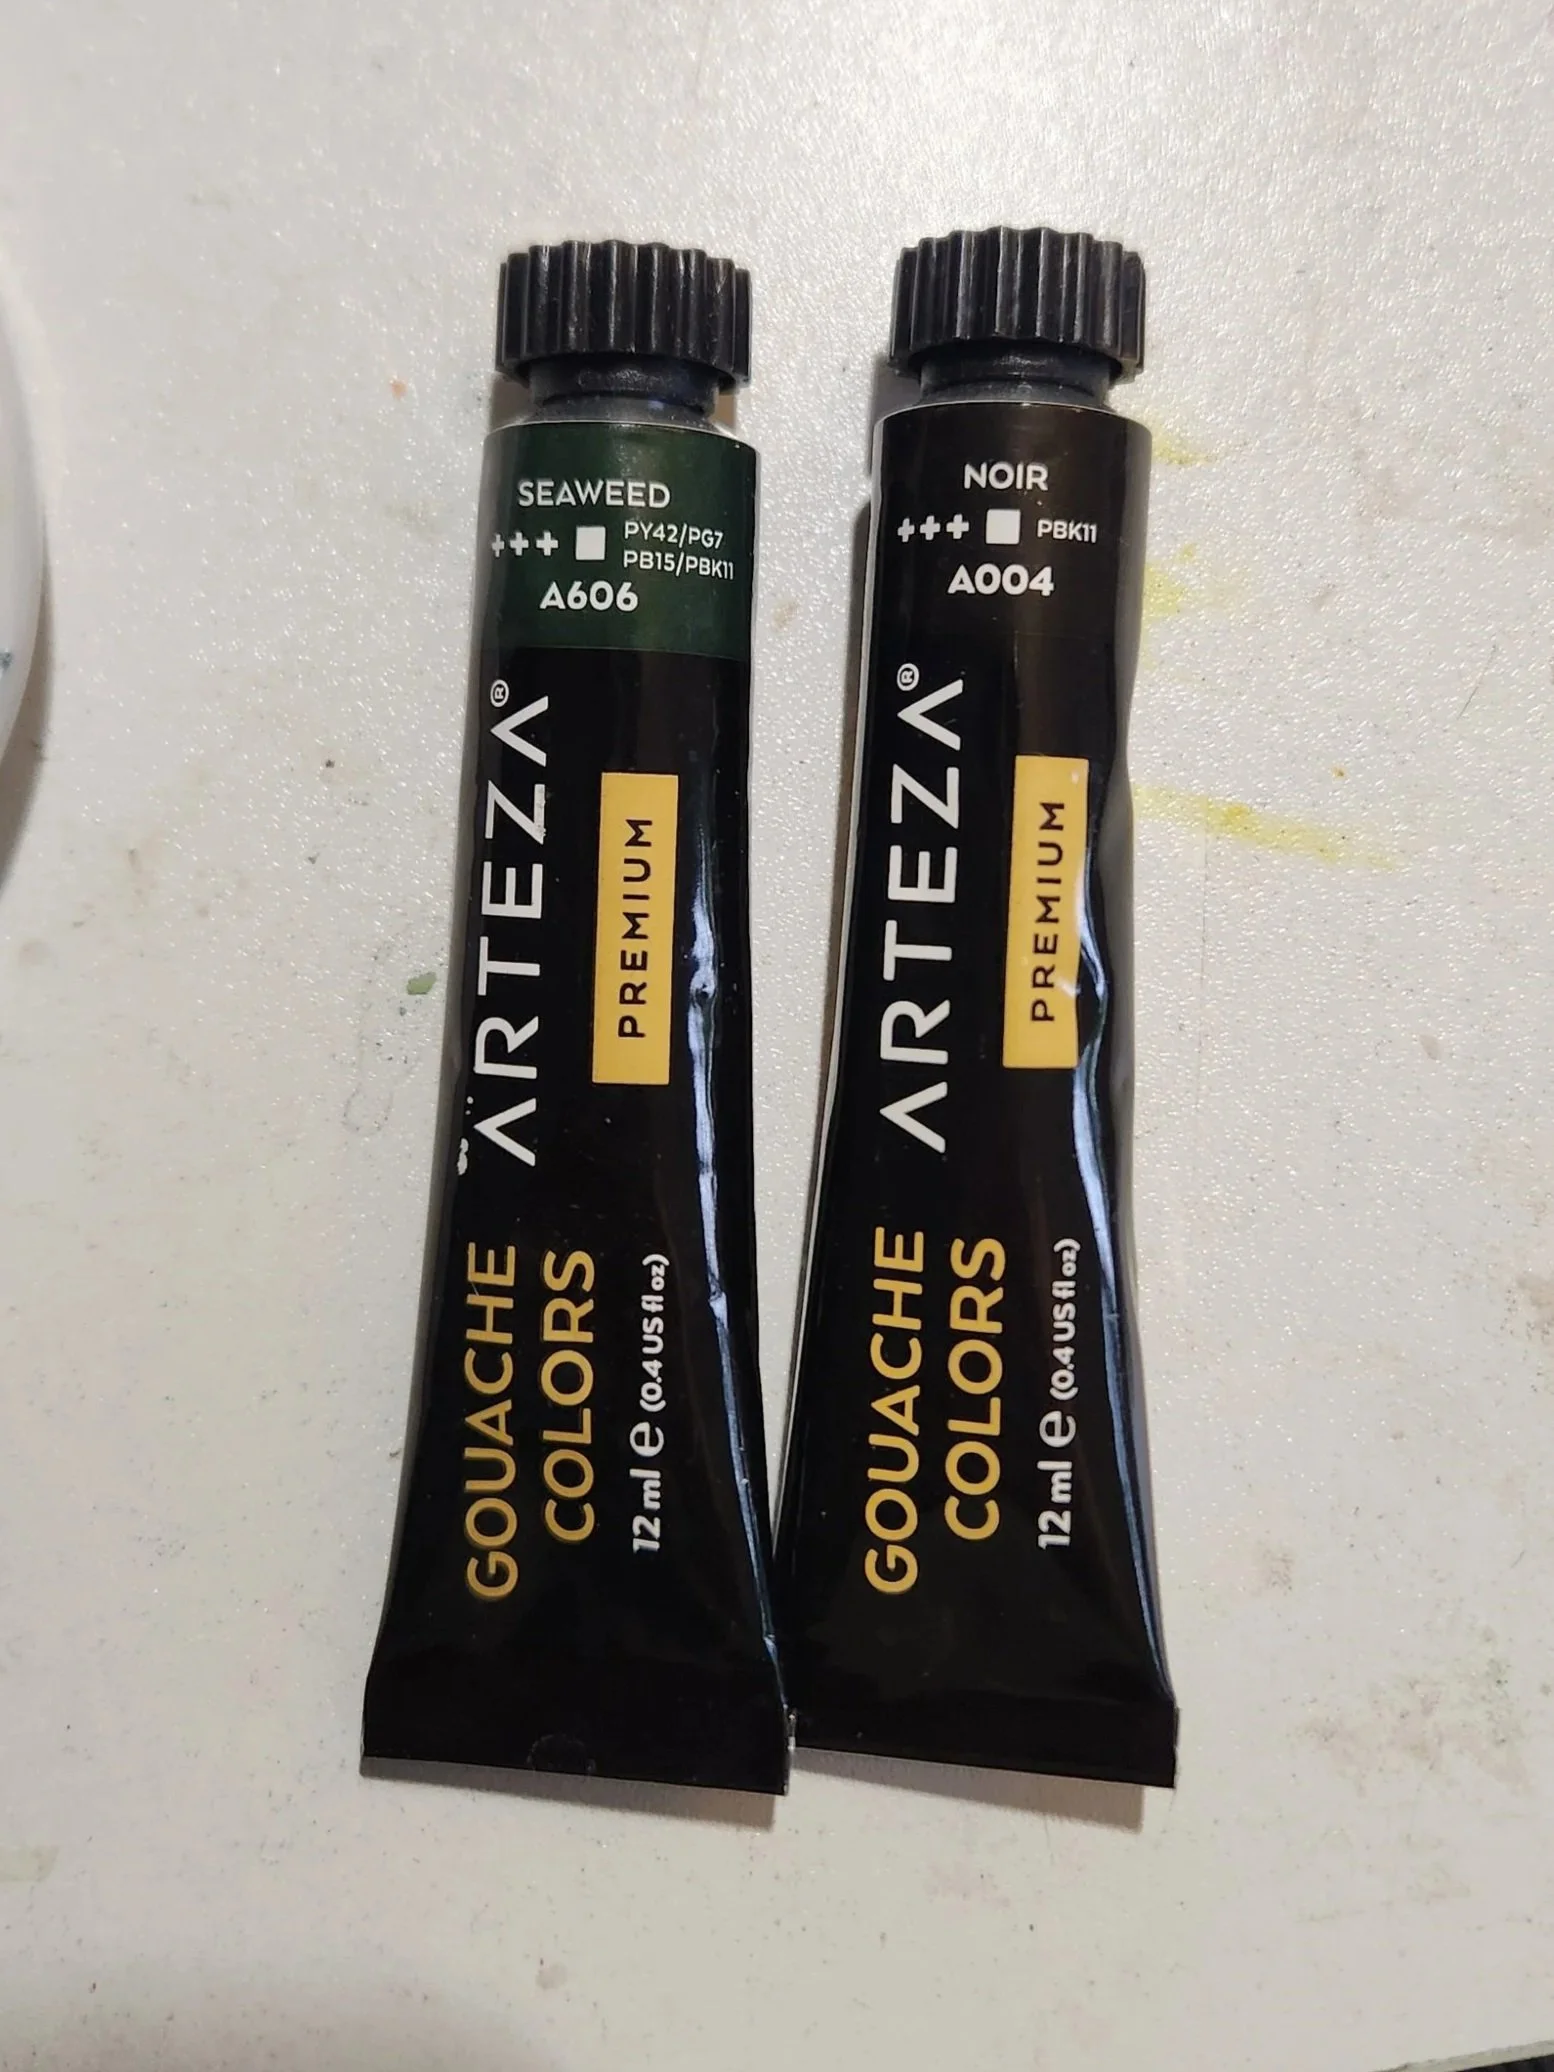
-Arteza water soluble gouache: bubblegum pink, peach, light apricot, gray, seaweed green, noir black, lime green, yellow ochre, red, silver
-Dr. Ph Martin’s Bleed proof white paint
-Princeton round brushes various sizes
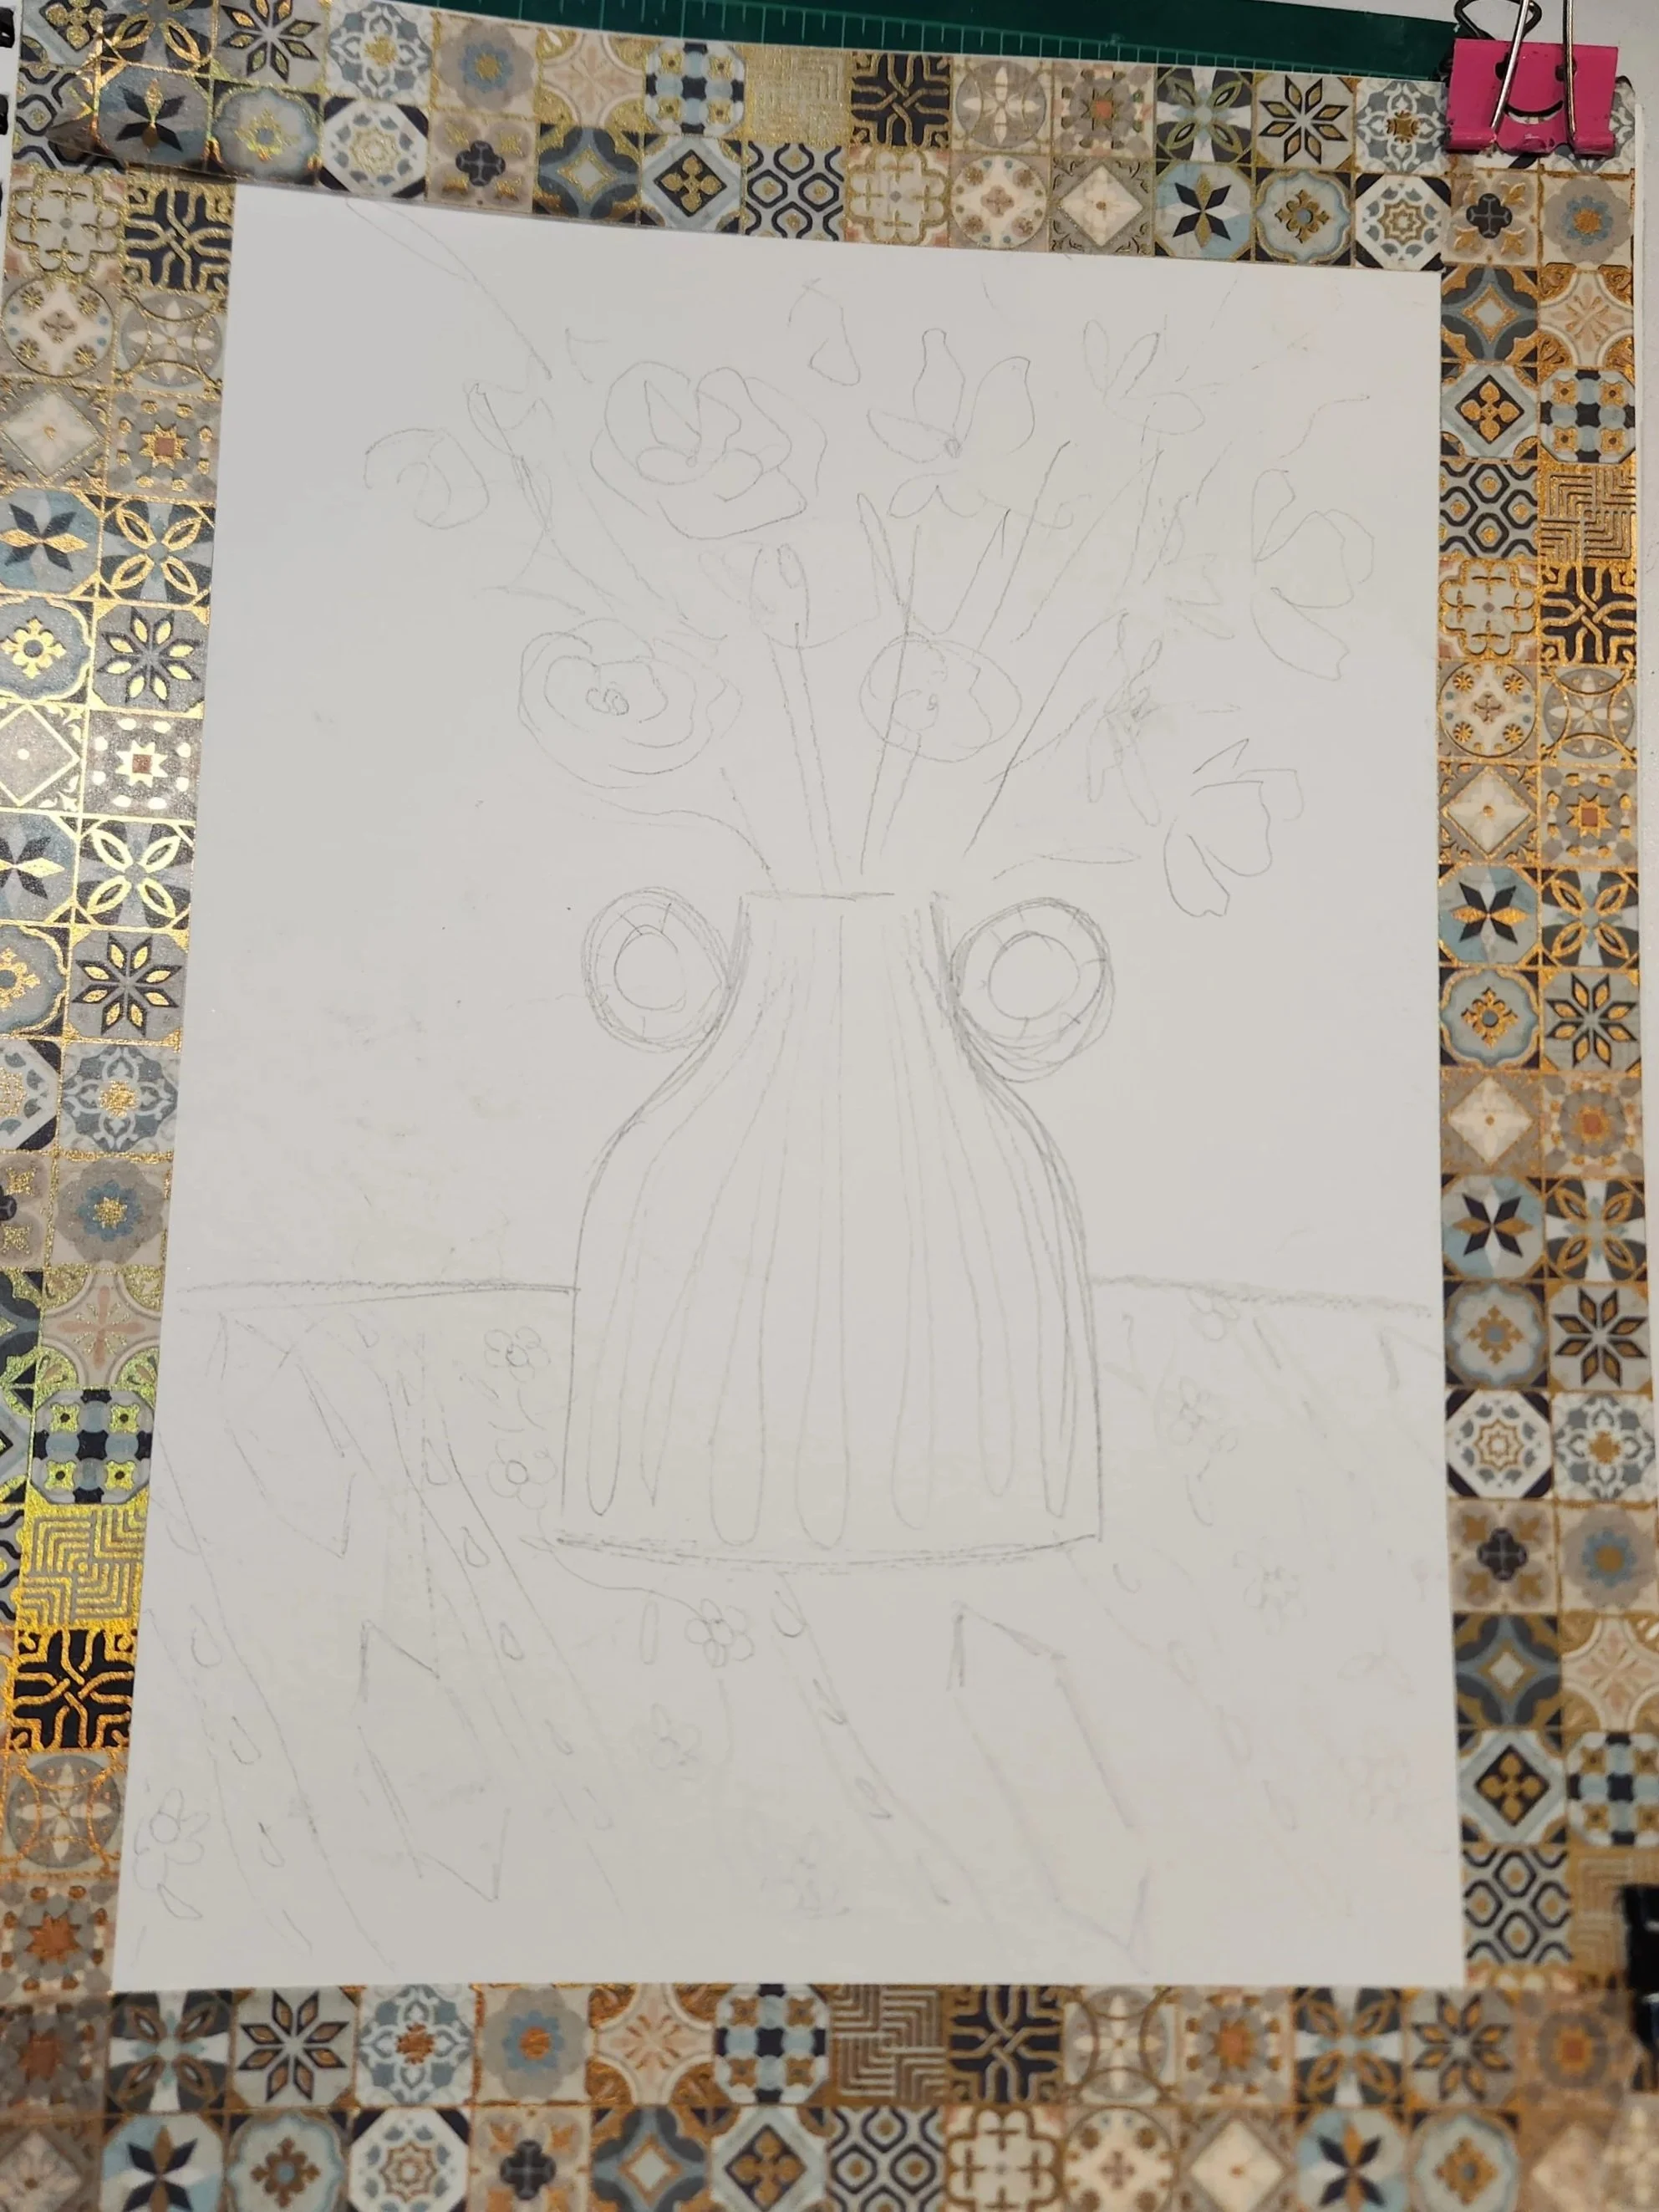
(1) First I taped off the borders of the paper using washi tape to have a clean edge to the painting, this step is completely optional and I also love the look of not perfect edges to art backgrounds.
(2) Looking at the reference photo I quickly sketched out the composition. Don’t worry too much about details here really just work out where you want the vase and where you want the background (foreground with pink fabric vs dark background).
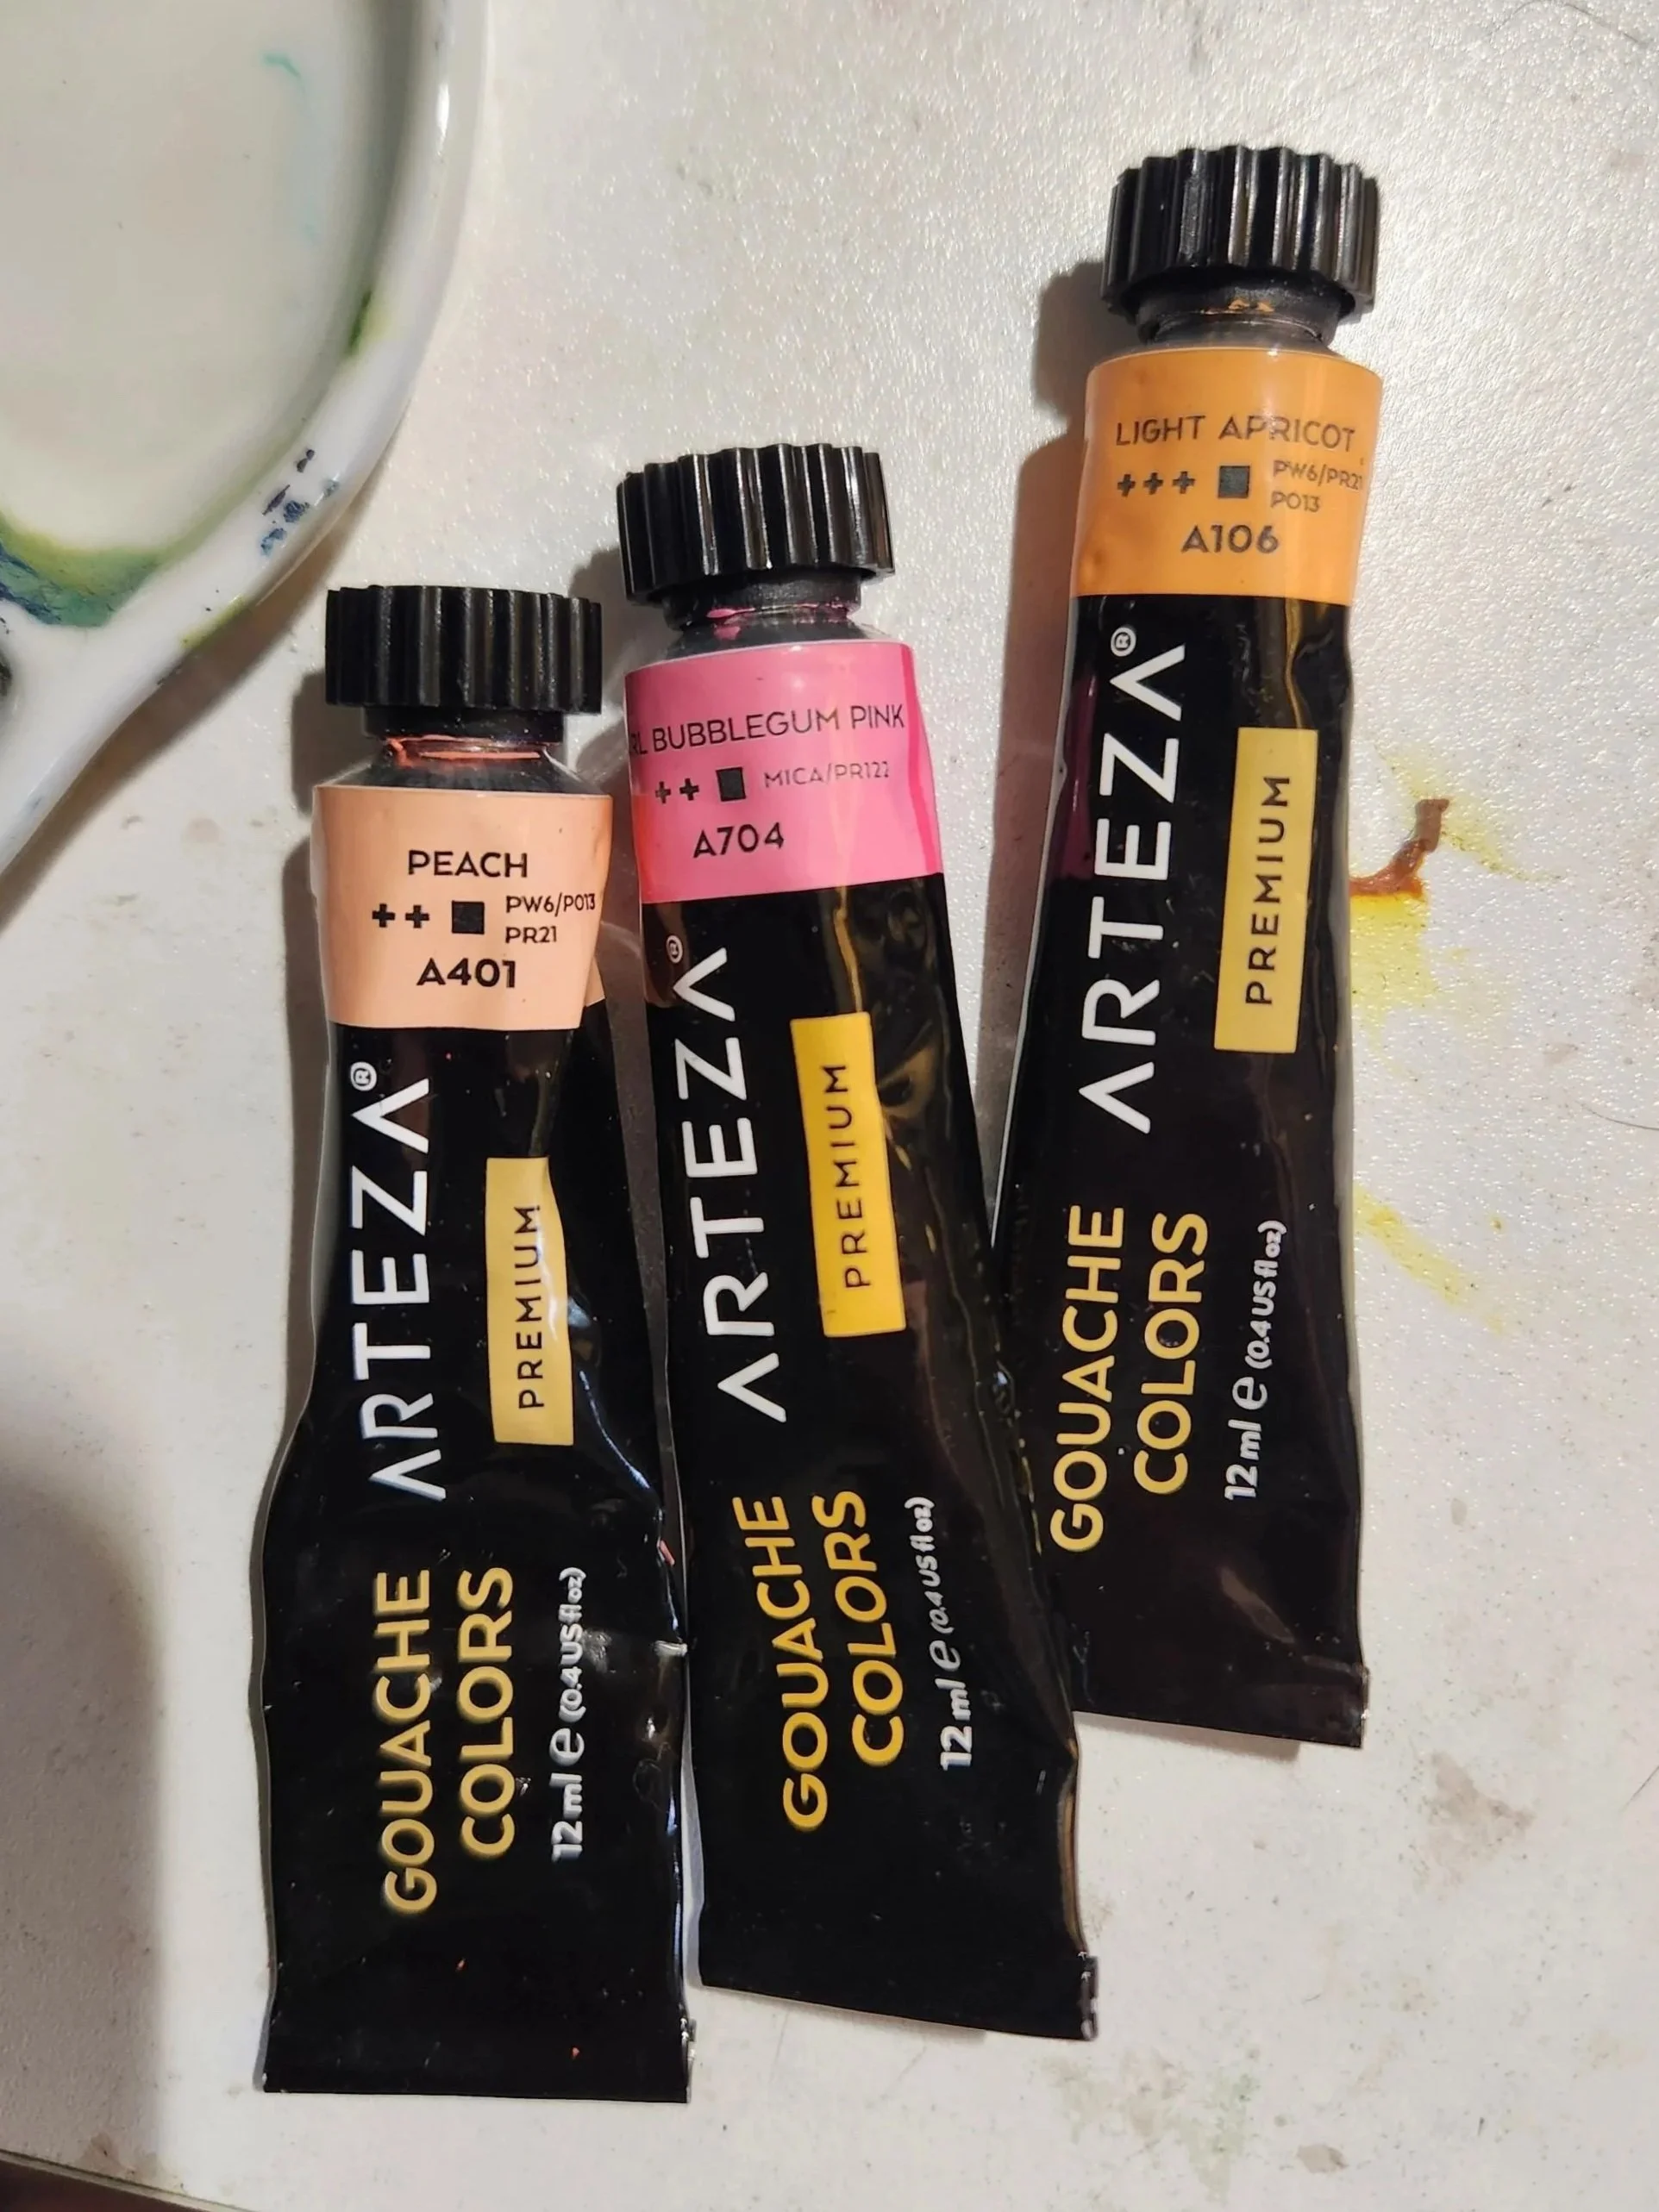
(3) Next mix up a pink for the foreground. I used three colors to create a peachy pink (bubblegum pink, peach and light apricot), but any pink will work well. Apply a generous amount to area that is gonna be the fabric foreground. Optional, but I added a little gray to some pink to paint a shadow on the right side and underneath the vase. I didn’t consult the reference picture for this so its probably not accurate but I love the little extra dimension it adds to the painting.
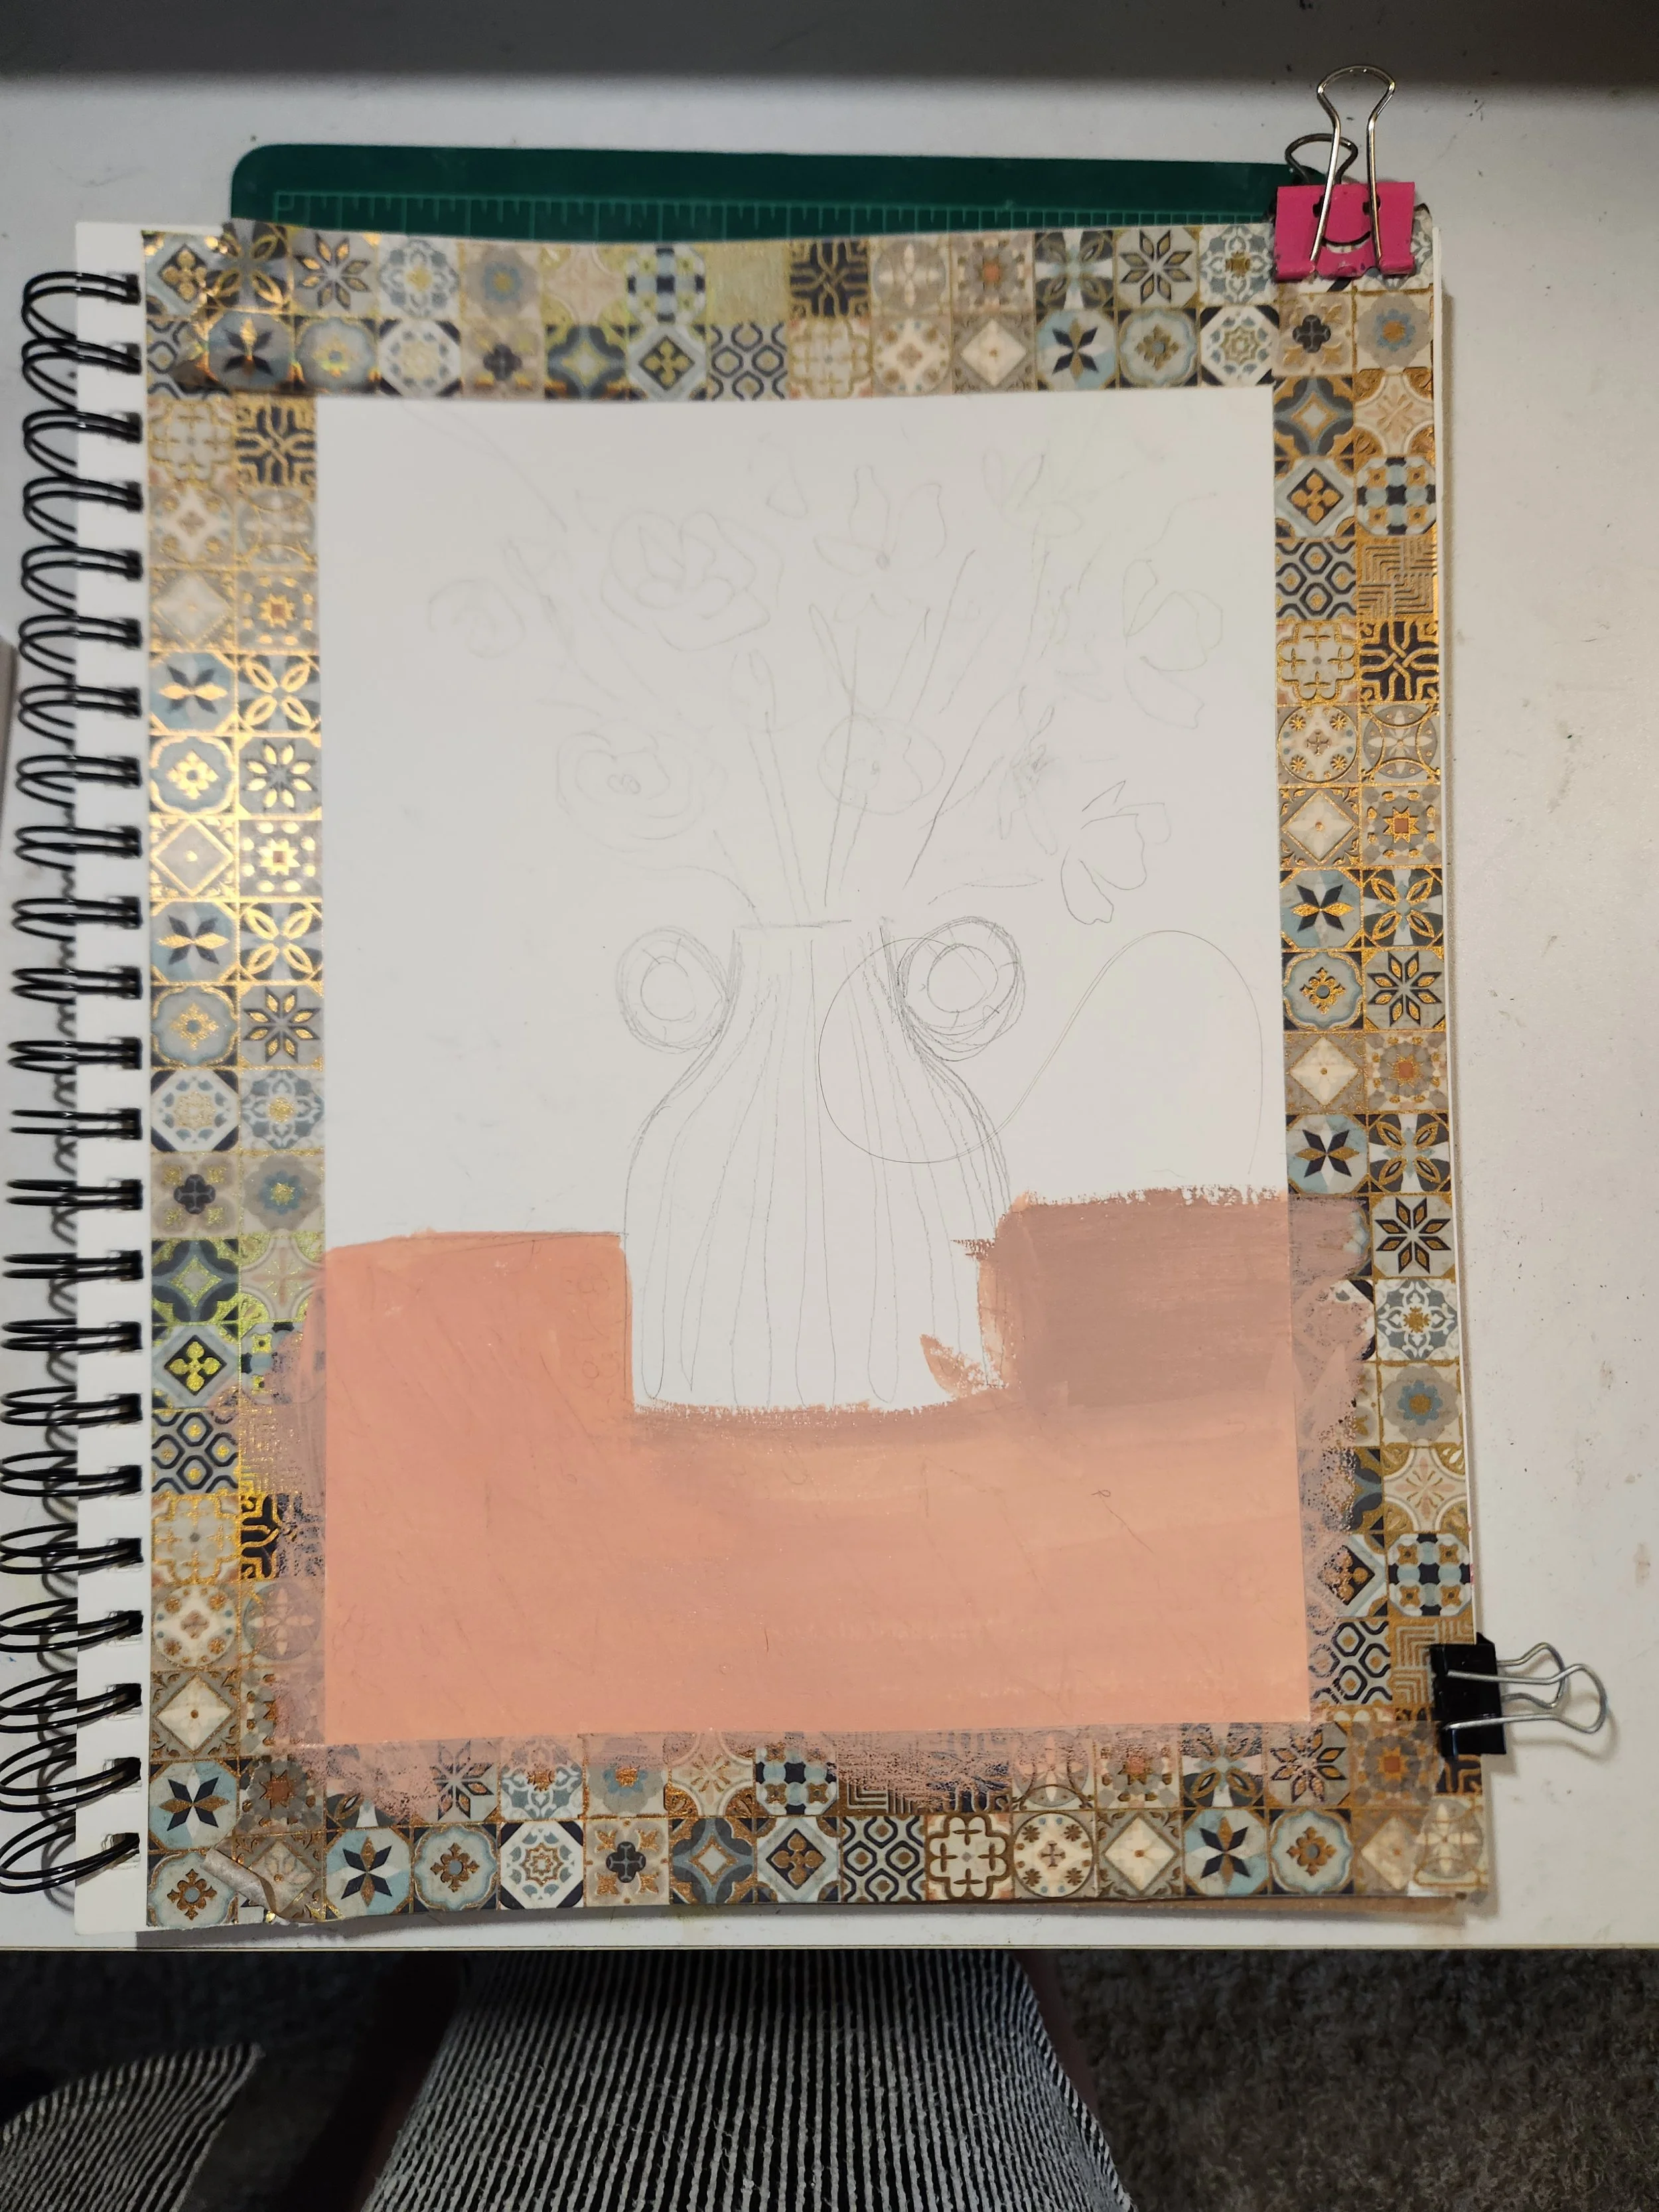
(4) While that is drying, I mixed up a dark green using 4 parts green (I used the darkest green I had called seaweed) and 1 part black. Paint background carefully to avoid vase and make a clean line where the background meets the pink.
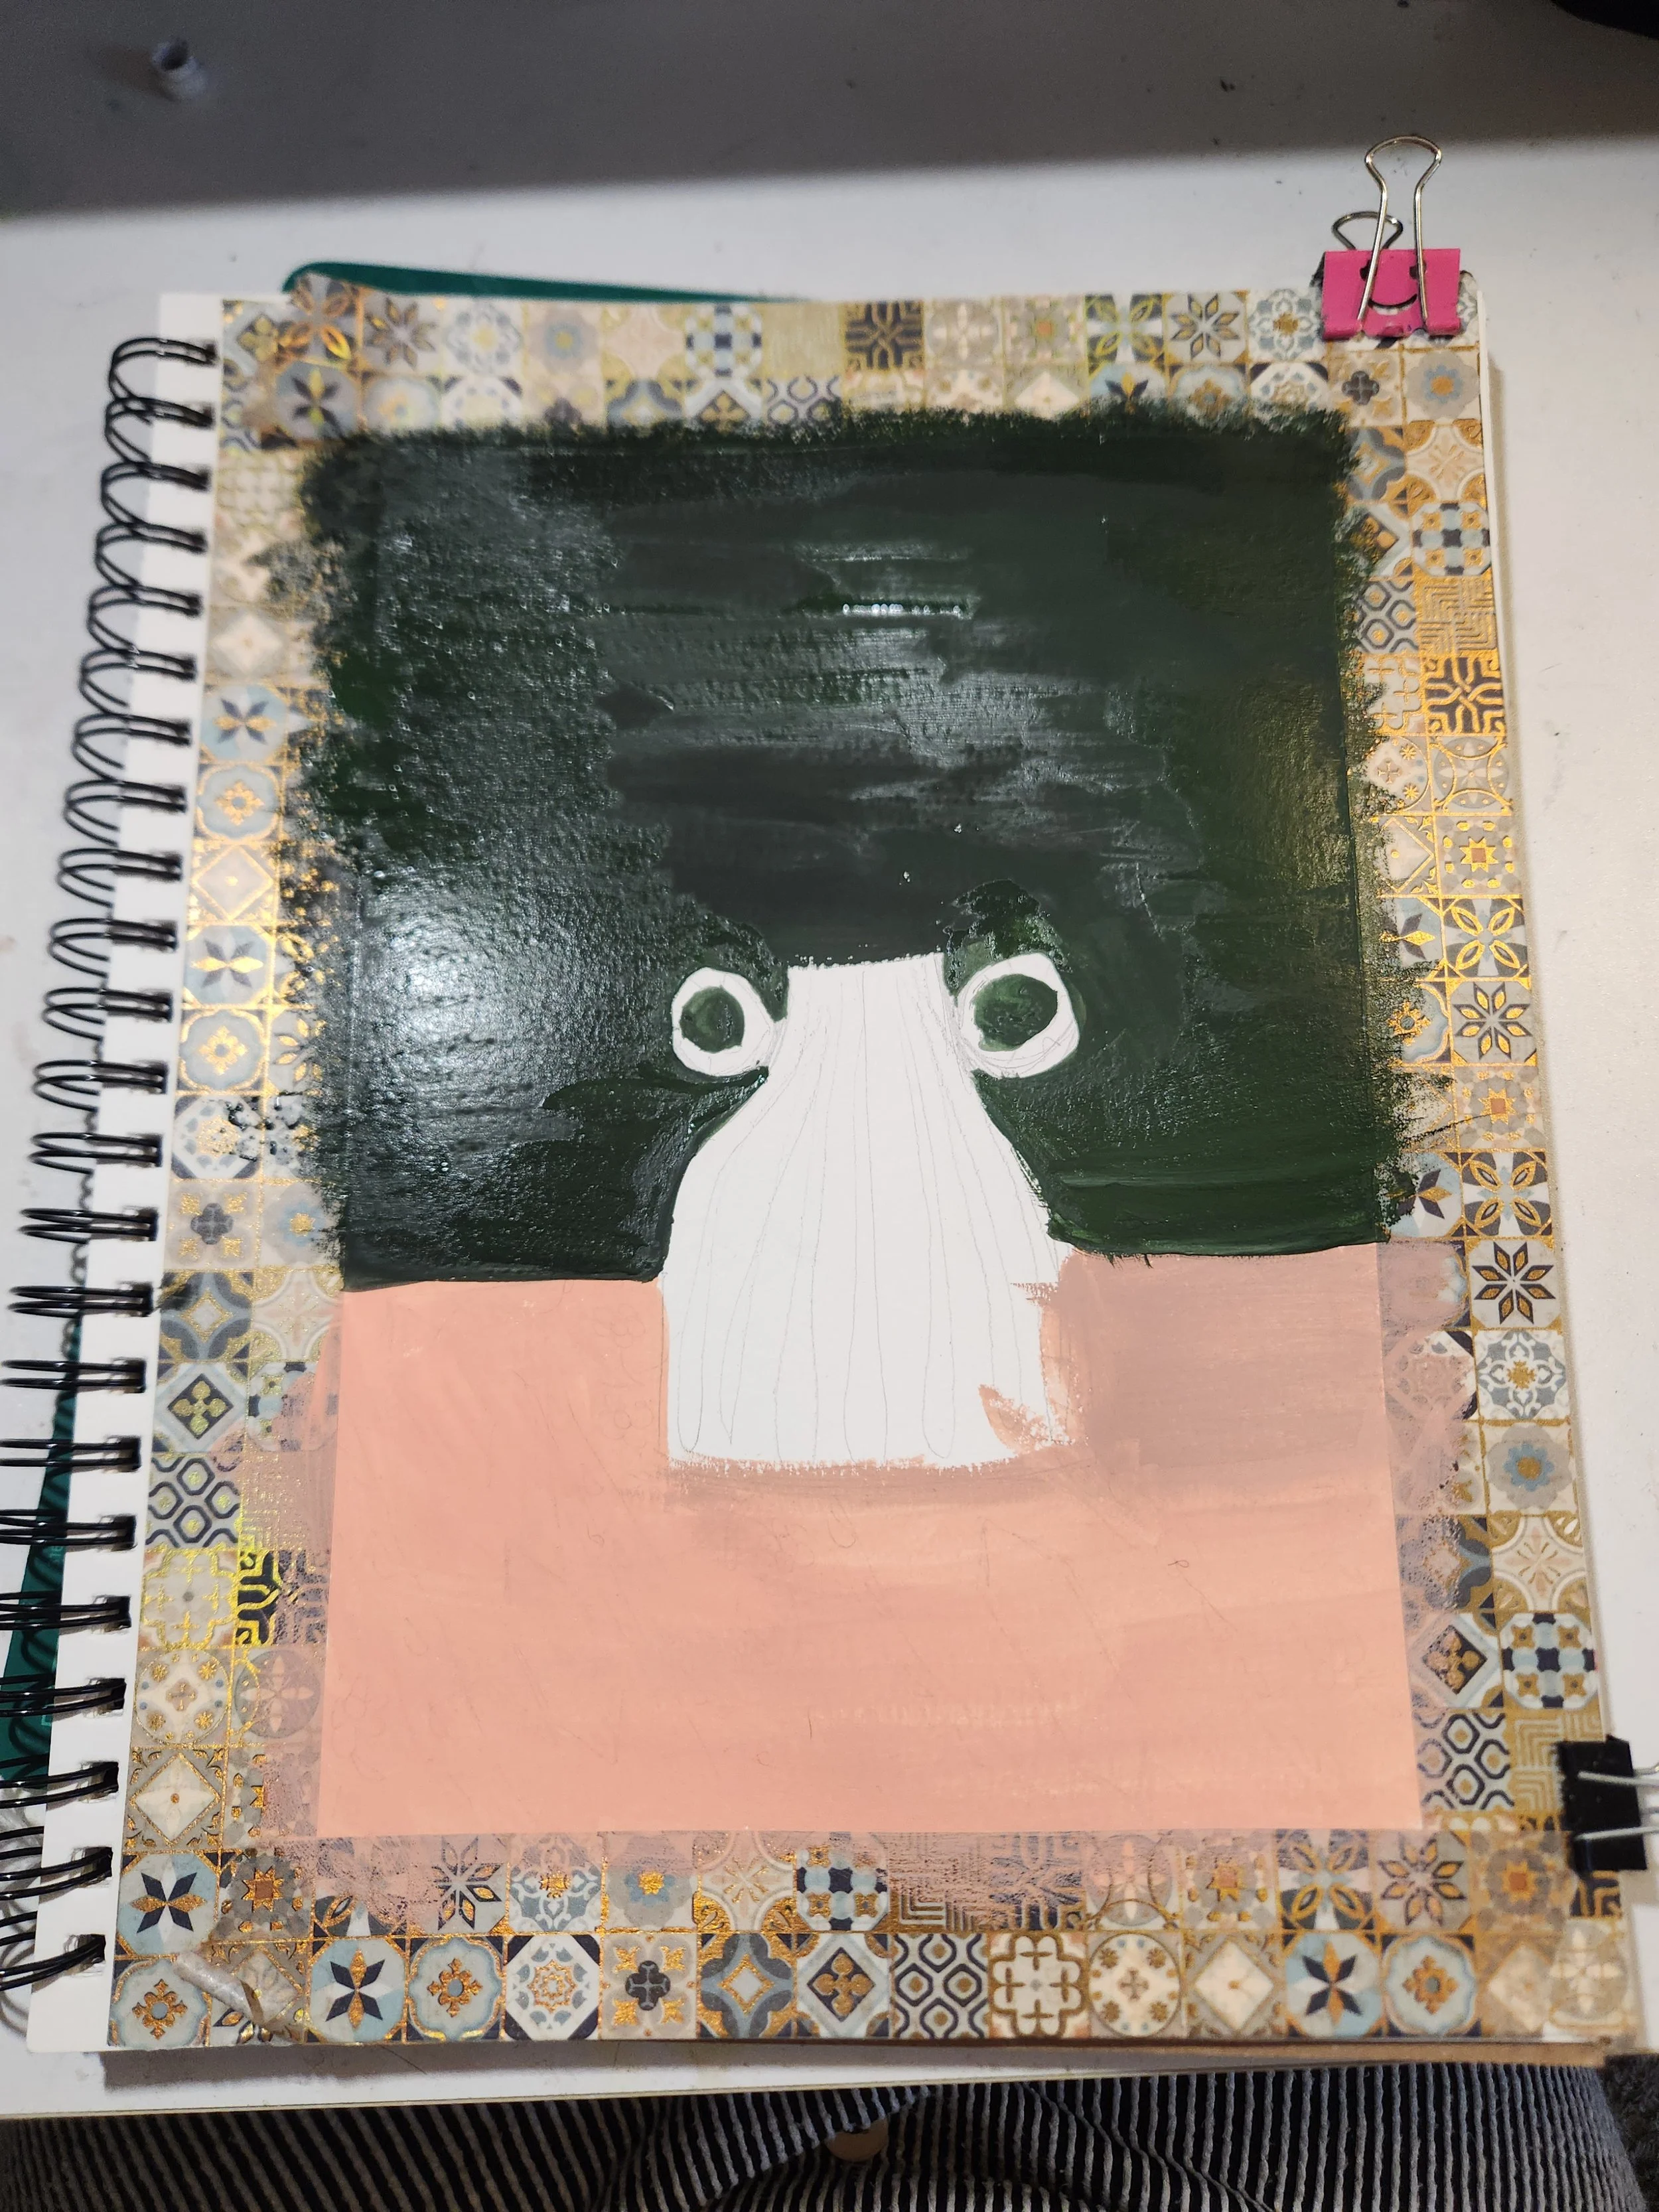
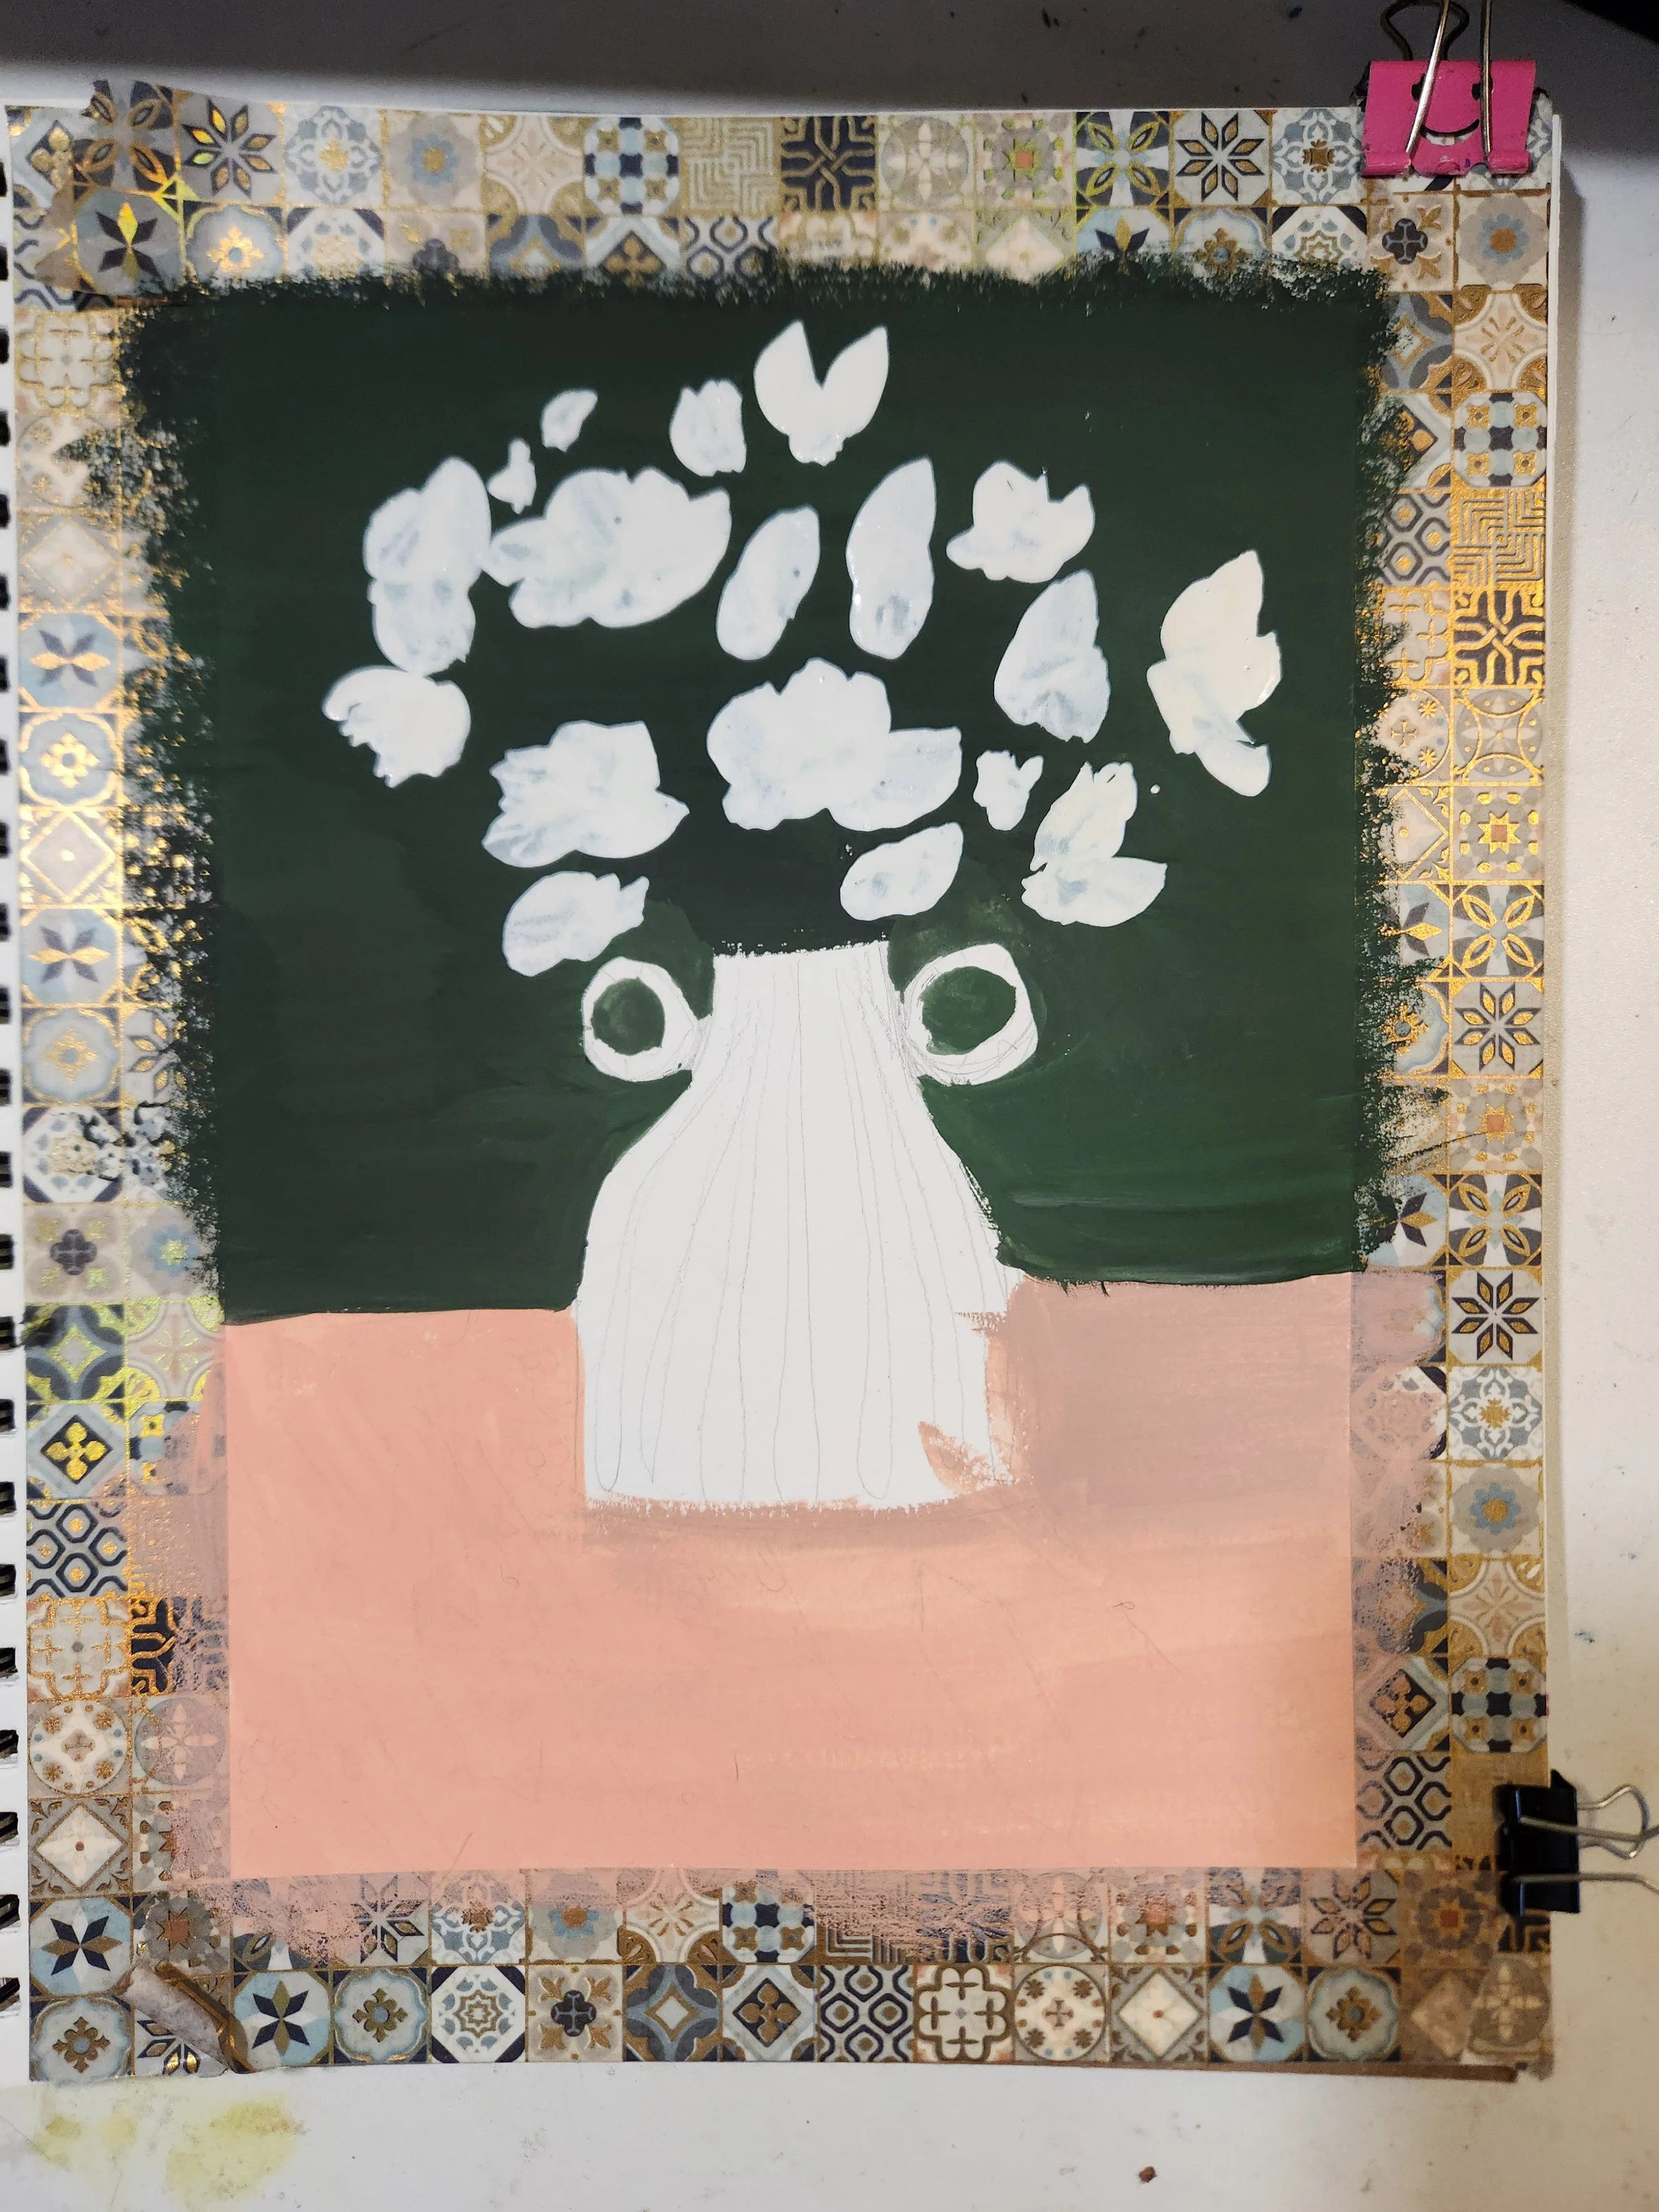
(5) After letting both parts dry completely, use white paint to paint the vase and little handles. I used my favorite white paint, Dr. Ph Martin’s Bleed proof white paint, but any white gouache will work. Mix three parts white to one part yellow and loosely lay out you want the flowers to go, Since we are adding white flowers onto a dark background we are going to build the flowers up in layers. To give the flowers more texture and dimension the first layer we lay down is going to be a yellow white. Allow vase and first layer of flowers to dry completely.
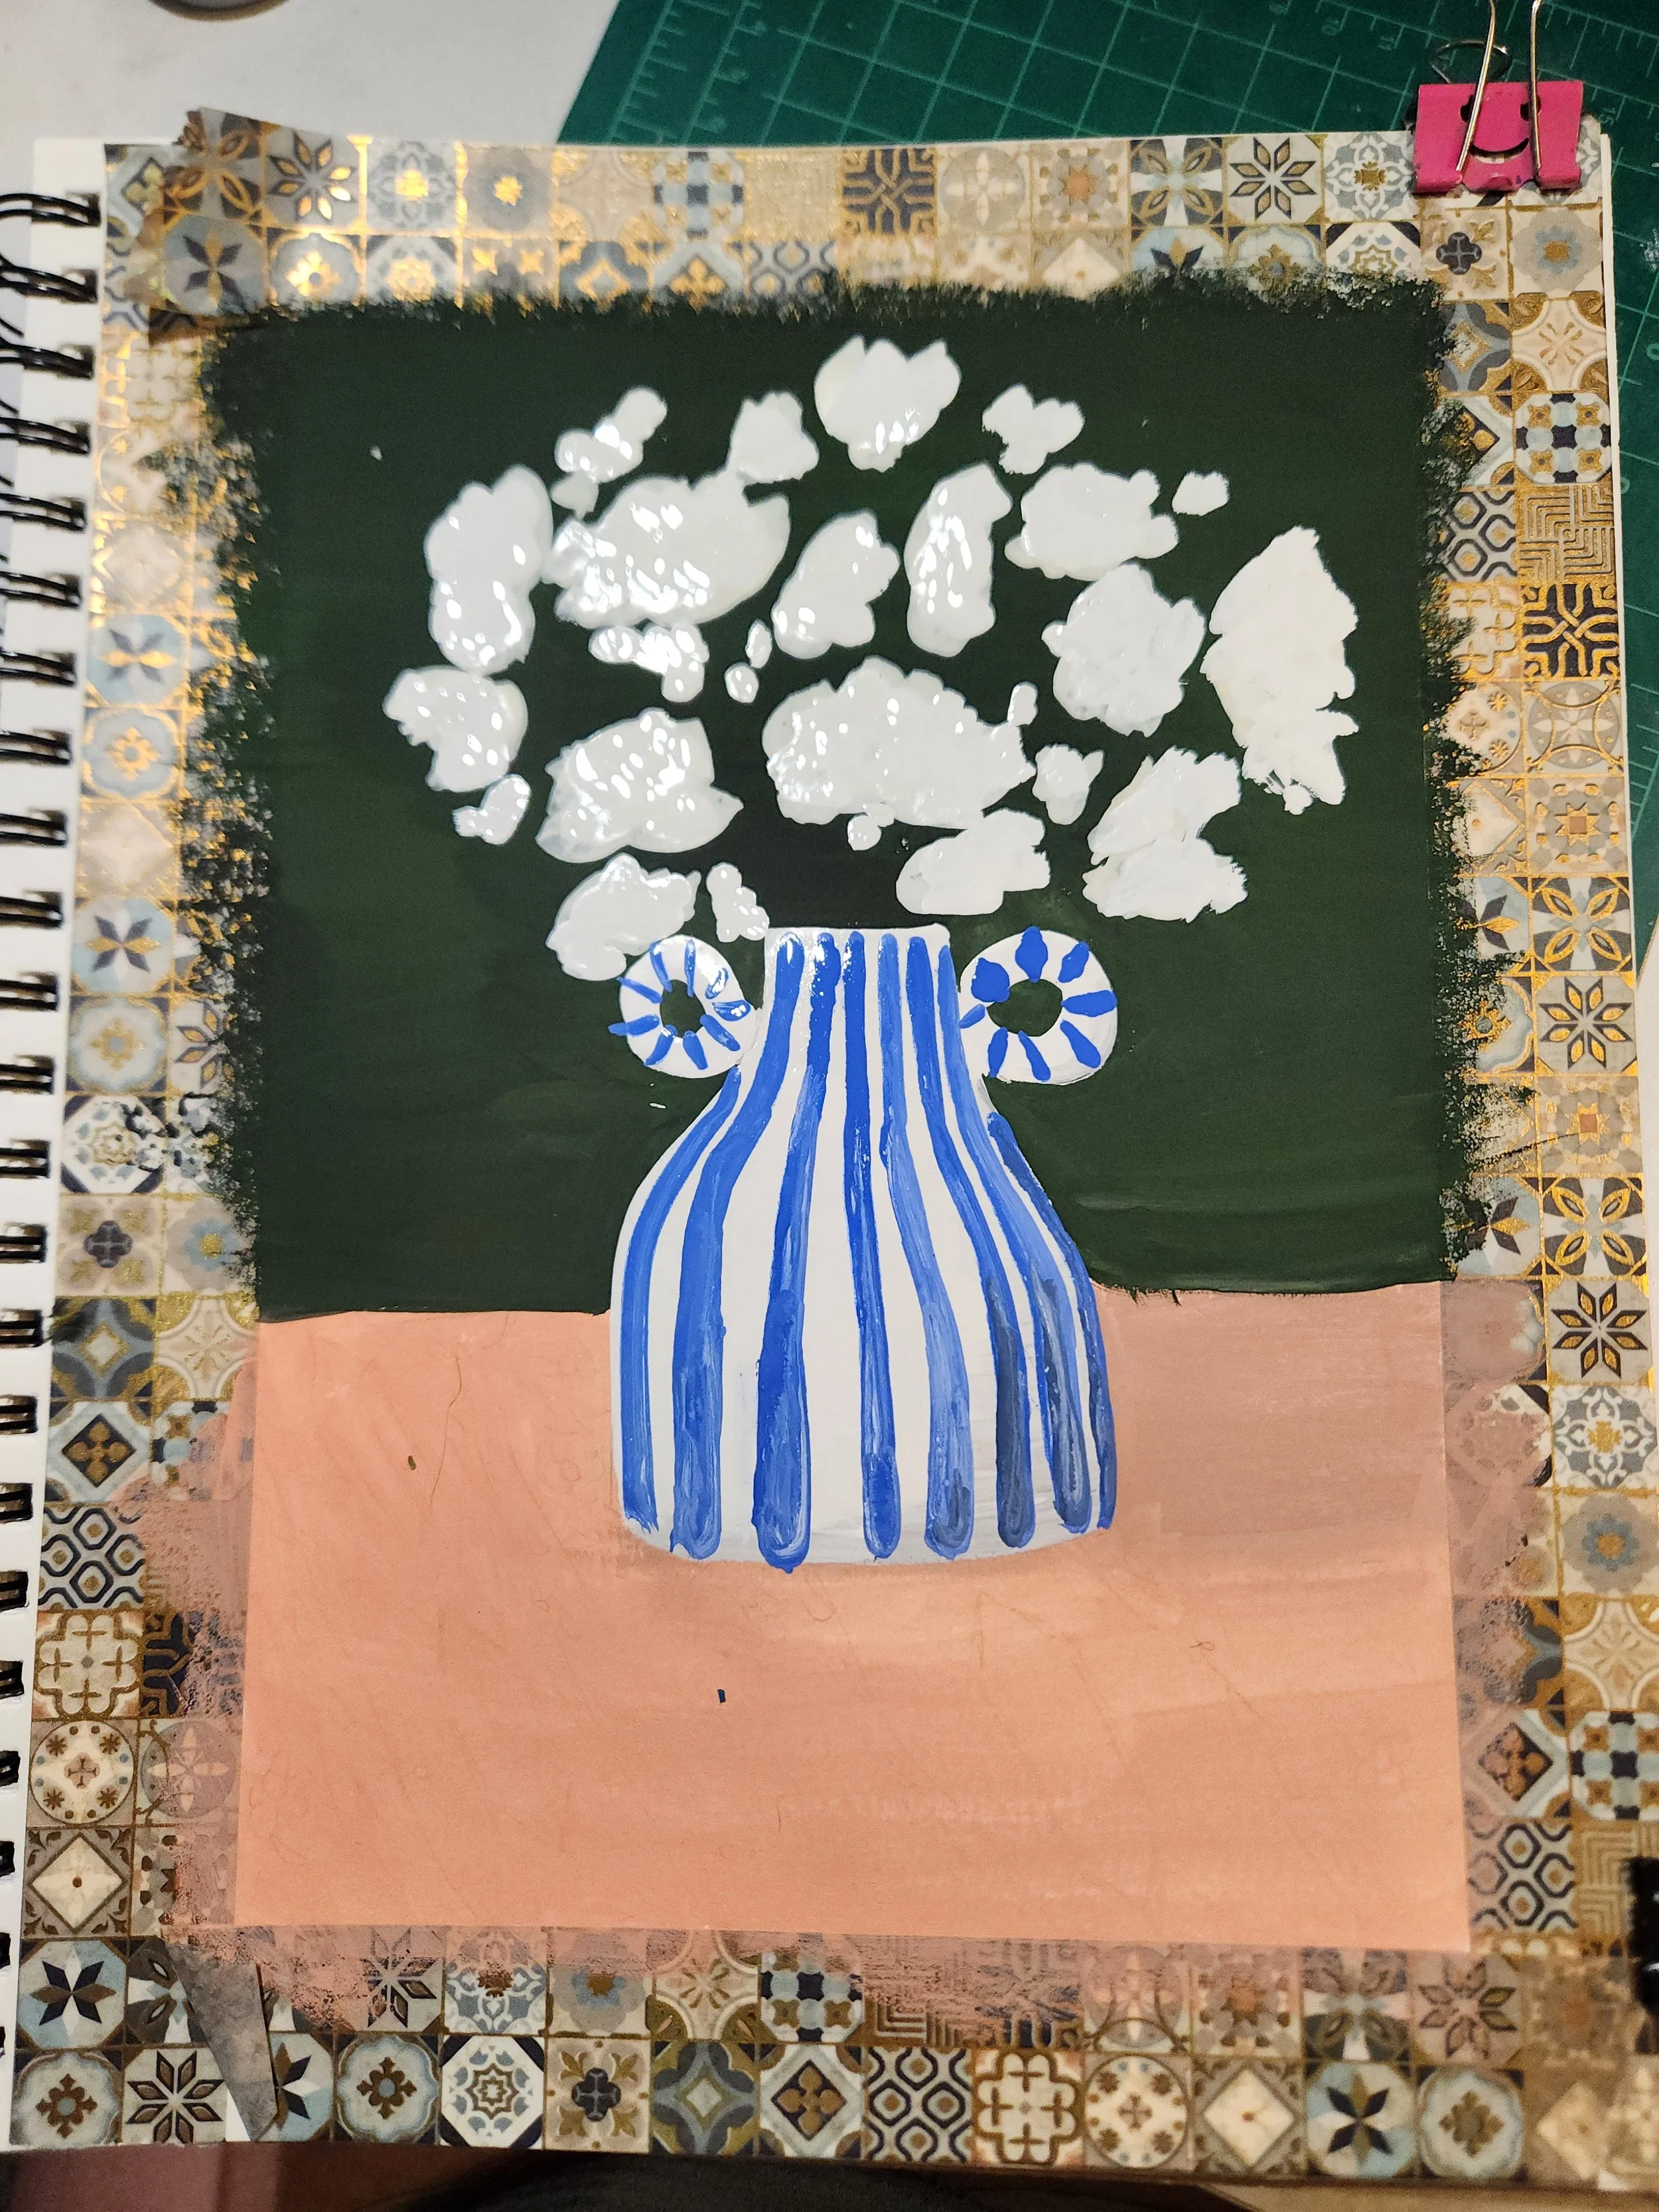
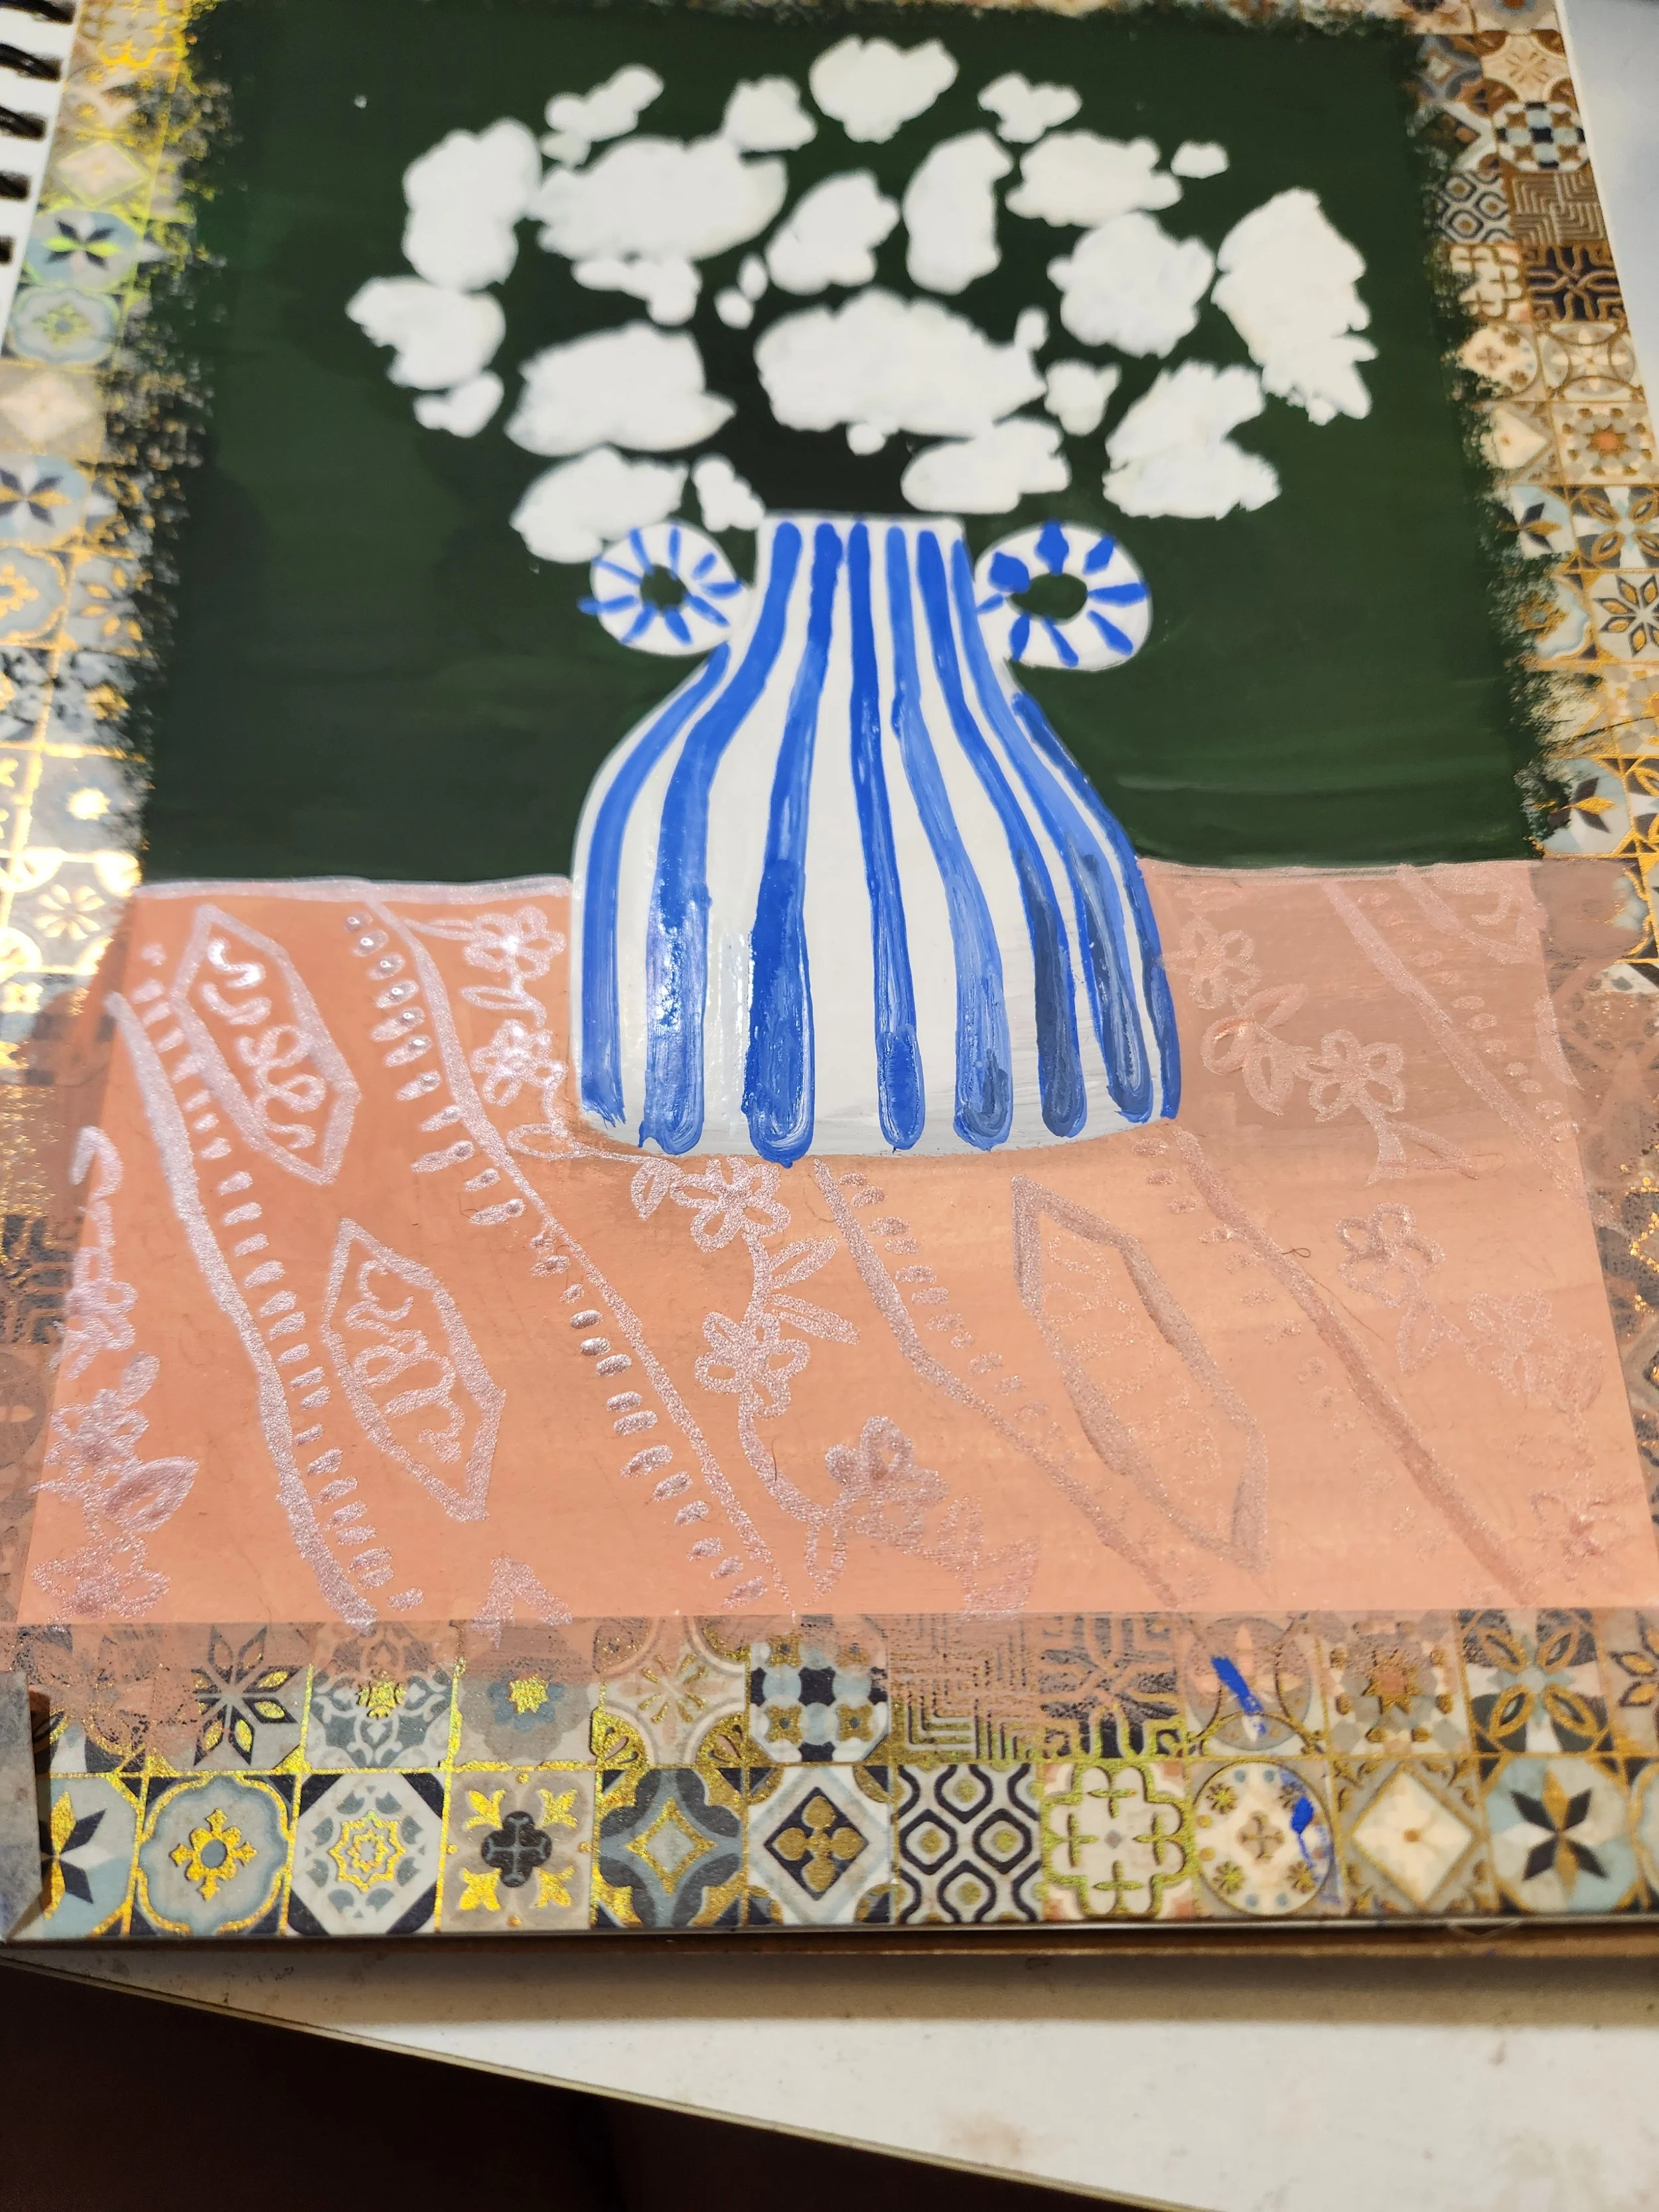
(6) When the white vase is completely dry, its time to add the blue stripes. For this I used one of my favorite blues, Holbein Smalt Blue, but mixing one part white with two parts cobalt blue would also work well. Make sure to curve the lines as you move down the vase to show its volume and shape.
(7) After the base layer of the flowers is dry, go back over the flowers in a loose choppy style in pure white to add layers and build up the flower. Let dry. Repeat if needed.
(8) Optional: While waiting for vase and flowers to dry, add details to pink fabric. Mix some of the leftover pink with silver (or gray) and red (1:1:1). Make 5 diagonal lines coming from left to right, spacing them evenly out. You can add a little wiggle to the lines to give the fabric more of a cloth texture. Using small marks create designs within these sections, I drew little flowers on vines and in every other section I drew long diamond shapes with little hashmarks along the edge.